2008-2010 Mitsubishi Lancer Radio/CD Player Replacement
ID: 37605
Description: Tired of driving with a broken radio in your...
Steps:
- The only tool required for this install is a Phillips #2 screwdriver. Of course, you will also need the new replacement radio/CD player unit that you will be installing.
- Make sure that the car is not on before proceeding since we will be accessing some electrical components. However, you do not need to disconnect the car's battery.
- Using both hands, apply inward pressure to the sides of the glove compartment until the compartment is free to slide out.
- The clips on the side of the glove compartment must be freed.
- Remove the attached plastic arm by simply pulling outward so that the arm snaps out of its socket.
- The glove compartment can now be removed completely by raising it off its hinges.
- Using the Philips #2 screwdriver, remove a 15 mm screw located just above the glove compartment damper piston.
- Carefully remove the plastic trim by pulling outwards.
- Using a Philips #2 screwdriver remove a 15 mm screw from the trim piece.
- Using both hands, carefully pull the trim outward section by section.
- The dashboard and decorative trim are attached to each other, so they will come out as one unit.
- When pulling out the trim start from the right and work your way toward the center console.
- Optional: If you choose, you can remove the harness shown. (See directions on Step 12 for removing a harness clip.) Otherwise you can simply rest the fixture on top of the shift knob.
- Using a Philips #2 screwdriver remove four 12 mm screws attached to the mounting bracket.
- Pull out the radio unit to expose the connections behind it.
- Remove the black antenna connection by simply pulling it out.
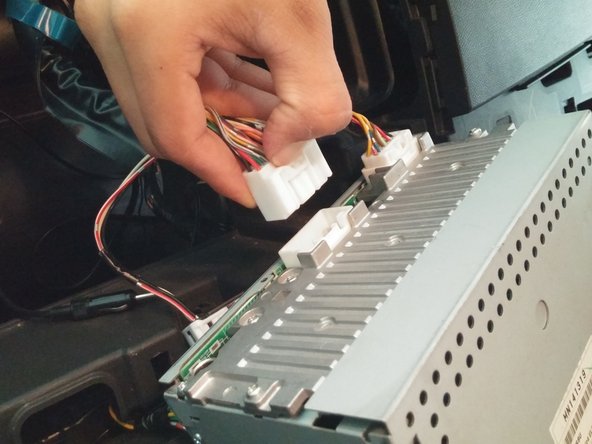
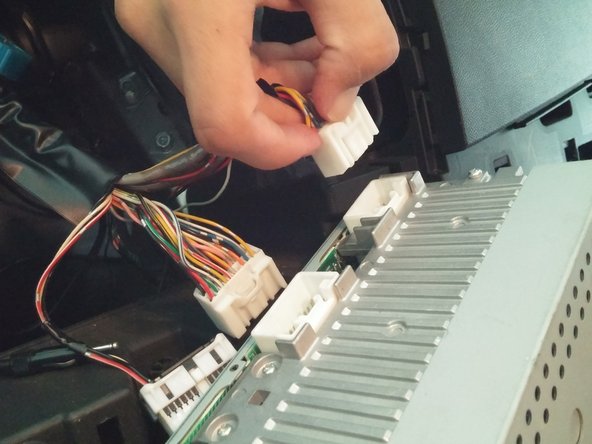
- Remove both the large and small wire harnesses by firmly pressing in and holding the retaining clip.
- While continuing to hold down the retaining clip, firmly pull the harnesses out.
- Do not pull harnesses out by the wires, as you may damage or break the wires. Instead pull out by the white plastic harness.
- You are now ready to replace your radio with your new unit.