Xbox One Wireless Controller Rumble Motor Replacement
ID: 37614
Description: This guide will teach you how to remove the...
Steps:
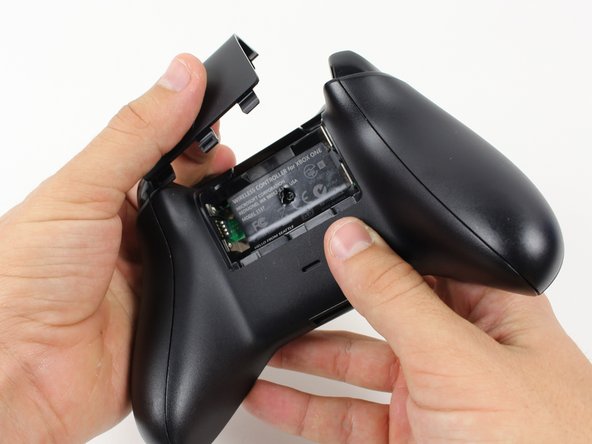
- Remove the battery pack cover.
- Remove batteries.
- We recommend using a nylon spudger for this step. A metal spudger is shown.
- Grip the controller firmly to remove the side handles, wedging a spudger into the seam between the front and handle plates.
- Pry the side plate away from the front plate by moving the spudger back and forth. You will need to do this all the way around the side plate's seam.
- There is a hidden screw located in the middle of the controller behind the label.
- Use a screwdriver and punch a hole directly in the center of the label.
- You may also lift the label if you do not want to puncture it.
- Remove the five 10mm screws located on the back of the controller using the TR8 Security Torx Screwdriver.
- Remove the backplate.
- Remove the faceplate.
- You may let the rumble motors hang freely out of their sockets.
- De-solder the soldered joints while holding the red and black wires down on the top motherboard.
- Be careful while using the soldering iron not to damage other components or hurt yourself.
- For information on how to solder, click here.
- Remove the rumble motors.


