Panasonic Lumix DMC-ZS25 Flash Replacement
ID: 37634
Description: Use this guide to replace the flash on a...
Steps:
- Using a small screwdriver, remove the four 3.4mm screws from the right and left sides of your Panasonic Lumix Camera.
- Using a small screwdriver, remove the two 2.6mm screws located next to the battery, on the outer casing.
- Using the plastic opening tool, open the outer cover of your device.
- The easiest way to open your device is by placing the tool in the HDMI port.
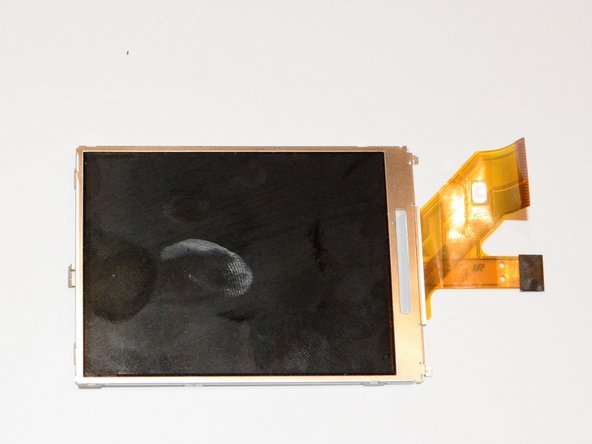
- Using the spudger, pull upward on the screen cable to release it.
- Using the plastic opening tool, lift the button board until it clicks.
- Using the plastic opening tool, lift the screen until it clicks.
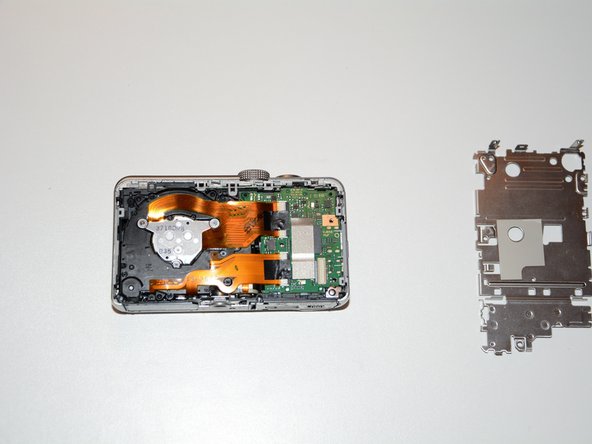
- Using a small screwdriver, remove the two 4.2mm screws located on the corner of the inner cover, under the screen.
- Using the plastic opening tool, remove the inner cover.
- Using your hands or the opening tool, separate the device into two pieces, as shown.
- Using the spudger, remove the black side cover.
- Using your hands, remove the front cover.
- Using the spudger, unlock the screen cables from the circuit board.
- Lift up the black clip to release the cables.
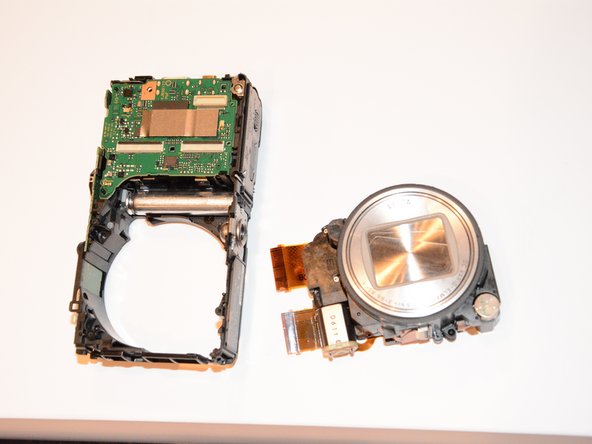
- Using your hands, remove the lens.
- Using the plastic opening tool, pull up on the edge of the circuit board until it clicks.
- Remove the board.
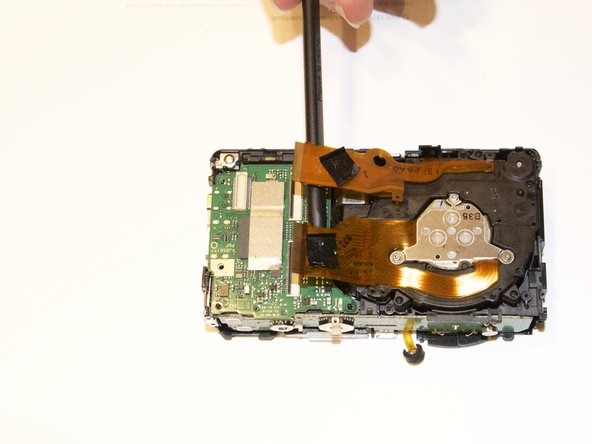
- Using a small screwdriver, remove the 3.7 mm screw near the green chip inside the camera, as shown. This will release the top of the camera.
- Using the opening tool, pull up on the edge of the top cover to unlock it.
- Using the opening tool, remove the top board.
- Place the tip of the spudger at the edge of the top board, and work around three sides to loosen it.
- Using the opening tool, lift up the top board. Now you will be able to safely remove the flash.
- Remove the old flash, and put in the replacement.