HTC MyTouch 4G Button Replacement
ID: 37698
Description: To replace the buttons of the HTC MyTouch 4G,...
Steps:
- Flip your phone over and hold the phone with the back facing you.
- Place the prying tool into the notch at the bottom of the case and pull up to remove.
- Use the plastic prying tool in the upper left-hand corner notch of the battery to remove.
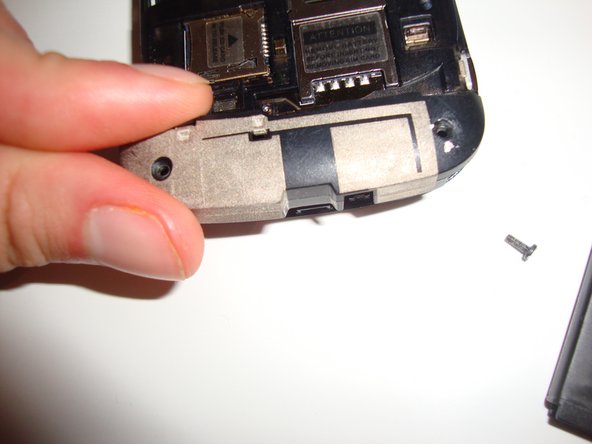
- Remove the two T5x5mm Screws with the T5 Torx Screw driver.
- Remove the one Phillips screw with the Phillips #00 Screwdriver.
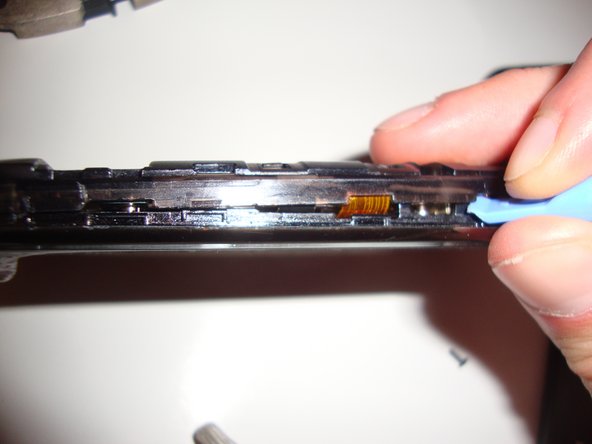
- Use the plastic opening tools to remove the back case.
- There are four T5x5mm screws. Use the T5 Torx Screwdriver to remove them.
- Using the plastic opening tools, remove the Wifi antenna.
- There are three button ribbons on the phone that need to be pulled down off of the case.
- With the plastic opening tools, pull the button ribbons down away from the frame without completely removing them.
- After making sure the button ribbons are away from the frame, insert the plastic opening tool into the frame and remove it.
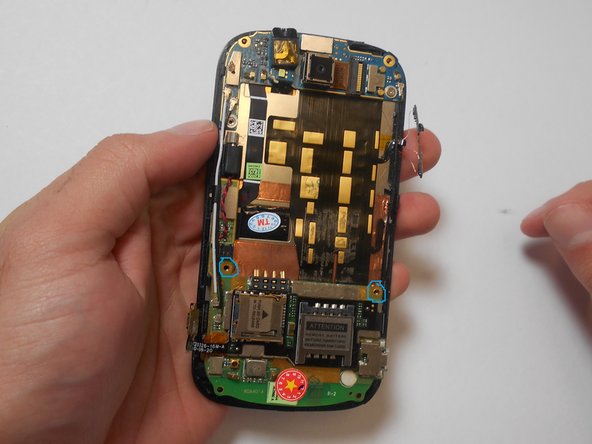
- Remove two Philips screws holding the Motherboard in place.
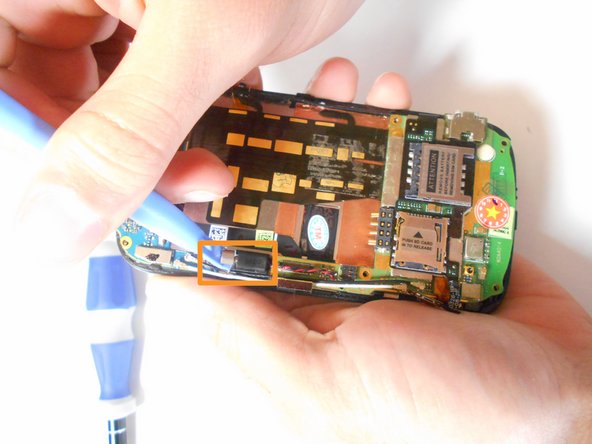
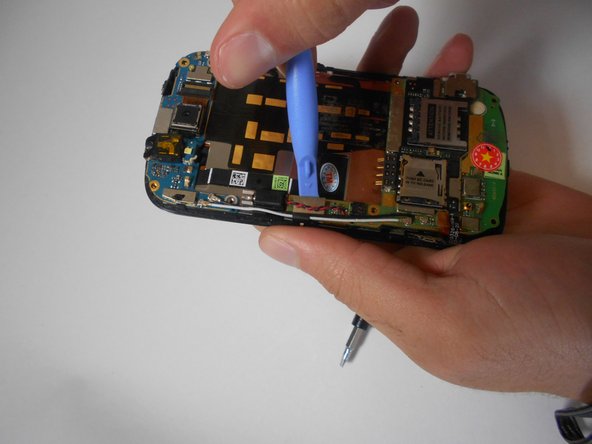
- Three ribbon cables and the vibration motor need to be disconnected from the motherboard.
- Using the plastic opening tools, pull up on the power button ribbon to gently detach it.
- Remove the vibration motor by gently pulling it off of the motherboard.
- Remove the digitizer ribbon cable with the plastic opening tools.
- Remove the LCD ribon cable from its connector.
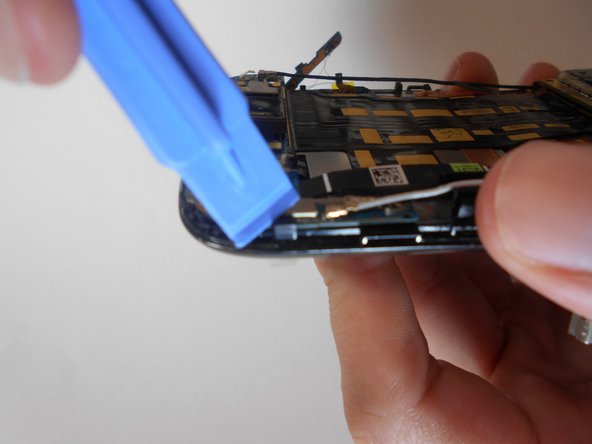
- It is now safe to release the Motherboard from the clips holding it in place. Start at the top clip of the phone and move your way around gently releasing each clip.
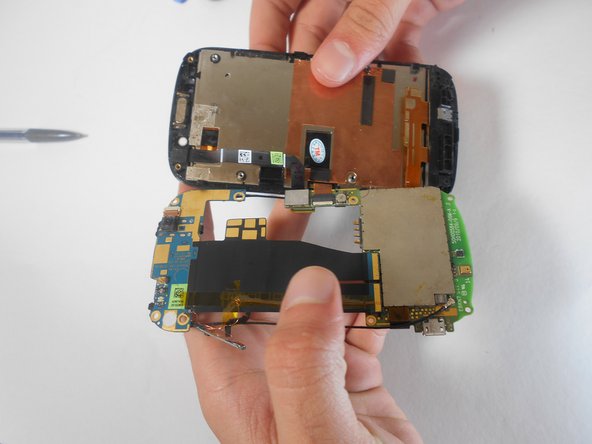
- Do not lift the Motherboard off the phone. The LCD Ribbon is still connected to it.
- Lift the Motherboard towards the left to expose the LCD clamp connector.
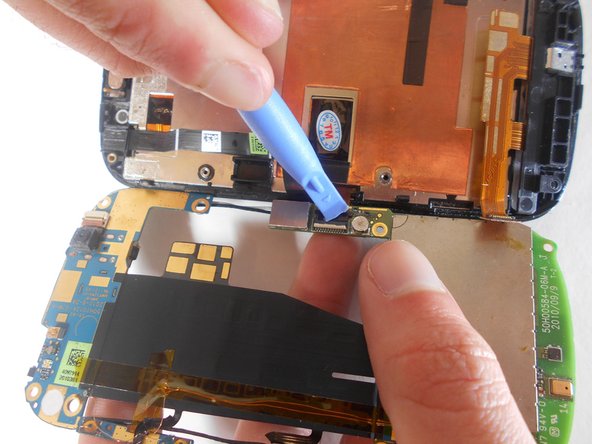
- Open the clamp connector of the LCD ribbon by carefully pulling it up with the plastic opening tools.
- The motherboard is now removed.
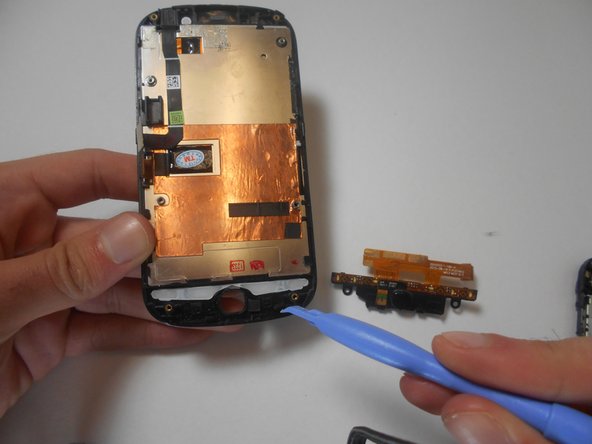
- After removing the motherboard from the phone, the button bar is exposed and easily replaced.
- Use the plastic opening tools to remove the button bar and replace it with the new one.