Azpen A740 Screen Replacement
ID: 37777
Description: This guide shows users how to replace the...
Steps:
- Use the plastic opening tool or black spudger tool to lift the back panel off the tablet.
- You should see the motherboard, the speaker, and the battery.
- The camera is surrounded by the red square.
- The camera is located at the top of the device and is attached by one screw with 3.75mm which is inside of the red circle. And one clip which is inside of the orange rectangle.
- First remove the screw from the plastic connecting the camera to the motherboard.
- The ZIF connector attaching the camera to the motherboard.
- With the plastic now removed from the camera, the user is able to unclip the camera from the motherboard by pulling up the black clip and sliding out the camera.
- Here you can see the rear camera is on the top and the front camera is on the top. As you can see, it is not possible to replace one camera and not the other.
- This is what the camera looks like once completely removed from the tablet.
- This is where the camera was previously, it is the place where the new camera must be placed.
- Now you are able to insert the new camera.
- To reassemble your device, follow these instructions in reverse order.
- The speaker will be attached by 2 screws with 3.75mm and 3.81mm at the bottom of the plastic holding the speaker in. These 2 screws will need to be removed in order to replace the speaker with a pentalobe screwdriver.
- Once the screws are removed, you should fully desolder the speaker wires that are attached to the motherboard. Instructions on how to desolder these wires are here on ifixit: How To Solder and Desolder Connections
- After switching out the old speaker, just follow the directions in reverse to finish.
- Unscrew the motherboard from the frame with a pentalobe screwdriver; there are 7 screws (3.53mm-4.53mm) with 2 of the 7 holding the speaker in place and 1 of the 7 holding the camera in place which you already removed.
- You do not need to remove the 2 screws connecting the speaker.
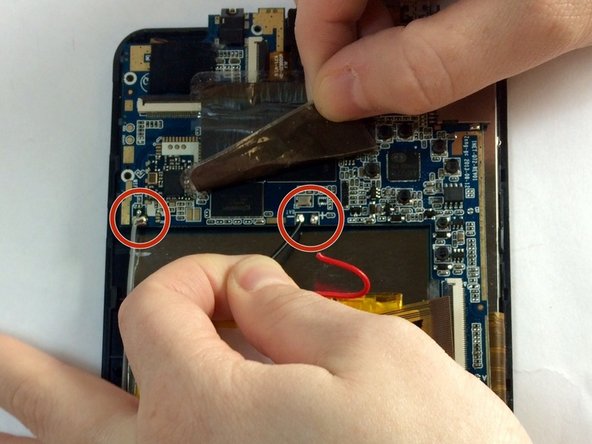
- There should be two cips that are also holding the motherboard in place, they should look similar to the one that held the camera in place. Unclip these the same way you did the camera.
- Now comes the desoldering. If you have never done this before, you may want to read this: How To Solder and Desolder Connections
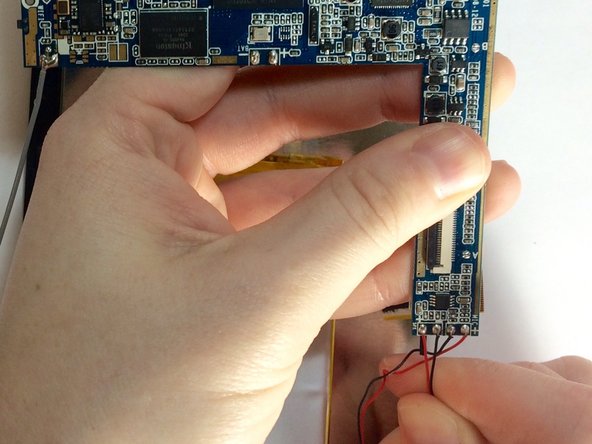
- In all, there should be 7 wires that need to be desoldered: 2 that are connected to the speaker, 2 that are connected to the screen, 2 that are directly connected to the battery and 1 that is connected to a thick wire that feeds into a sticker on the battery.
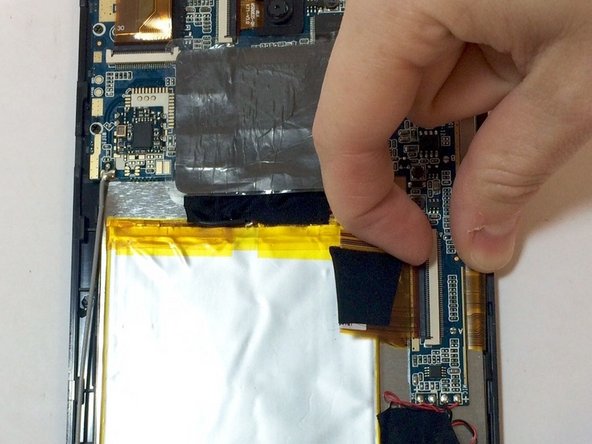
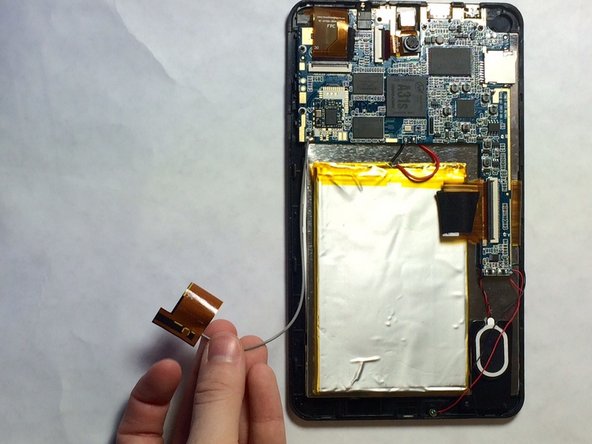
- Once all connections are removed from the motherboard, it is able to be removed by gently placing the plastic opening tool under the motherboard and lifting up the motherboard from the bottom of the screen.
- To reassemble your device, follow these instructions in reverse order.
- Use the set of plastic opening tools to separate the inner backing from the electronics.
- Use the Phillips screwdriver to remove the 3.8 mm screws, holding the inner backing of Azpen A740 Tablet.
- Disconnect the black, red, and grey wires leading to the battery from the motherboard using a soldering iron.
- In order to desolder these connections follow the instructions on IFixit's How to Solder and Desolder Connections
- Remove the black tape that is holding the battery in place.
- Remove the battery from the case using the blue prying or black spudger.
- As you remove the battery it may be difficult to remove. Take your time to remove it carefully and try to avoid bending it.
- Once you have removed the battery, speaker, and motherboard,you can begin the screen replacement.
- All that should be left is a plane silver plate (located under the motherboard, speaker, and battery). Simply place one hand over the silver plate, and flip the device so that the screen is now facing you
- Now you should have the screen on one side and the glass cover on the other.
- If you need to remove the glass, you do not need to disconnect the screen, just slip the new glass in and you're done.
- If you need the screen replaced, unclip the ribbon (that connects the screen to the cover) and clip in your new screen.