Chromo Inc. T2 Touch Screen Replacement
ID: 37778
Description:
Steps:
- Place your Plastic Opening Tool between the screen and the case. Slowly move it around the casing while prying in a downward motion to undo the hinges holding the two together and separate the two parts.
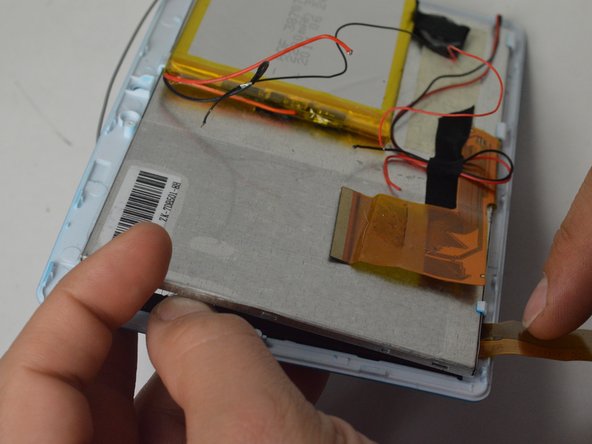
- After separating the case and screen, turn your screen face down so you can see the internal parts!
- Peel back the tape holding the big flex cable in place.
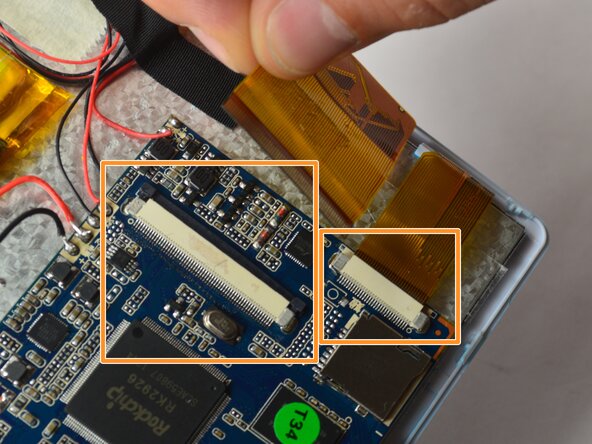
- Using your plastic opening tool, gently push back the gray connector to free the flex cables and then pull them out.
- Using the small plastic opening tool, gently push the gray connector back to unlock the flex cable.
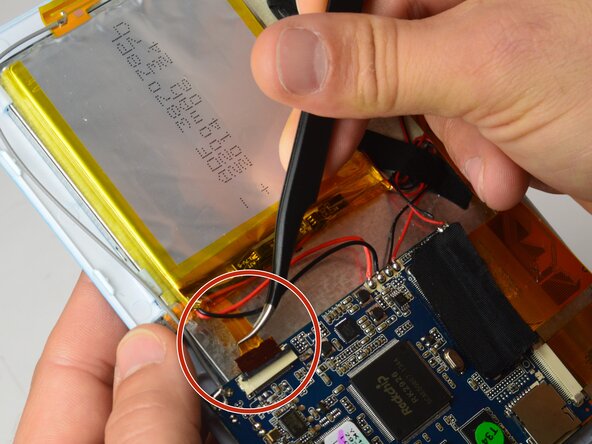
- Using a pair of tweezers, gently grasp the flex cable and disconnect it from the connector.
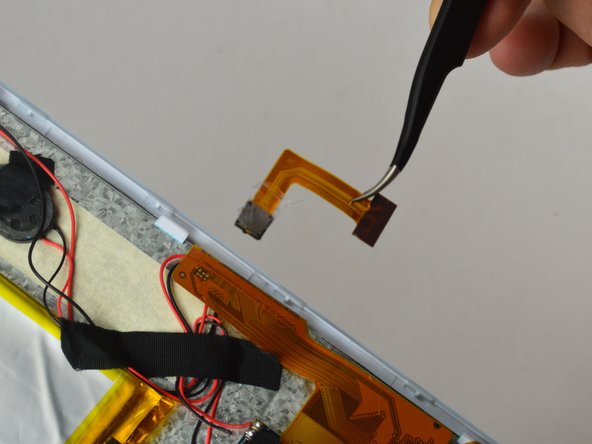
- Using a pair of tweezers, gently grasp the flex cable and pull it out while using your other hand to keep the camera in place. Once removed, your camera is now free to set aside.
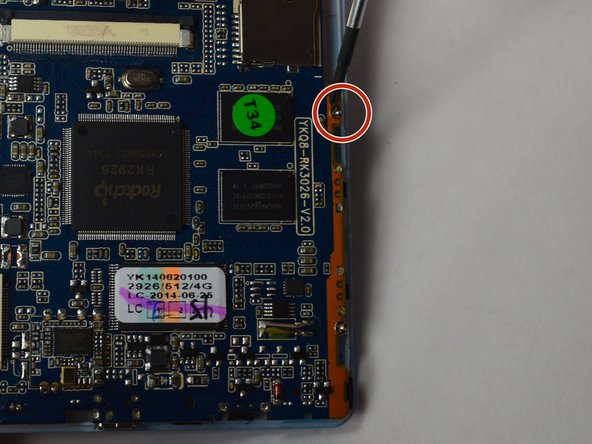
- Using a Phillips #00 Precision Screwdriver, remove the three 3mm screws holding the motherboard.
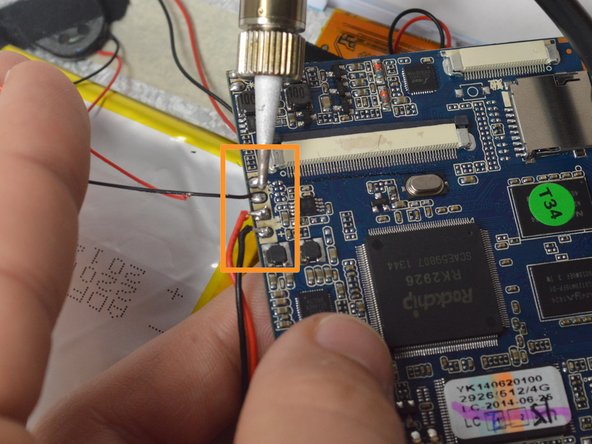
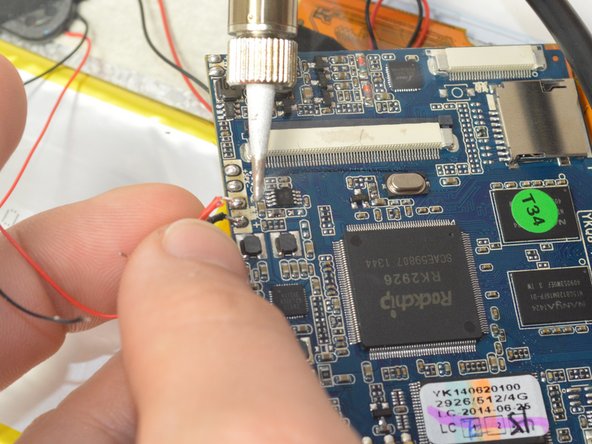
- Using your soldering iron, desolder the six wires on the side of the motherboard.
- Note: Remember where these wires go as re-connecting them incorrectly can lead to damaging the device!
- Soldering Iron gets very hot, take care to not touch anywhere on the soldering iron except for the handle!
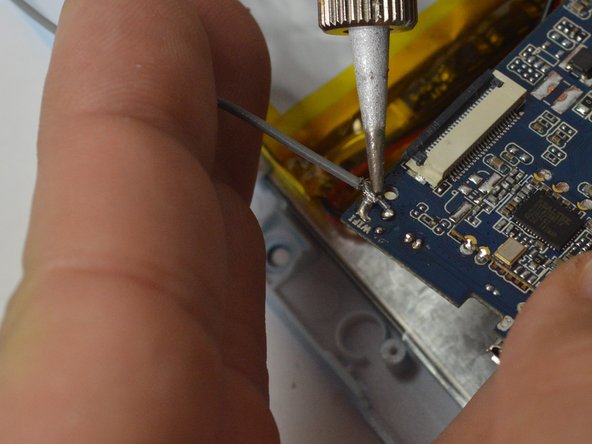
- Using your soldering Iron, desolder the grounding cable on the motherboard.
- Soldering Iron gets very hot, take care to not touch anywhere on the soldering iron except for the handle!
- You can now remove your motherboard and set it aside.
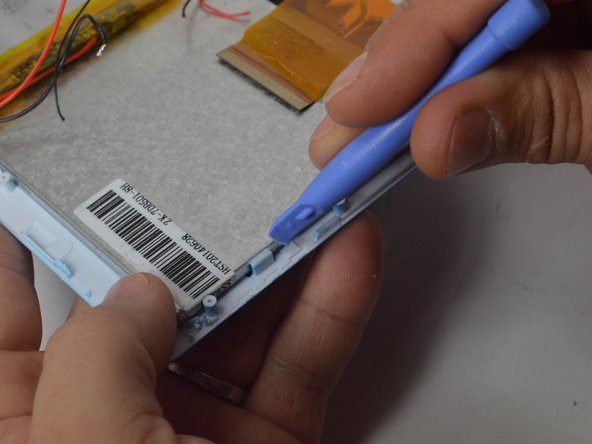
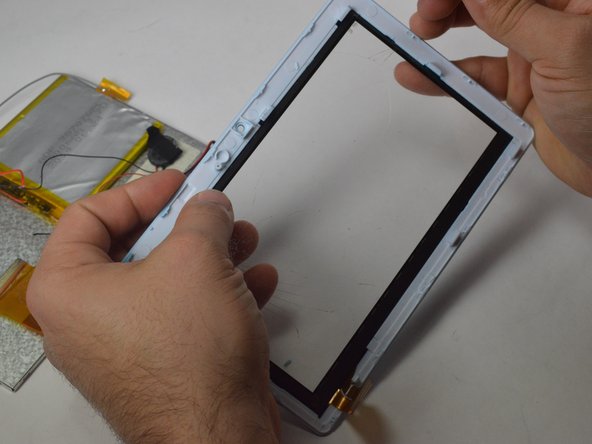
- Using your Plastic Opening Tool, pry between the plastic casing and the screen to free it. Once free, you may begin separating the screen from the casing.
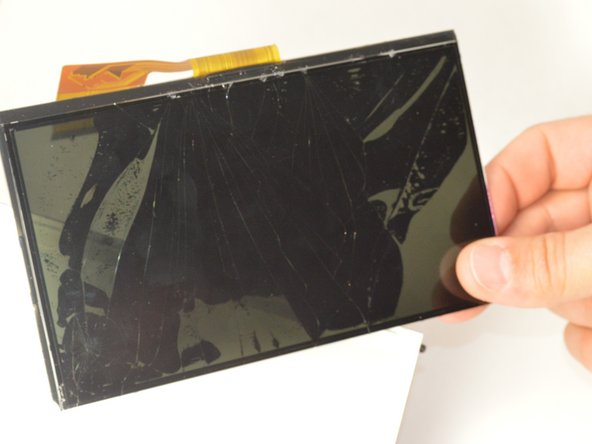
- Once removed from the plastic casing your touch screen is now free and ready for replacement!