Samsung Galaxy Tab 2 10.1 Headphone Jack Replacement
ID: 37858
Description: If the audio does not play, even after you...
Steps:
- The plastic opening tool may break during this step. You may need to use the heavy duty spudger instead.
- Insert the plastic opening tool between the glass screen and the back cover so the curved end of the plastic opening tool is under the glass. Gently pry the back cover away from the glass screen.
- Be sure to lift the entire display from the body and that you are not are lifting the glass from the display. You will need to reach down a little further for the correct removal.
- Continue inserting the plastic opening tool around the whole device screen to completely separate the back cover from the glass screen.
- Gently lift the screen up with your finger.
- If the screen will not separate from the back cover, try repeating step 1.
- Using your fingers, remove the green tape covering the battery connector.
- Insert the flat end of the heavy-duty spudger between the wires and underneath the battery connector. Carefully lift the black battery connector up to disconnect it from the motherboard.
- The metal spudger shown in the photo is not recommended due to the possibility of an electrical short. Use an ESD-safe tool, such as a heavy-duty (nylon) spudger.
- Unscrew the two 3mm screws with the Phillips 000 screwdriver.
- Lift the black cable connector with the plastic opening tool to disconnect the cable from the device.
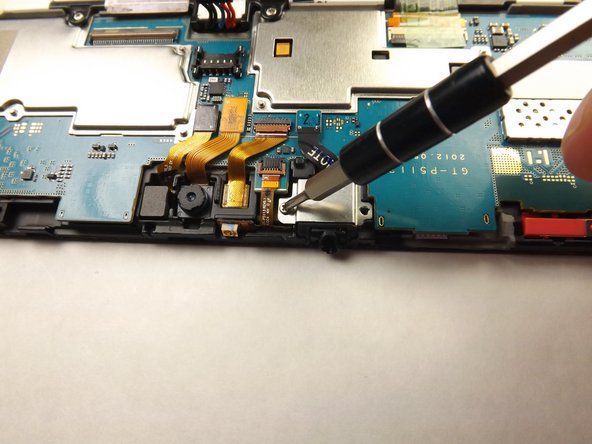
- Slide the flat end of heavy-duty spudger under the audio jack cover and lift up to remove the metal cover from the device.
- Insert the flat end of the heavy-duty spudger under the headphone jack and gently lift up to remove the headphone jack from the device.