Eightarc Fusion Joystick Replacement
ID: 37867
Description: This guide shows how to remove and disassemble...
Steps:
- Because of the protruding joystick on the top of the controller, make sure to work on a soft surface or prop the controller up to avoid stress on the joystick.
- Place the controller face down (buttons and joystick down).
- Use a Phillips Head #1 screwdriver to remove the eight 9.65mm screws located on the felt and metal backplate.
- Do not confuse the four screws in the rubber feet with the eight screws in the felt. The screws in the feet do not need to be removed.
- Open the door for the cord storage compartment on the right side of the device.
- Reach under the panel and push upwards on the back panel. Lift it up and remove it from the device.
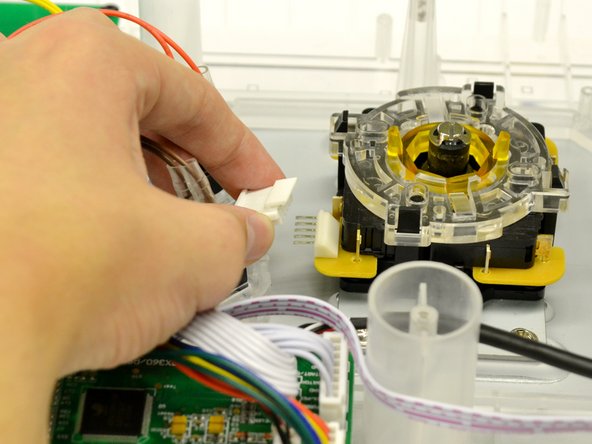
- Use the large plastic opening tool to softly pry the lip on the white 5 pin connector to relieve pressure while pulling the 5 pin connector.
- Remove the white connector from the microswitch assembly.
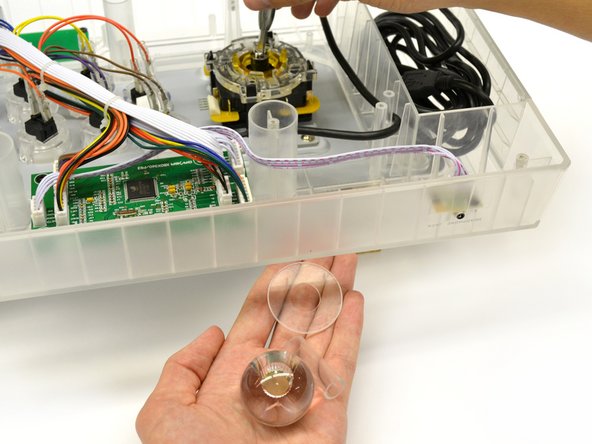
- Insert a #4 Flat Head screwdriver into the shaft of the joystick and grasp the ball topper with your other hand.
- Turn the flat head screwdriver counter clockwise for a quarter turn while tightly holding the ball topper.
- The ball topper should now be loose enough to unscrew by hand.
- Set aside the shaft cover, dust cover, and ball topper.
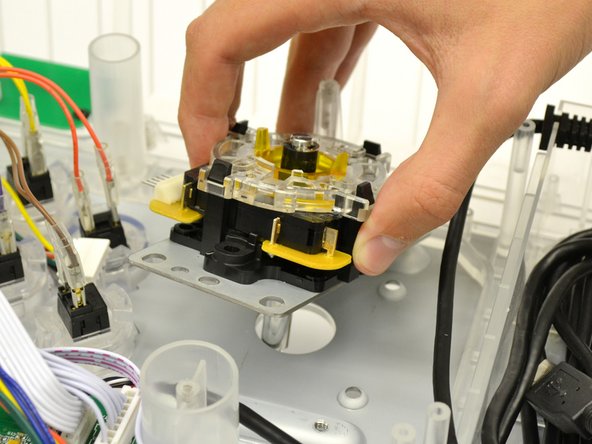
- Remove the four 8.35 mm screws from the mounting plate of the joystick using a Phillips Head #2 screwdriver.
- Remove the joystick assembly from the controller.
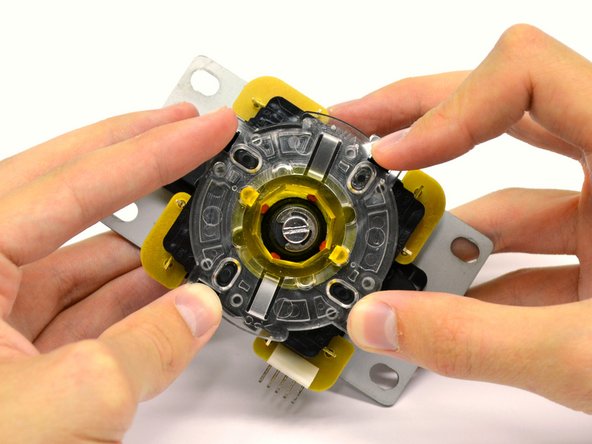
- Place joystick assembly on a hard, flat surface.
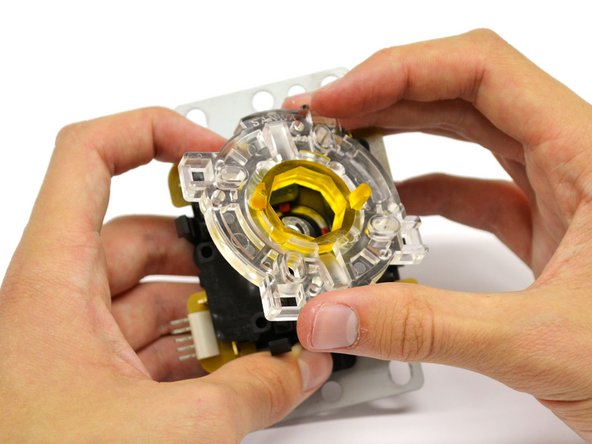
- Gently press on the four black tabs on each side of the assembly.
- With the tabs depressed, lift the clear restrictor plate from the assembly.
- Remove the switch housing from the assembly by lifting straight up.
- The joystick assembly is now ready to be replaced or cleaned.