Motorola RAZR Maxx HD Circuit Board Replacement
ID: 37894
Description: This guide requires the removal of various...
Steps:
- Use the Torx T5 Screwdriver to remove two 5.0 mm screws at the bottom of the phone.
- To remove the SIM card, use an unfolded paperclip to press down on the metal plate on the left side of the phone until it pops up.
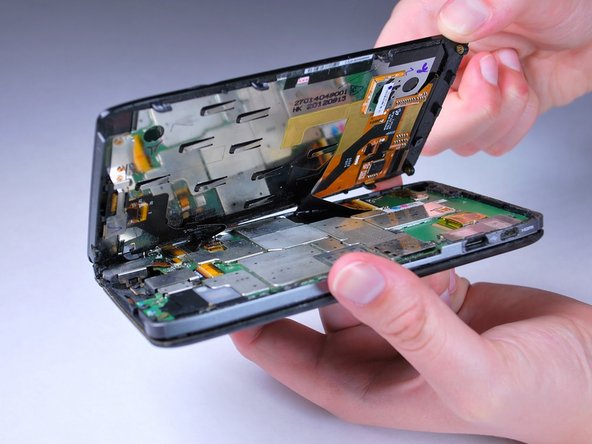
- Gently push the screen toward the top edge of the phone and tilt the screen to reveal the black flex cables.
- Do NOT remove the screen all the way or the flex cables will be damaged.
- Release the two black ribbon flex cables by gently pulling up on the connection using the spudger. Then lift the screen to remove.
- Make sure to remove the flex cables before completely removing the screen.
- When reassembling, align the white bands on the edge of the screen so that a connection is made.
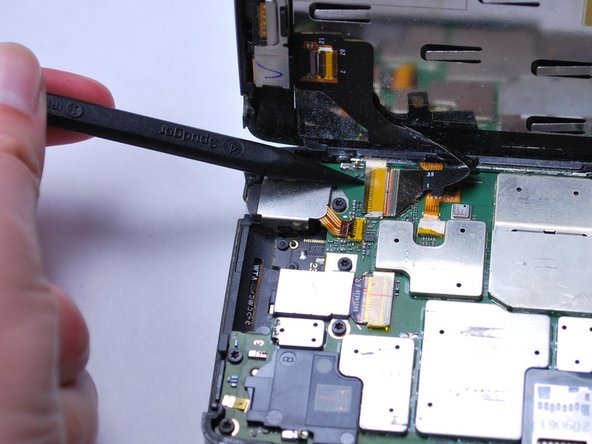
- Remove the plastic yellow tape on the battery connector using the spudger.
- Pry up on the orange connection to release it from the motherboard.
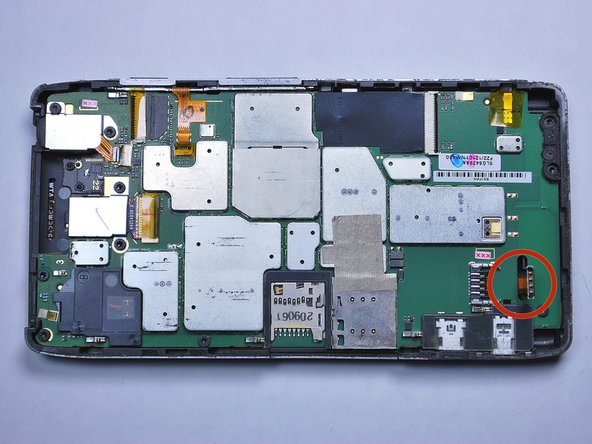
- Unscrew all ten 4.0 mm screws on the motherboard using a T5 Torx screwdriver.
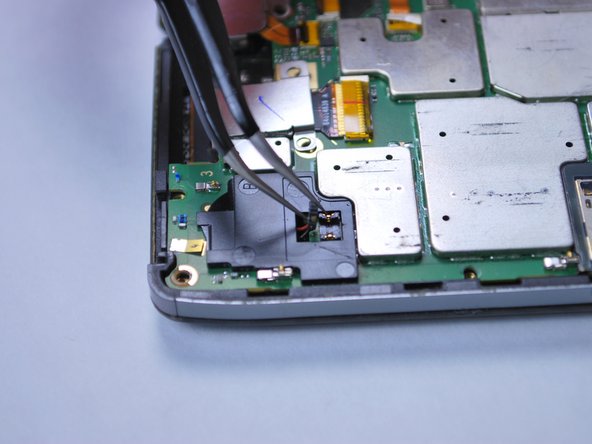
- Using tweezers, remove the clear plastic covering on the speaker.
- Pry open the connection by lifting up on the speaker wire connector.
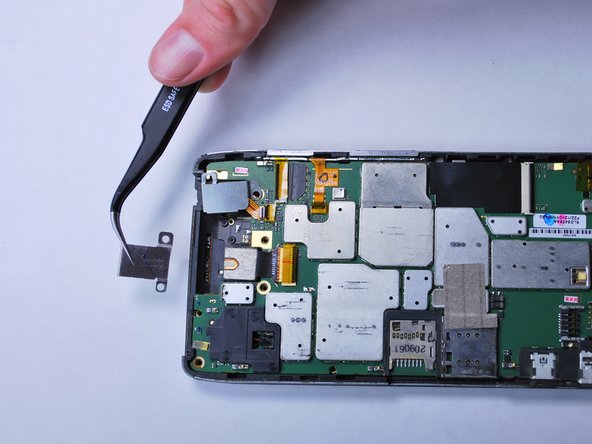
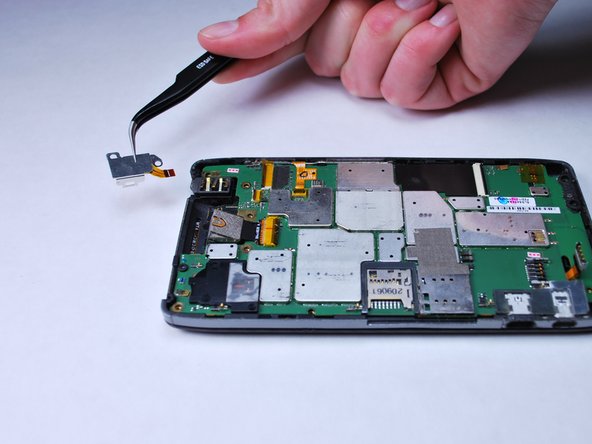
- Using tweezers, remove the back facing camera cover.
- Using the spudger tool, release the yellow ribbon cable on the headphone jack cover by pushing up on the connection.
- Remove the cover from the motherboard.
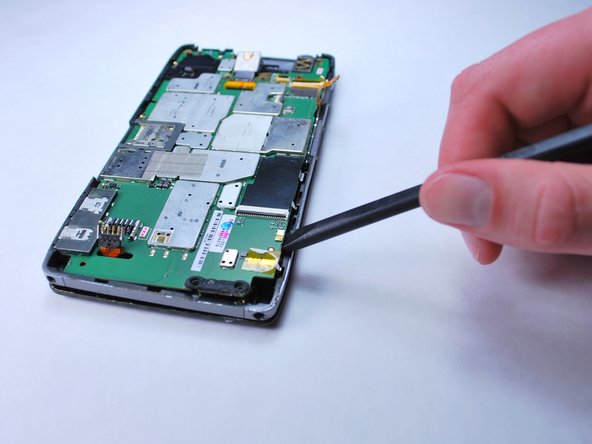
- Release the yellow flex cable on the right side of the phone using the spudger by lifting up on the retaining clip.
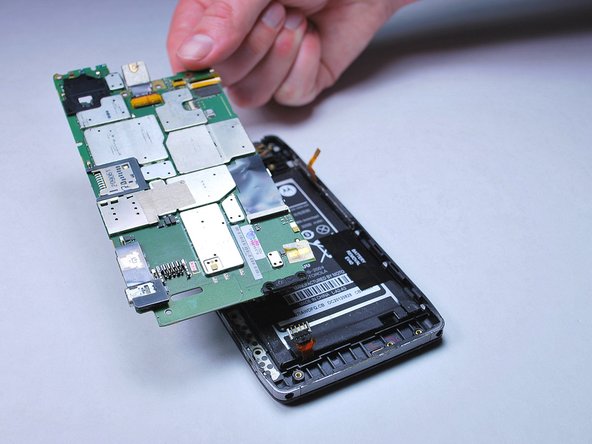
- Wedge the spudger between the motherboard and the back case.
- Work your way around the entire edge of the motherboard to release it and remove it from the back of the phone.