Xbox One Stereo Headset Microphone Replacement
ID: 37925
Description: This guide has only a few simple steps to get...
Steps:
- Use the flat end of a spudger to pry out the rubber stopper at the base of the boom.
- Remove the single 6 mm flathead #2.0 screw exposed after removing the rubber stopper.
- Lift the joint of the boom up and over its pivot point to separate the microphone from the headset.
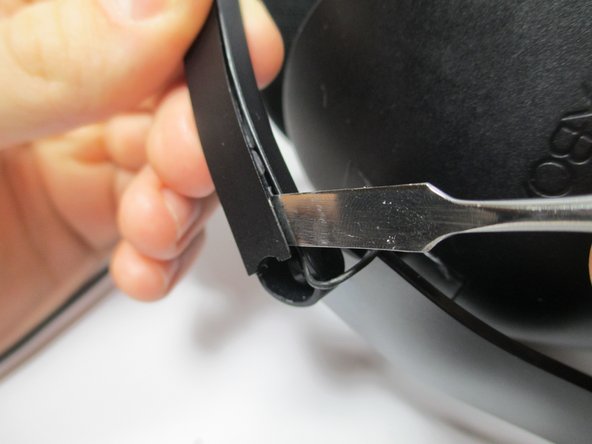
- Using the flat end of the metal spudger, pry the back plate off the boom.
- The back plate is glued to the boom and must be removed gently.
- When re-installing, apply a few drops of super glue to hold it in place.
- Pull the back plate off the boom.
- Using the flat end of the plastic spudger, gently pry the microphone out of its casing.
- Desolder the two wires from the back of the microphone. For instructions on how to solder and desolder, please see the soldering technique guide.
- The white wire connects to the positive node, which is indicated with a "+" on the microphone.