HP Envy 14 Hard Drive Replacement
ID: 37968
Description: Hard drives may become damaged or faulty...
Steps:
- Slide the battery cover release latch to eject the battery cover outwards.
- Remove the battery cover.
- Slide the top right battery latch to the unlocked position as indicated by the unlocked symbol.
- Simultaneously slide the top left battery latch, pull on the battery tab, and remove the battery.
- Using a Phillips #0 screwdriver, remove the four 2.0x3.0 mm screws that hold the hard drive compartment in place.
- Consider setting the screws aside in a small bowl or other container to prevent from losing them.
- Hold the edges of the hard drive component and gently slide the hard drive out of its socket.
- Once the hard drive compartment is out of the laptop socket, simply lift the hard drive out of the laptop.
- The hard drive connectors should be face up when inserting back into the laptop.
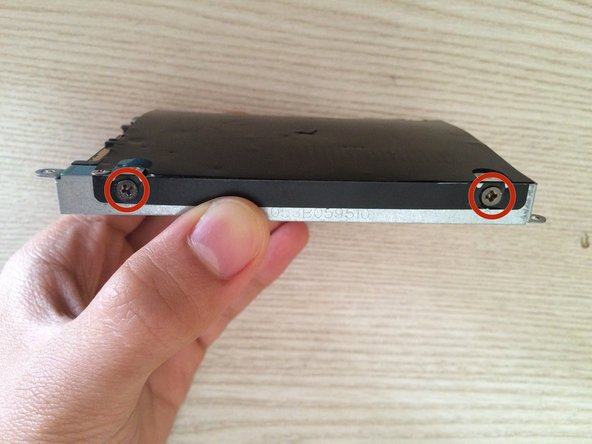
- Using a Phillips #1 screwdriver, remove the four 3.0x3.0 mm screws located on the sides of the hard drive compartment.
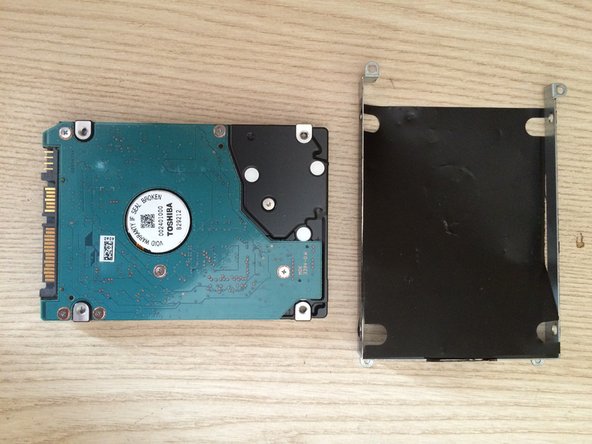
- Slowly pull the hard drive apart from the hard drive bracket.
- This bracket will be used to hold your new hard drive.
- Take your new hard drive and insert it into the hard drive bracket in the same position as the original hard drive.
- When re-attaching, ensure that the hard drive is oriented correctly inside of the hard drive bracket.
- The hard drive should be face up such that the hard drive connectors can be seen.
- The screw holders on the open ends of the hard drive bracket should be on the top.
- The screw holders on the opposite side of the hard drive bracket should be on the bottom.