Roku XD 2050X Audio Port Replacement
ID: 37970
Description: Use this guide to replace a damaged or...
Steps:
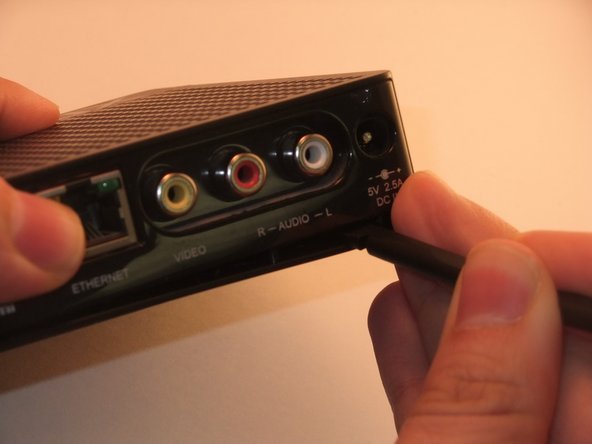
- Ensure the Roku XDis unplugged.
- Take care when handling components. Circuit boards, soldering points, and other areas may have sharp points.
- Turn the device upside down.
- Remove the two rubber pads using a plastic spudger.
- Remove the two Phillips #1 9mm pan-head screws.
- Insert spudger between upper and lower frame underneath the port access.
- Guide spudger around to loosen upper and lower frame to pry frame apart.
- Gently remove upper frame.
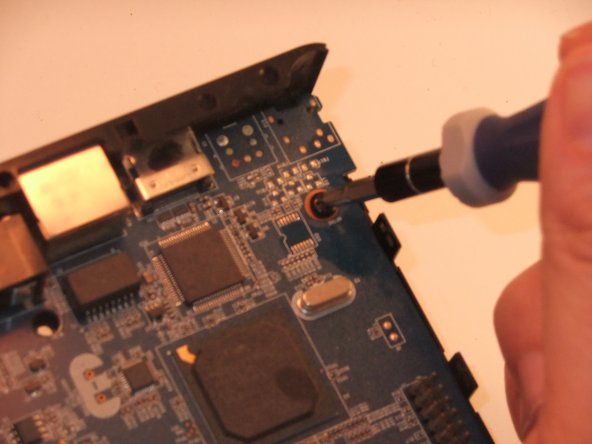
- Remove the two Phillips #1 8mm pan-head screws.
- On the side of the board opposite the ports, find and tilt back the tab securing the board in place.
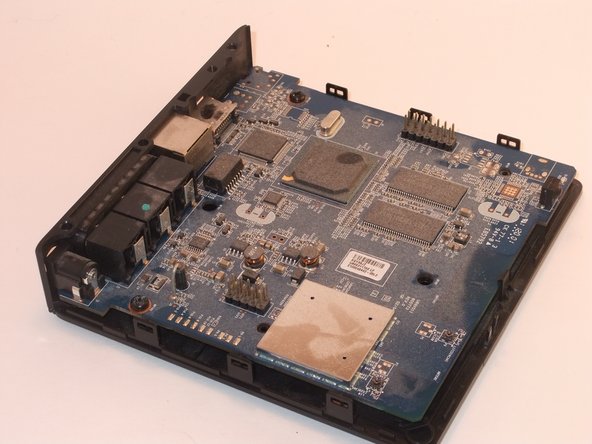
- Lift the motherboard out of the lower frame.
- Desolder the leads for the audio port that you wish to replace.
- Left audio port leads are circled in red.
- Right audio port leads are circled in orange.
- Remove the audio port from board.
- For help with soldering view the iFixit soldering guide.