Sony BDP-BX520 Disc Reader Replacement
ID: 37992
Description: These step-by-step instruction will allow you...
Steps:
- Plug in the Blu-Ray player, then press the power button, making sure the Blu-Ray player is powered on.
- Press the eject button on either the top of the Blu-Ray player or on the remote to open the disc tray.
- Grab the sides of the disc tray cover and carefully pull each side upwards, starting with the left side. This will unhook the cover from the tray.
- Close the disc tray, then power off and unplug the Blu-Ray player.
- Locate the three 8 mm screws on the back of the Blu-Ray player.
- Using the Phillips #2 screwdriver, unscrew each of the screws and set them aside.
- Gently pull the top case back to remove it from the Blu-Ray player.
- Insert the nylon or metal spudger under the clip on the side near the front of the device. Lift the clip so it is free from the device.
- Lifting these clips may require you to hold one clip open while you move on to the next clip.
- Flip device over so the bottom faces you.
- Insert the nylon or metal spudger and lift the two clips on the bottom of the device.
- Lift the clip on the opposite side of the device with the nylon or metal spudger.
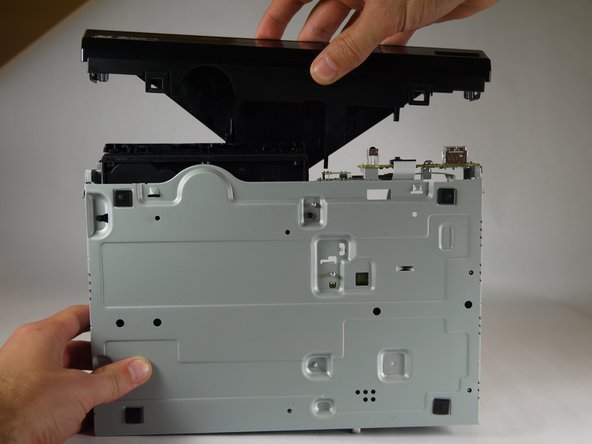
- Grasp the front case firmly and lift from the rest of the device.
- Lifting may require some force.
- Do not touch the circuit boards or the internal parts of the device while it is powered on. This could short out the circuits and possibly cause you harm.
- Plug in the device and power it on by pushing the right button on the front of the device. The light should turn on.
- Eject the disc tray by pushing the left button on the front of the device.
- Unplug the device once the disc tray is open.
- Insert the nylon or metal spudger under the clip and lift it up. There are 4 clips that need to be lifted, two on each side
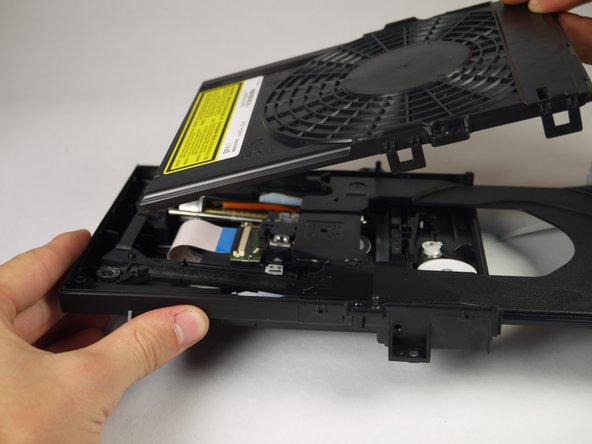
- Once the clips are free, lift the top cover of the disc tray up.
- This should take minimal force.
- Unscrew the two silver 8mm Phillips 1 screws from the disc reader.
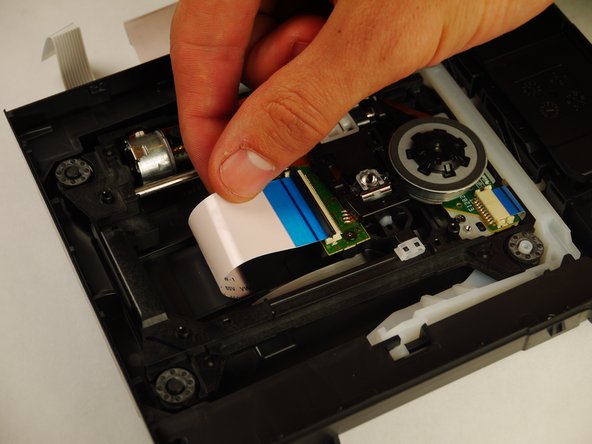
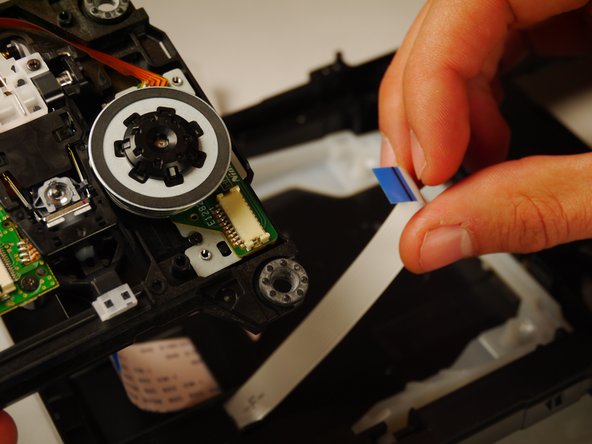
- Use the tweezers to lift both sides of the black clip holding the white 14 pin ribbon in place.
- Once free the white 24 pin ribbon should slip right out.
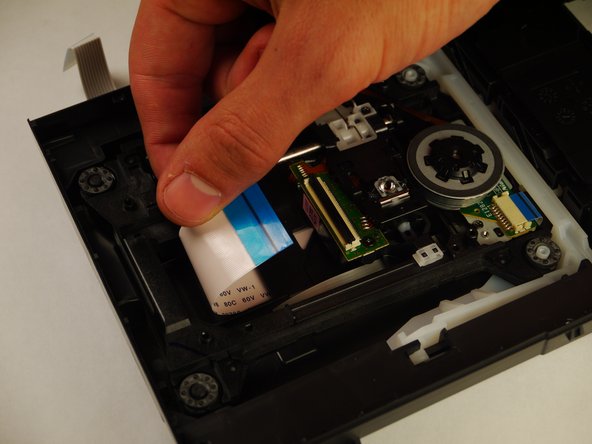
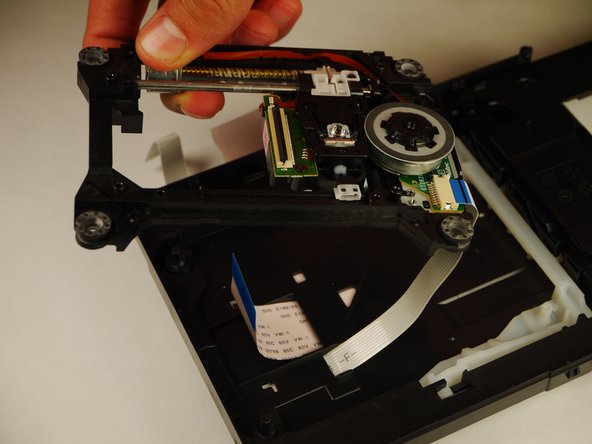
- Carefully lift up the disc reader. It is still attached by a cable underneath!
- Gently pull out the white 13 pin cable from the disc reader.