RCA Pro10 Edition Display Screen Replacement
ID: 38023
Description:
Steps:
- Using a separating tool, look for a seam in the plastic casing that looks most accessible.
- Use the prying tool to separate the front and back casing, working your way around the perimeter.
- Utilize a card tool or a pick to assist in keeping the case separated.
- To reassemble the device simply align the two casing halves and pinch to snap together or press down on the edges while the device in on a table.
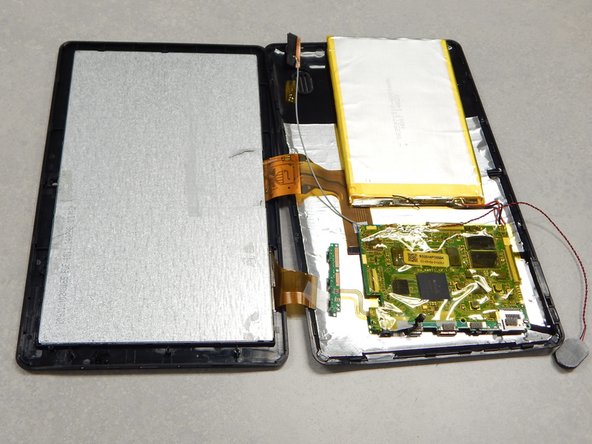
- Flip over the back of the device while keeping it close to the front, the speaker is attached to it.
- Remove the yellow tape securing the speaker to the back casing.
- Use the separating tool to pry the speaker from its surface.
- Use caution when removing the speaker, you may damage the screen.
- Cut or desolder the wires to replace or repair the speaker.
- Using a P00 Phillips screwdriver, remove the three screws securing the black plastic camera housing and remove it.
- Peel back the beige tape while holding down the camera ribbon cable to prevent tears
- Lift the locking tab that is securing the camera ribbon cable.
- Slide the ribbon cable out from the connector and remove from casing.
- Use a P00 Phillips screwdriver to remove the three screws securing the button board.
- Desolder the contacts on the button board to remove or replace it.
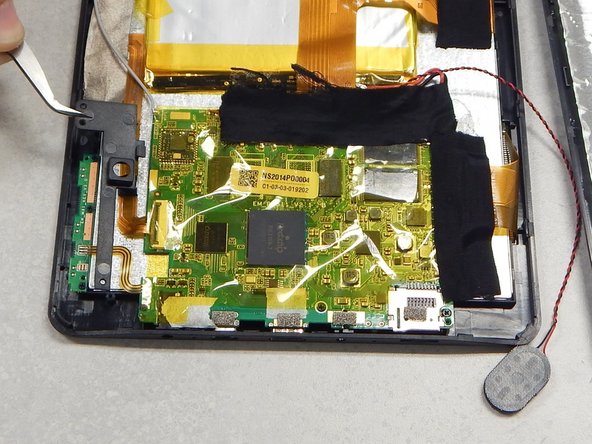
- Peel off the black tape on the battery and main-board.
- Peel off the black tape securing the screen ribbon cable to the back of the screen.
- Use caution to avoid damaging either ribbon cable.
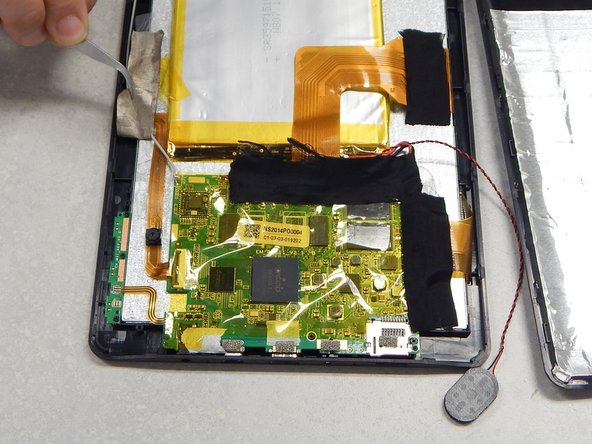
- Slide out the ribbon cable lock that is securing the screen ribbon cable.
- Move the ribbon cable out of the way using tape if necessary.
- Remove the yellow tape securing the battery to the screen.
- Use a plastic card or pick to separate the battery from the screen.
- Do not bend or puncture battery, battery is difficult to separate from screen.
- Cut or desolder the wires on the battery to remove or replace it.
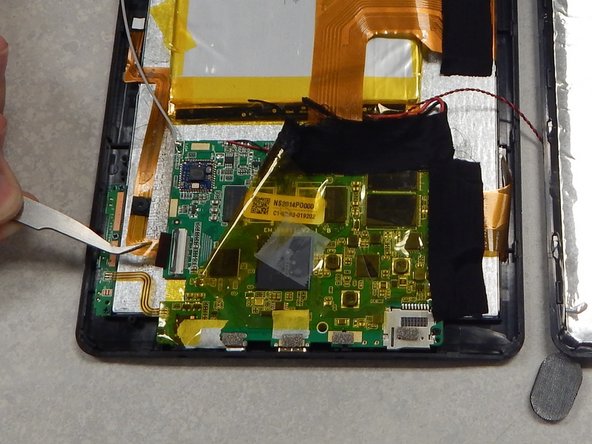
- Peel the WiFi antenna off of the monitor and move out of the way.
- Remove the black tape on the screen and the main-board.
- Lift the ribbon cable lock securing the digitizer ribbon cable.
- Slide out the digitizer ribbon cable and move away from the device, use tape to secure if necessary.
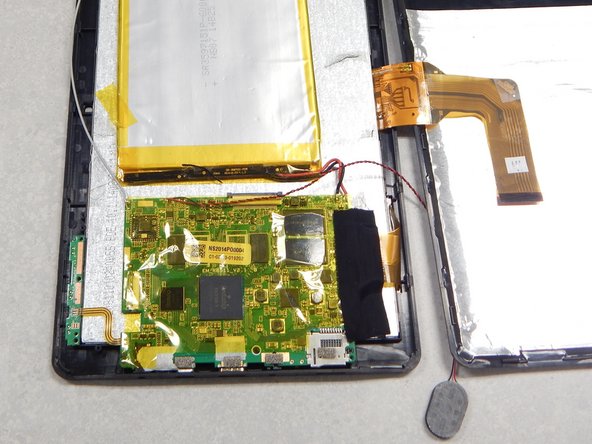
- Use a P00 Phillips screwdriver to remove the three screws securing the main-board to the back casing.
- Lift the main-board up and away from the ports to reveal the microphone.
- Use tweezers to remove the microphone from the black silicone.
- Move the main-board off the screen.
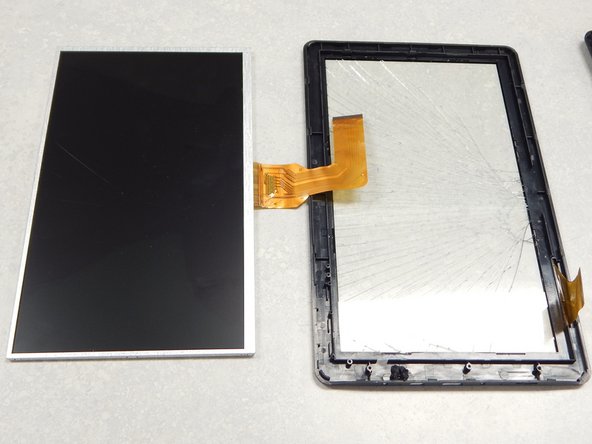
- Use a separator tool to lift the screen from the port side of the casing and remove it.
- To reassemble the device, follow these steps in reverse unless specified otherwise.