Canon PowerShot SX260 HS Flash Assembly Replacement
ID: 40646
Description:
Steps:
- Be sure to always remove the battery from the camera before disassembling to avoid permanent damage.
- The camera has a total of 6 (3 mm) external screws that will need to be removed; 2 on the left side, 2 on the bottom, and 2 on the right side.
- Remove the 2 screws on the left side.
- Remove the 2 screws on the bottom of the camera.
- Remove the 2 screws on the right side of the camera.
- Use your plastic opening tool to gently lift and remove the back face plate.
- After removing the exterior screws, use your fingers to gently lift off the front face plate.
- Next, remove the 2 (3 mm) interior screws on the left side of the camera.
- After removing the interior left screws, use a plastic opening tool to gently pull the top face plate off.
- Next, you will need to remove the dial panel by removing the 2 (3mm) screws on the back side of the camera.
- Gently remove the dial panel with your fingers.
- Remove 1 (3 mm) screw from the flash generator with a Phillips screw driver
- Gently lift the flash generator off of the camera with the plastic opening tool .
- Gently unplug the ribbon cable with your tweezers.
- Be careful not to rip it.
- Using your plastic opening tool to gently move the plug lock from the end of the ribbon cord by lifting it upward.
- Gently remove the ribbon cable from the connector with tweezers.
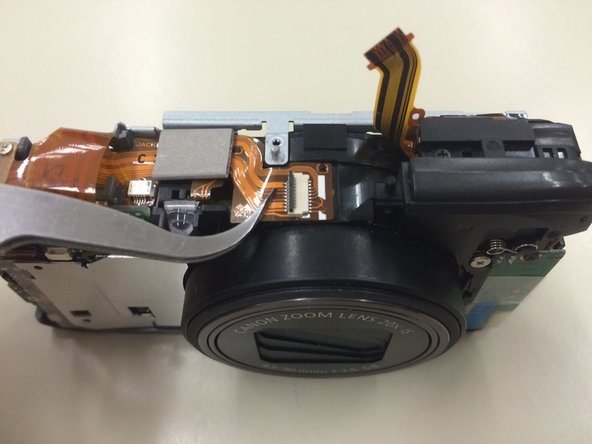
- Gently remove the ribbon cable assembly from the top of the camera with your tweezers.
- This cable is a long piece that runs across the top of the camera.
- The flash assembly is connected to this cable.
- Once removed gently lift out of the camera
- Replace the ribbon cable with the attached flash assembly.