Olympus FE-170 Motherboard Replacement
ID: 40898
Description:
Steps:
- Remove the 2 exposed screws on opposite sides of the camera. Turn the screws counter-clockwise to remove.
- Open the battery compartment and remove the 2 screws in the top of the opening.
- Remove the 2 exposed screws on the bottom of the camera.
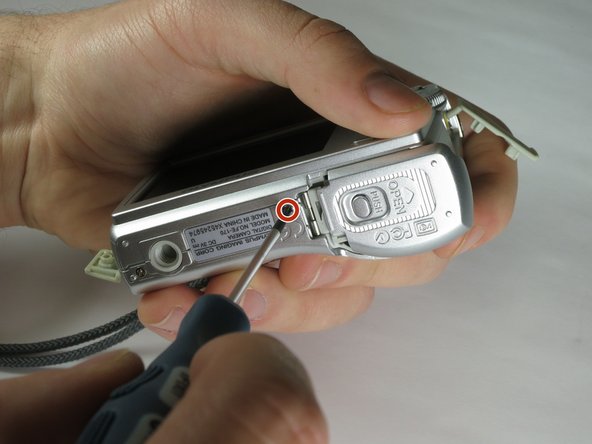
- Uncover the mini-usb dock on the side of the camera and unscrew the screw next to the flap joint
- Uncover the video cable port on the side of the camera and remove the screw
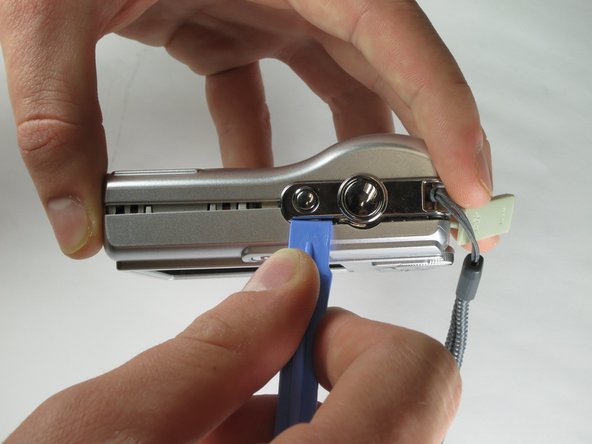
- Carefully slip the head of the plastic opening tool under the panels by finding the crack between the panels. Lightly apply pressure in the shown places at the top and bottom of the camera.
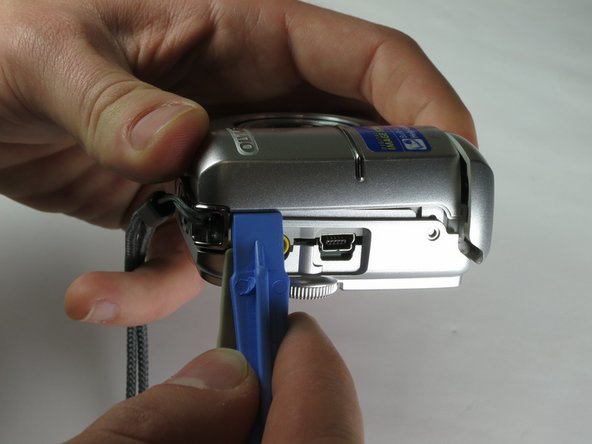
- Loosen the panels on the sides of the camera in the shown places by slipping the plastic opening tool in the crack between the panels. Lightly apply pressure.
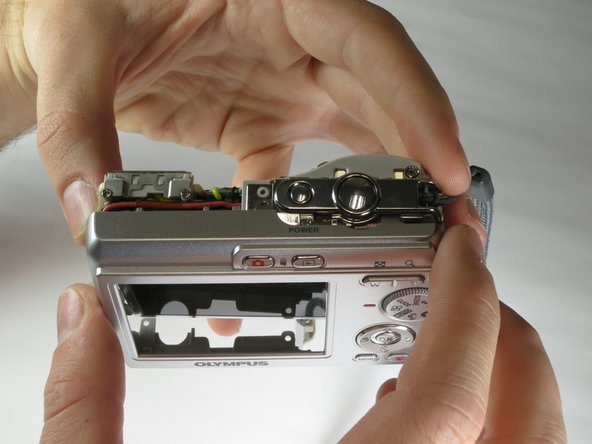
- Ensure that the panels have been loosened. Carefully use hands to pull back and remove the panels.
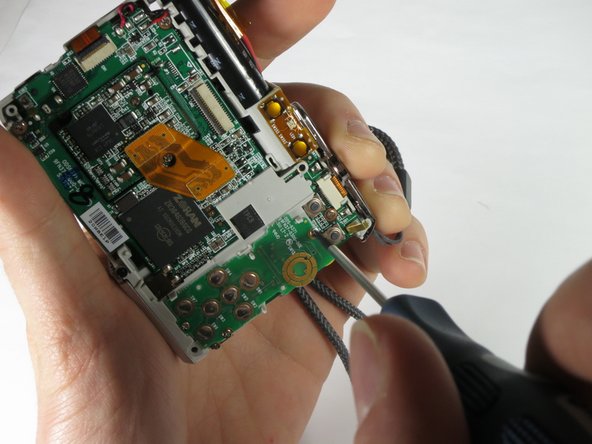
- Remove the three screws holding the outer circuit board in place.
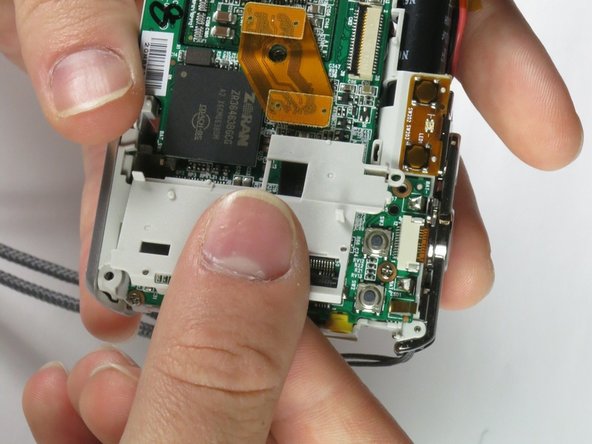
- Use the spudger or your fingers to remove the outer circuit board from the camera.
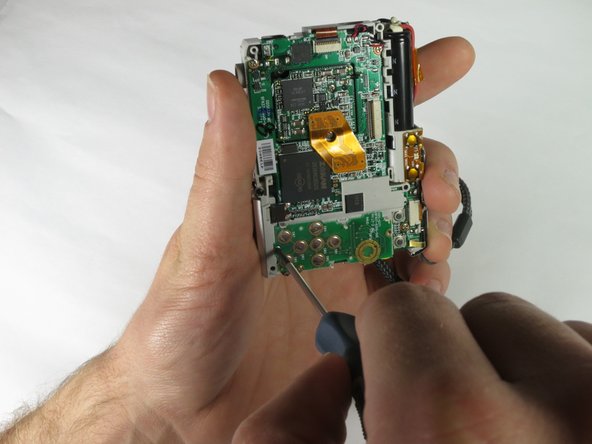
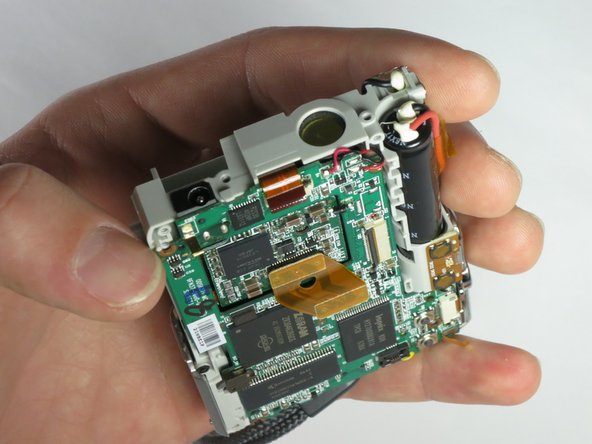
- Use the spudger to pull the plastic tabs shown off of the motherboard.
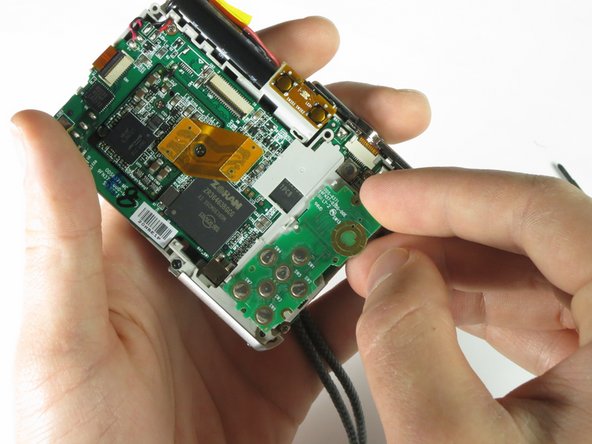
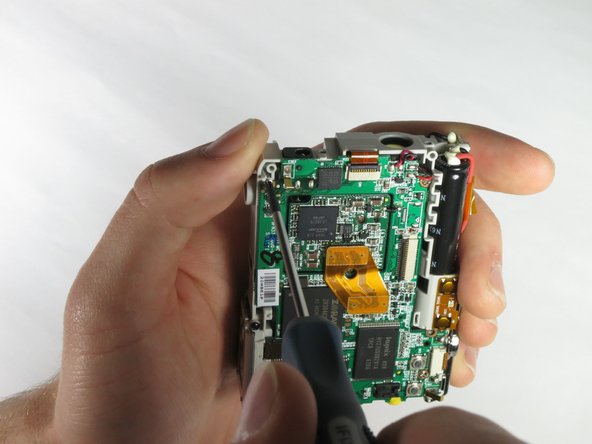
- Gently pull the plastic piece off of the motherboard.
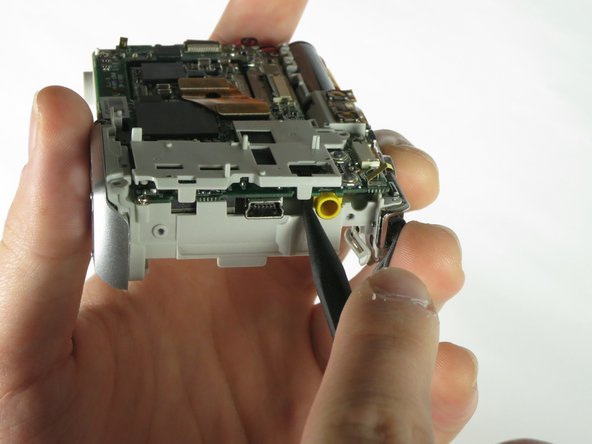
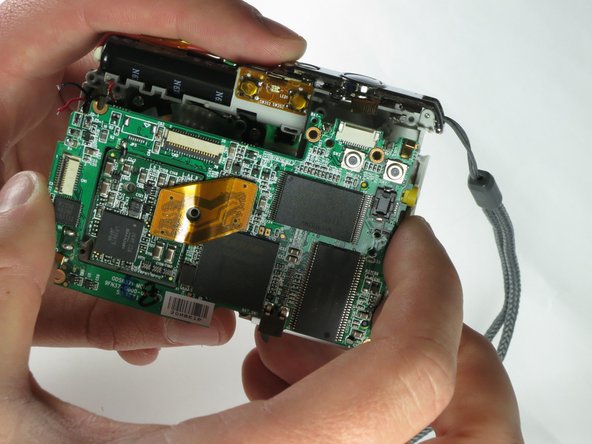
- Remove the screws shown using the 00 philips screwdriver.
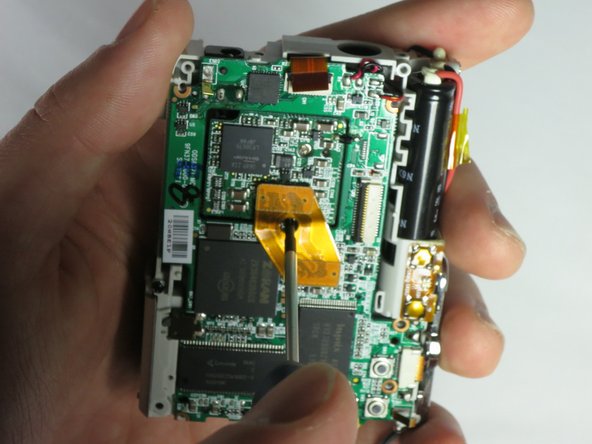
- Use the pointed end of the spudger to release the ribbon cable clasp.
- Remove the ribbon cable from the port using the tweezers.
- Use the tweezers to remove the ribbon cable near the shutter button.
- Next unsolder the connections shown.
- See our soldering guide for help on how to unsolder
- Soldering irons are hot, and will also heat the connection wire. Using the tweezers will protect your fingers from the heat.
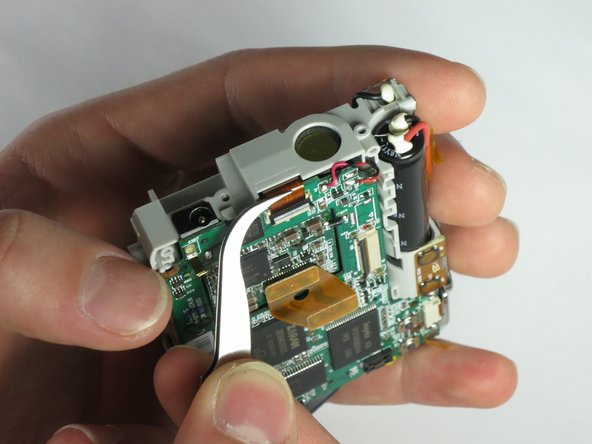
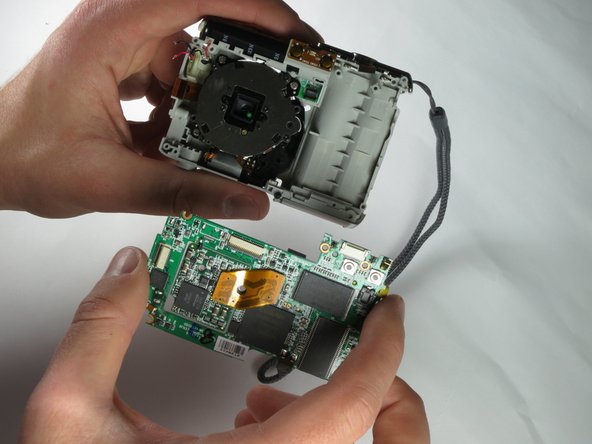
- Gently pull the motherboard (from the bottom first) away from the device.