LG VX8300 Antenna Replacement
ID: 40901
Description: Learn to remove the housing of the LG VX8300...
Steps:
- Power off the device by holding down the red button labeled PWR.
- Be sure that the phone is powered off before touching the battery to avoid danger.
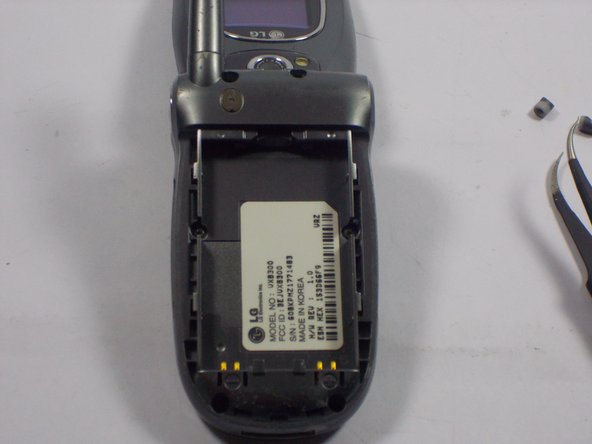
- Remove the battery pack cover by pushing down on the solid lines at the top end of the cover. Slide the cover down while applying the pushing force at the top to remove the cover completely.
- Place your finger into the semicircle gap on top of the battery.
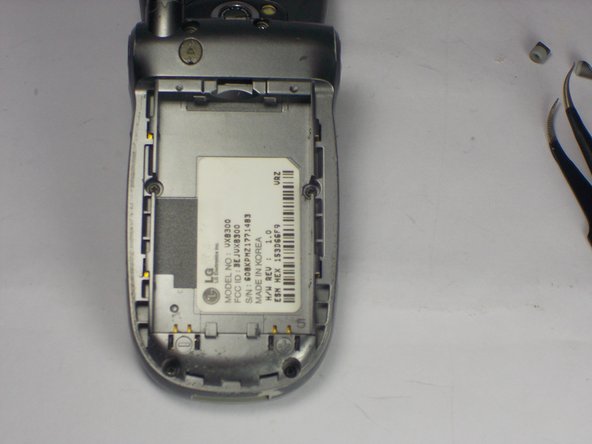
- Apply force downward and out, so the battery pops out of the phone.
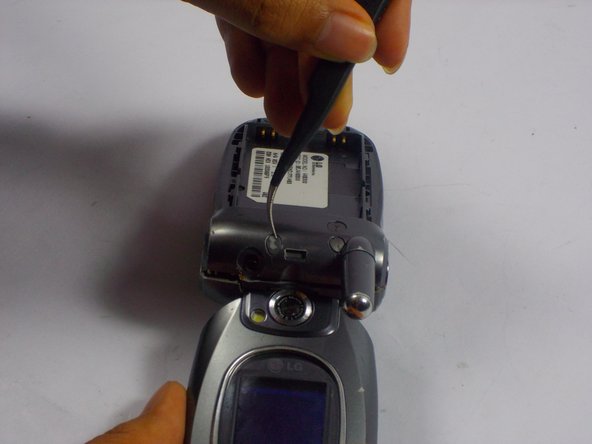
- Locate the two rubber pads covering the screws at the top of the phone near the hinge.
- Use tweezers to lift and remove the rubber pads.
- Use a Phillips #00 screwdriver to remove all four 3mm screws from the back of the phone.
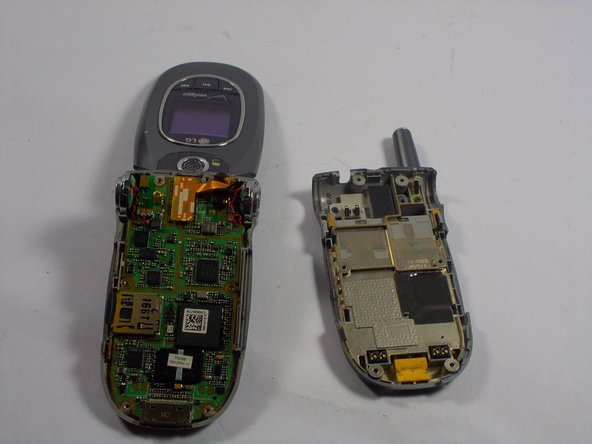
- Use your fingers to gently separate the front plate from the phone. You may need to slide a plastic opening tool along the crevice between the faces to separate it more easily.
- Remove the casing after it has been detached. The logic board is now fully accessible.
- Once the body case is removed, the volume and camera buttons move freely. Ensure all loose pieces remain accounted for.
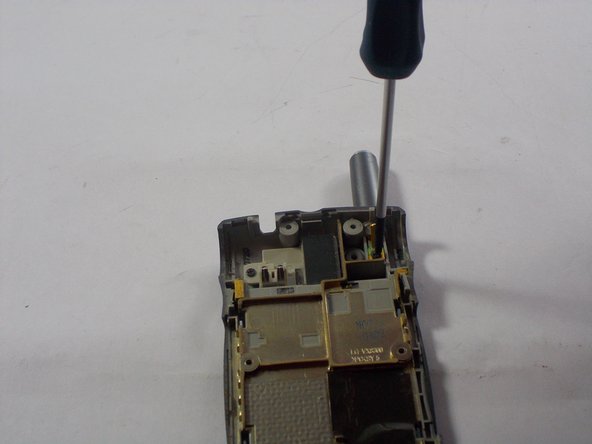
- Place the phone in front of you. With the antenna in the top right corner, and the opened back panel facing up.
- Use a Phillips #00 Screwdriver to remove the single 2mm x 3mm screw. Found on the gold band, just underneath the antenna.
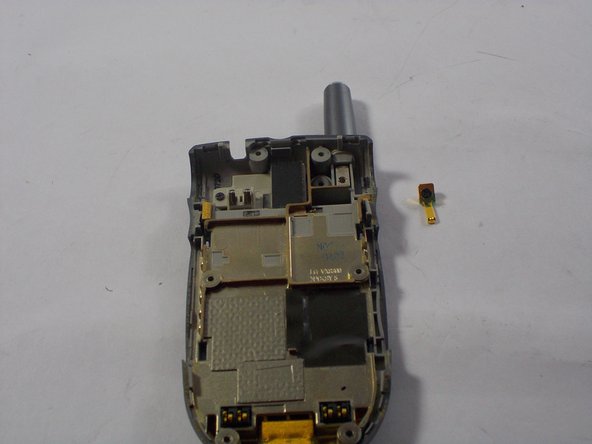
- Remove the antenna by pulling it straight and out of its housing.
- The phone is now ready for a new antenna.
- Insert the new antenna by pushing it straight into its housing on the phone.
- Place the 2mm x 3mm screw back onto the gold band, just underneath the antenna. Use a Phillips #00 Screwdriver to replace the screw that you removed in step one.