Canon Vixia HF S10 Camcorder LCD Screen Replacement
ID: 40955
Description: This guide will show you how to properly...
Steps:
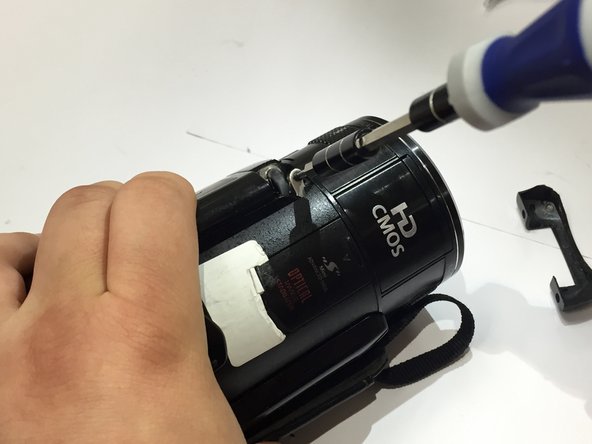
- Turn the camcorder upside down and remove the three 4 mm Phillips #00 screws securing the black plastic case.
- Flip open the LCD screen.
- Remove the three 4 mm Phillips #00 screws securing the black panel plastic case.
- From the inner corner in between the panel and the LCD screen, remove the two 2.5 mm Phillips #00 screws and the single 4 mm Phillips #00 screw.
- Using your fingers, remove the black plastic covering.
- Underneath the covering, you will find a screw hinge.
- Remove the 2.5 mm Phillips #00 screw located at the top of the hinge.
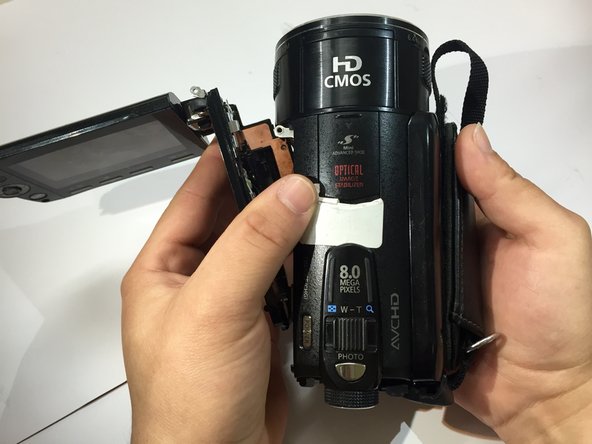
- Remove the panel from the base of the camcorder.
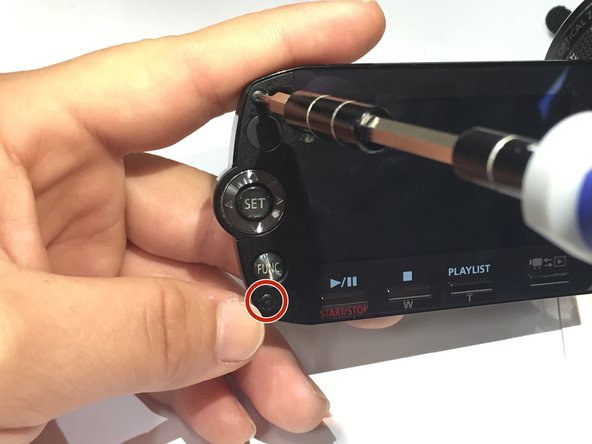
- Use a Phillips #00 screwdriver to remove the 2.5 mm screw from the right side of the plastic case surrounding the LCD screen.
- Remove the two 2.5 mm Phillips #00 screws from the front of the plastic case.
- Use a plastic opening tool to pry off the plastic case surrounding the LCD screen.
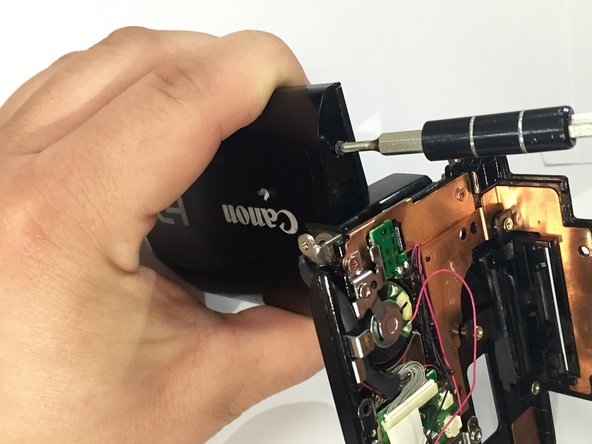
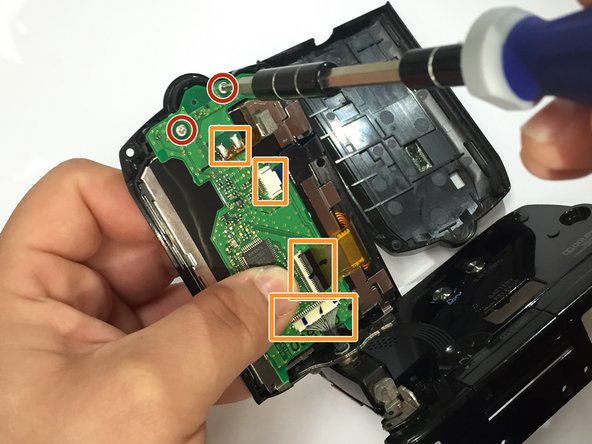
- Use a Phillips #00 screwdriver to remove the two 2.5 mm screws from the motherboard on the back of the LCD screen.
- Disconnect the cables from the motherboard. One of the connectors is soldered. For more details on desoldering connectors, take a look at this guide.
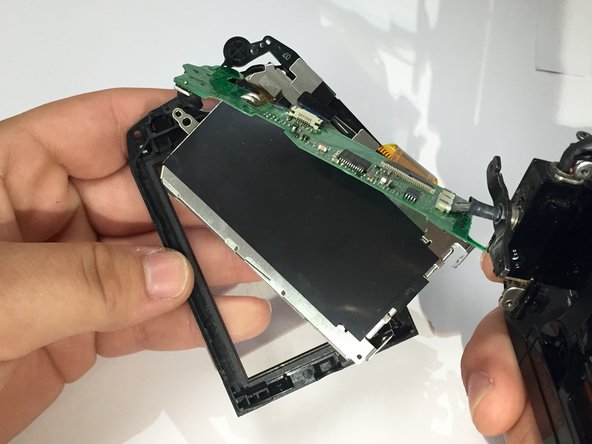
- Gently pull off the motherboard from the LCD screen.
- Remove the LCD screen.