Dell 48x IDE Internal CD-ROM Drive Teardown
ID: 48958
Description: Learn to take apart a Dell 48x IDE Internal...
Steps:
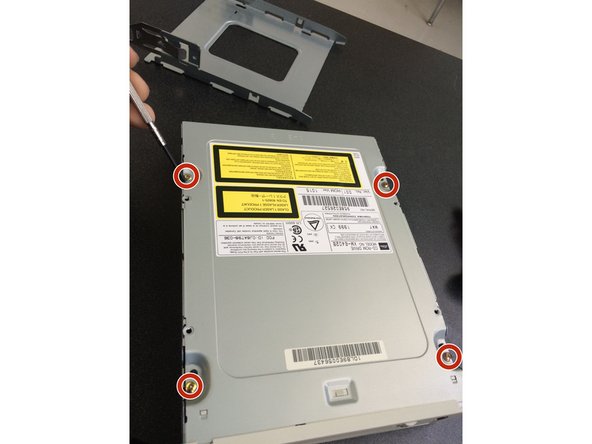
- Unscrew the top four screws.
- Make sure that you don't mix up the screws.
- They are different and you don't want to use the wrong screws.
- Why would they do that?
- Take off the plate that you unscrewed last step
- Put all the parts that you had taken off on the side so you do not lose them
- Unscrew the four screws on the next plate.
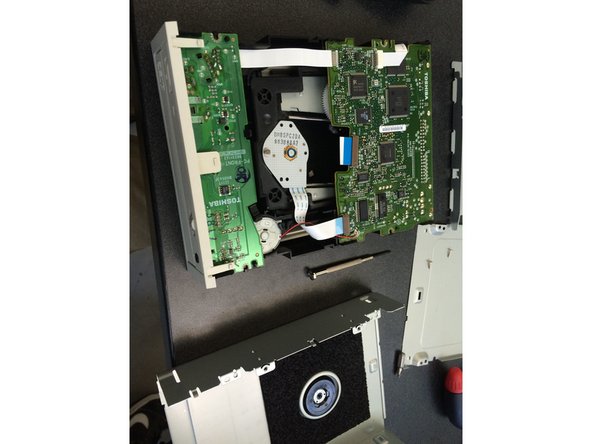
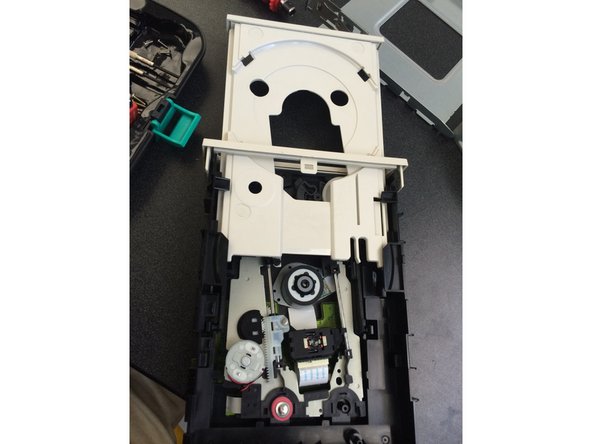
- 4- take off the top plate by lifting the back up and lightly pulling up.
- the picture to the left is what it looks like after you take the plate off.
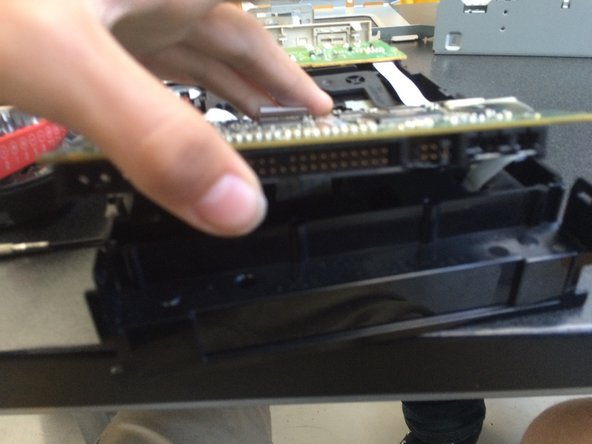
- 5-flip over and push the side tabs in and lift the bottom piece off (it might be hard to do but try not to force it off).
- 6-push piece down and slide the disk piece out.
- 7-what is would look like.
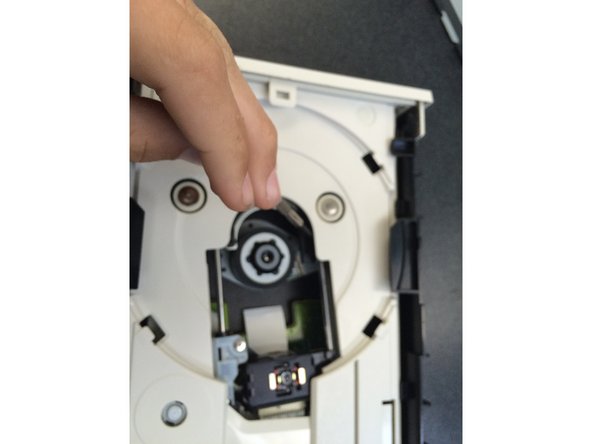
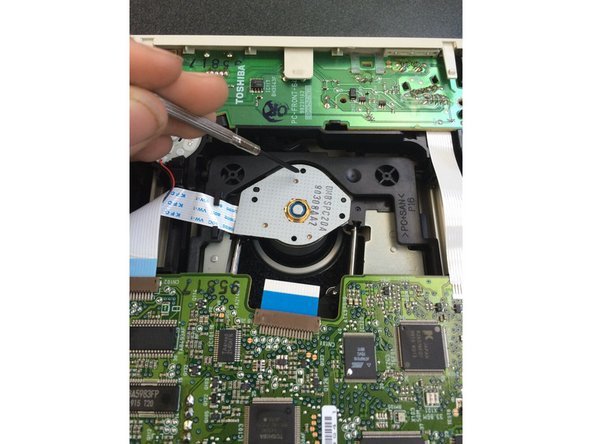
- 8-unscrew the three screws on the spin piece.
- 9- unclip the chip in the front/back then lightly lift the piece up.
- to put this device back together just do the steps backwards, nothing is hard to do.
- be cautious because there are wires under the chip do don't pull hard or you are going to break it.