Replacing Sonos Play 1 Power and Volume switch board.
ID: 49045
Description: If the Sonos Play:1 has a damaged power/volume...
Steps:
- Remove the rubber footing from the bottom of the device. Pry it up from one end using one of the plastic opening tools.
- Once you pry open one end, use precision tweezers to remove rubber footing.
- Using a metal spudger, pry open a corner of the adhesive tape.
- Use precision tweezers to remove the adhesive tape.
- Remove the four 10 mm Torx security #10 screws that hold the base together.
- Remove the base by lifting it vertically away from the bulk of the device.
- Remove the 10 mm Torx security #10 screw that holds down the exterior screen.
- Using precision tweezers, remove the metal bracket.
- Remove the exterior screen by lifting it away from the bulk of the device.
- Remove the four 9 mm Torx Security #9 head screws. There are two on each side.
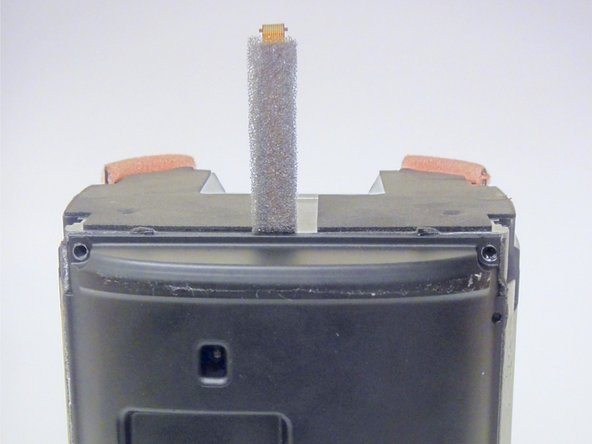
- Using a plastic opening tool, pry open the top cap containing the power and volume button.
- Vertically remove the top cap.
- Be sure to not jerk the top cap when removing , as to not damage the cable linking the switchboard to the motherboard.
- Using a plastic opening tool, pry open the circuit flap.
- Once flap is loosened, use your hand to remove the circuit wire.
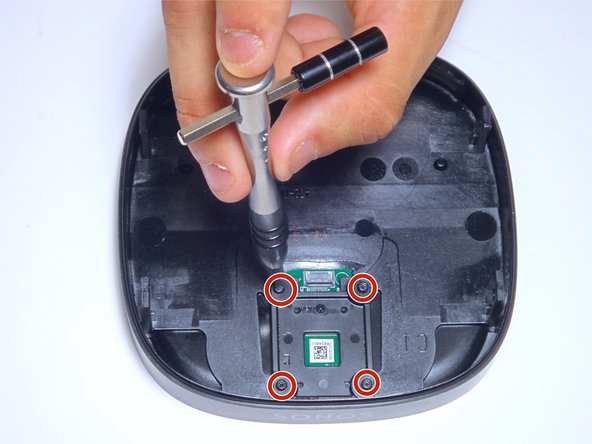
- Using a screwdriver with a Torx T6 bit, remove the four highlighted 7mm screws.
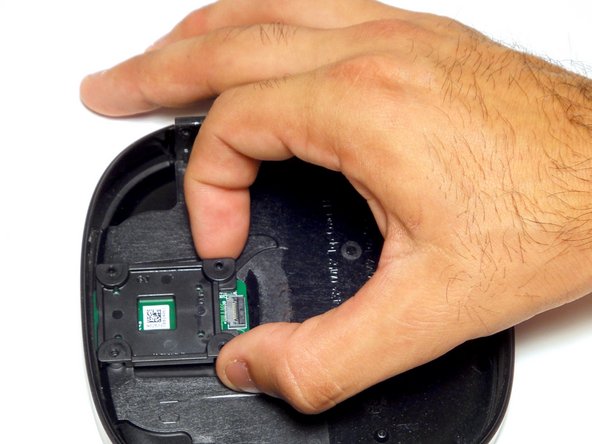
- Using you fingers remove the protective plastic plate covering the device.
- Using your fingers remove the plastic cover plate securing the switchboard.
- Using your fingers, remove the power/volume switch board.