Sony Cyber-shot DSC-HX300 LCD Screen Replacement
ID: 50289
Description: Use this guide to replace the LCD screen of...
Steps:
- Make sure the camera is powered off
- Turn the camera upside down. This is a view of the bottom of the camera.
- Push battery cover away from the camera.
- Push the blue tab that secures the battery. The battery will then spring out.
- Remove the battery.
- Working on your device while it is turned on may result in electric shock. Make sure to shut down the camera, remove the battery, and unplug your device before you begin.
- Use a Phillips head screwdriver to remove one 2 cm screw located on the inside portion of the LCD hinge.
- While using a plastic opening tool, carefully remove the plastic housing that surrounds the hinge.
- Using a small Phillips head screwdriver, remove the (2) 2 cm screws on the back of the LCD display, as indicated in the photo.
- Turn the camera on its side to access the last remaining 2 cm Phillips head screw holding the LCD case together.
- Remove the plastic cover from the back of the LCD display by simply sliding it up and off of the camera.
- Using a plastic opening tool, carefully remove the plastic housing that surrounds the LCD display.
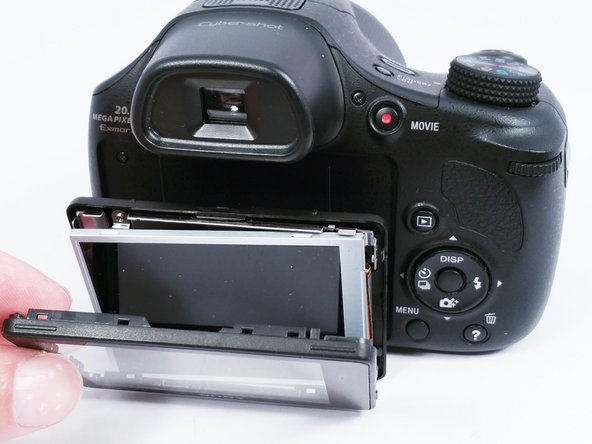
- Once the plastic housing is separated, disconnect the ribbon wire located on the back of the LCD display. This can be achieved by pulling up lightly on the brown bar that locks the ribbon wire to the circuit board..
- Disconnect the remaining two ribbon wires the same way. They are located on the right, rear side of the LCD frame.
- Using a small Phillips head screwdriver, remove the last 2 cm screw that mounts the circuit board to the metal LCD display frame.
- Once the circuit board is removed the replacement parts can be installed in the reverse order.