iRobot Roomba 560 "Clean" Button Replacement
ID: 52108
Description: This guide is applicable, with minor...
Steps:
- Rotate the Roomba so the bumper is in front of you.
- Using the Phillips #1 driver, remove the ten 10 mm screws on the bumper that run along the outer edge of the Roomba.
- Lift the thin top cover that holds the bumper in place.
- Gently lift the device upwards from the bumper to detach these two pieces.
- There are wires connecting the bumper to the device. Be careful while lifting the device off the bumper as to not damage these wires.
- Lift the bumper upwards for easier access.
- Unscrew the two 5 mm screws that connect the red and white wires to the device using the Phillips #1 driver.
- The sensor can be unplugged from the motherboard so the bumper isn't hanging off the Roomba.
- Lift the circular black panel off the lens.
- Lift the clear lens that is on the other side of the bumper and replace it with a new lens.
- Turn the device over so that it is face up with the vacuum bin in front of you .
- Press the button of the vacuum bin and pull out the bin from the device.
- Use your hands to unhook the snaps between the silver panel from the black panel located where the vacuum bin was.
- Using the plastic opening tool, go around the outer edges of the silver panel and unhook the snaps holding it in place.
- When prying open the top panel from the inner casing, do so gently. Never "force" the top panel to snap off, or you could risk breaking pieces.
- Lift the black handle and use the plastic opening tool to unhook the snaps underneath it.
- Use the same tool to pry the silver cover from the black central control board.
- Lift the silver panel off of the black panel.
- Use a Phillips #2 screwdriver to remove the following screws:
- Two 7.5 mm-long screws at either end of the semicircular handle
- Ten 5 mm-long screws
- Use a Phillips #1 screwdriver to remove the 5 mm-long screw at the bottom of the control board.
- Lift the black panel off the device.
- This will provide access to the motherboard and black circular control panel.
- Flip the Roomba upside down.
- Unscrew the single 5 mm screw on the yellow side sweeper using the Phillips #2 driver.
- Lift the yellow side sweeper, removing it from the device.
- Using the Phillips #2 driver, remove the four 10 mm screws that hold the back panel in place.
- Lift up the back panel to remove it from the device.
- Lift up the yellow battery by pulling up the green tabs on its side.
- Handle the battery with care.
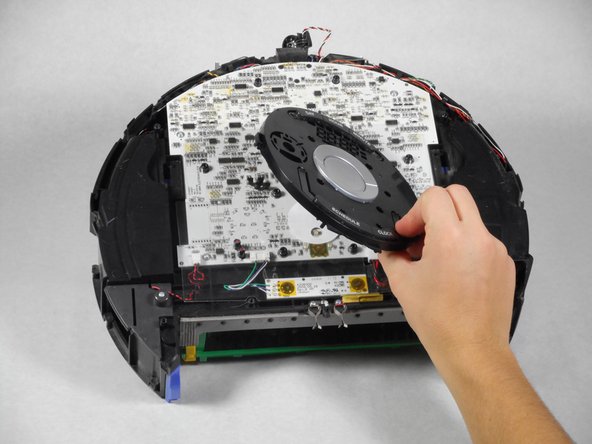
- Remove the outer silver circle, black plastic cover, and black film from the central control board in that order.
- All of these elements are easy to remove and do not require a specialized tool.
- Using the Phillips #1 driver, unscrew the four 10 mm screws that surround the clean button.
- Remove the top of the control board.
- Flip the control board over.
- Using the Phillips #1 driver, unscrew the two bottommost 5 mm screws.
- Lift off the button, and repair/replace the damaged plastic portion of the "clean" button.