iRobot Roomba 560 Fan Replacement
ID: 52113
Description: This guide outlines how to replace the entire...
Steps:
- Press the black circular button on the back end of the Roomba and pull the bin out towards you to remove the vacuum bin.
- Lay the vacuum bin down and remove the six 15 mm screws around the outside of the vacuum bin using the Phillips JIS #1 driver.
- Remove the top of the vacuum bin by pulling it straight up.
- The bin is composed of two parts (the clear top casing and the red bottom filter). To avoid a mess, be careful to not let these two pieces detach, unless over a trash bin.
- Remove the three 10 mm screws that surround the fan using the Phillips JIS #1 driver.
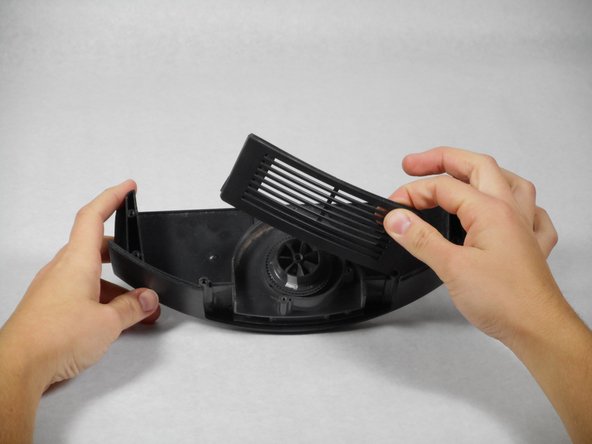
- Remove the casing that surrounds the fan by pulling it straight up.
- The casing is composed of 2 parts (the large top casing, and a small air filter). If these parts detach, they are very easy to put back together. Do not lose the air filter.
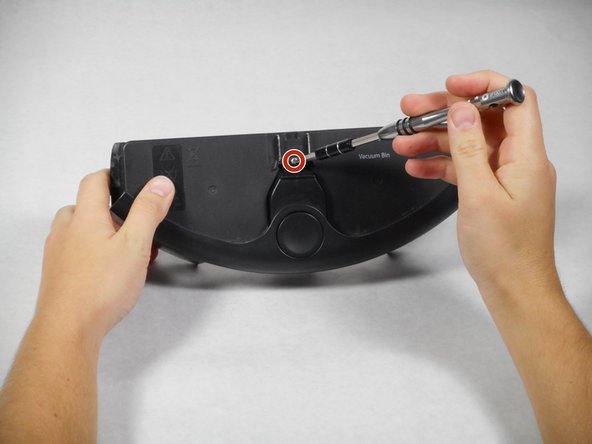
- Turn over the remainder of the fan casing and remove the single 15mm screw, using the Phillips JIS #1 screwdriver.
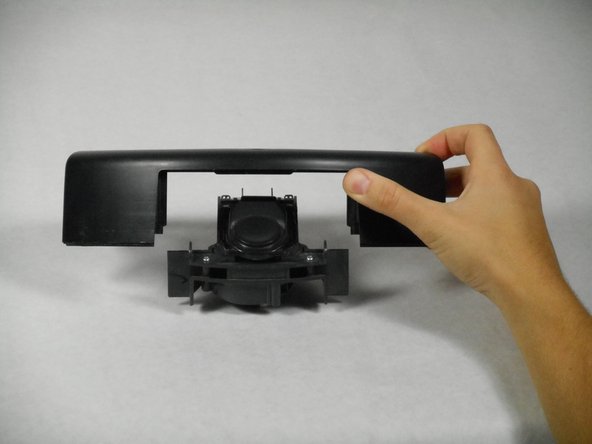
- Remove the casing from the fan and battery component by pulling it straight up.
- Remove the small black button from the top of the battery.
- Save the spring and the button cover. The remainder of the fan assembly (yellow motor and the black housing) will need to be replaced as a unit.