HP Envy 700-030qe CD Drive Replacement
ID: 52136
Description: In order to replace a broken CD Drive, this...
Steps:
- Make sure that you are wearing your anti-static wristband. This will prevent damaging any internal parts with any built up static electricity.
- Unscrew the 10.5mm screw on the left of the desktop using your hand.
- If it is too tight you may use a torx-head screwdriver or a flat-head screwdriver.
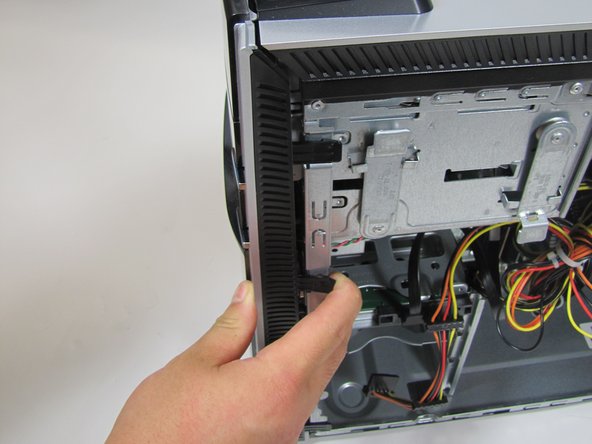
- Remove the side panel by sliding it towards the back of the desktop and pulling up on it as shown.
- For the next step, remove the CD drive power cable.
- Reorient the device with the front pointing away from you.
- Next, remove the SATA interface cable. It is directly next to the power cable on the CD drive.
- Now pull up and swing the mounting lever in. The lever closest to the front mounts the top drive slot, and the lever farther away mounts the bottom one.
- Now stand your desktop up and remove the 3 clips on the right side of the front panel.
- Then pull the front panel off, pulling from the side that the clips are on.
- Now you can pull the CD drive straight out of the casing!