Sprout Channel Cubby Digitizer Replacement
ID: 52169
Description: When the screen cracks but keeps displaying...
Steps:
- Use an opening tool to push in and release sixteen small plastic clips around the edge of the case. As the clips are released, gradually pry the case apart.
- It is easiest to start on the corners.
- Once opened, carefully peel back the black electric tape around the digitizer.
- Unclasp the electrical plastic strip by gently pulling up on the white colored clasp.
- Unscrew the five screws holding down the motherboard.
- Once all five screws are removed, you should be able to lift up the motherboard.
- Remove the four remaining screws.
- This can be done with the battery still attached but is easier if it is unattached.
- Remove the metal sheet covering the screen and digitizer.
- Removing the screen is a very fragile process and needs to be done slowly. The nylon spudger is the best tool for this.
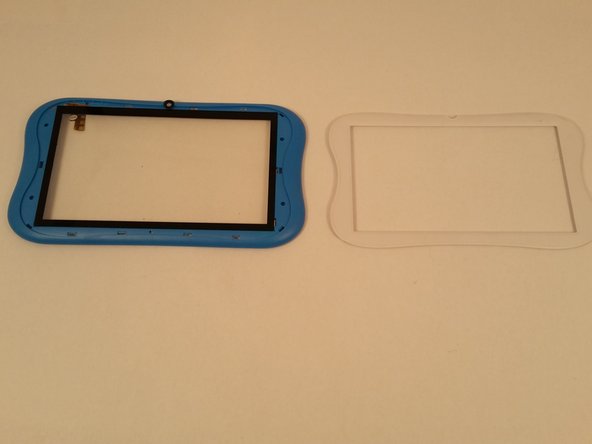
- Remove all of the white pegs located along the perimeter of the plastic. You'll need to remove all of the pegs to remove the white front face.
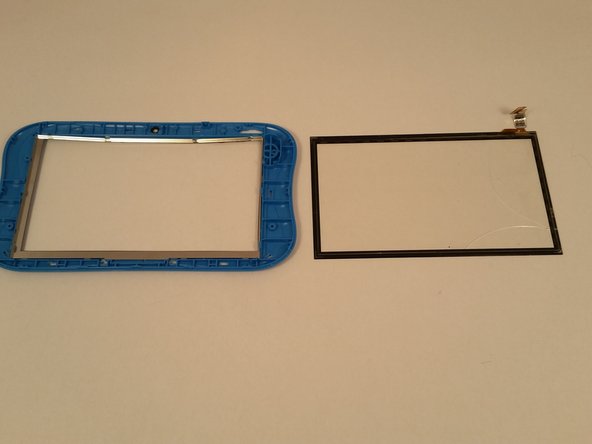
- To take out the digitizer, remove the connector ribbon from the plastic and then slowly apply pressure to the corner and edges of the digitizer.