Canon PowerShot ELPH 310 HS Lens Replacement
ID: 52208
Description: The Cannon PowerShot ELPH 310 HS may experience...
Steps:
- Use the Phillips #000 screwdriver from the iFixit tool kit to unscrew the two image stabilizer panel’s 2 mm Phillips head screws.
- Using your hands, remove the image stabilizer panel.
- Unscrew the two 4 mm Phillips head screws from the bottom side of the camera.
- Using your hand, open the battery portal located on the bottom left of the camera. The screw is in the bottom left of the battery portal.
- Unscrew the hidden 4mm Phillips head screw inside the battery portal.
- Remove the HDMI side panel with your hands.
- Unscrew the four 4 mm Phillips head screws from the inside of the camera.
- The back side of the camera should pop off or be removed by hand.
- Unscrew the one 3 mm Phillips head screw on the top of the camera.
- Manually remove the front panel from the camera.
- Using your hands, remove the metal piece (surrounding the right side of the screen) from the right side of the camera.
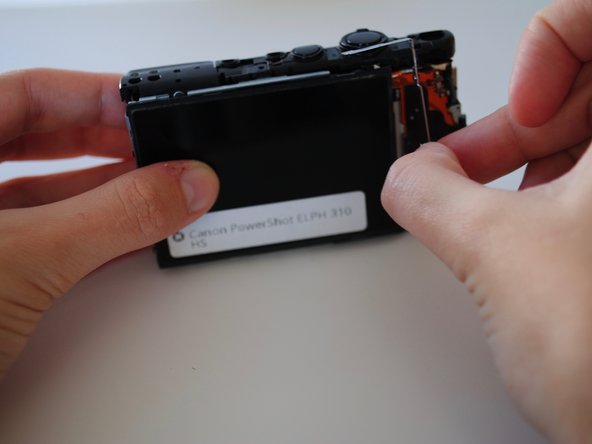
- Using your hands, lift up the screen.
- The screen is fragile!
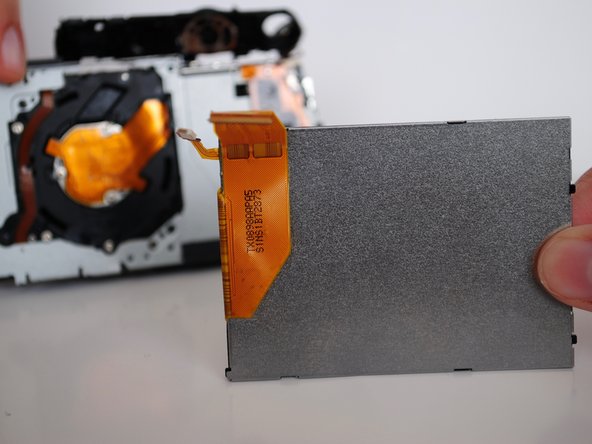
- The strip tears easily!
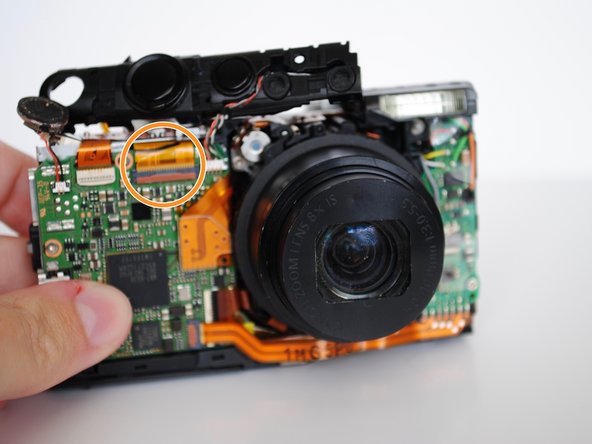
- Manually lift the shutter button plate and remove the white ZIF connector, which is the white clasp underneath.
- On the front of the camera, using your fingers, undo the orange ribbon from the gray clasp and pull the ribbon through the shutter deck.
- On the front motherboard, unscrew the one bottom right 3 mm Phillips head screw.
- Unscrew the four 3 mm Phillips head screws attached to the metal casing on the back of the camera, behind where the LCD screen once was.
- Using your hands, carefully lift the flash housing up and remove it from the area.
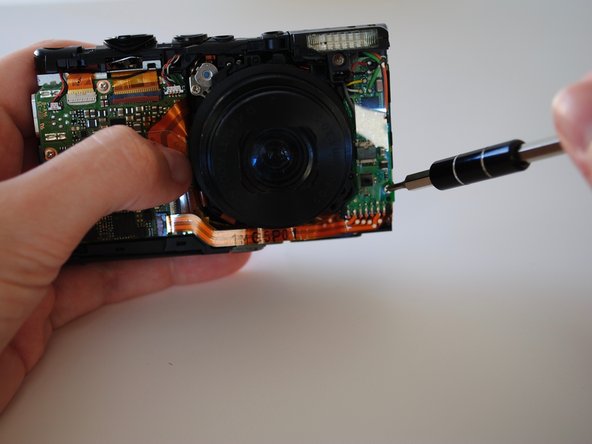
- Using a plastic spudger, remove the bottom front ZIF connector.
- Using your hands, carefully remove the center ribbon.
- Manually remove the lens.