Black and Decker TO1303SB Door Spring Removal/Replacement
ID: 52209
Description: This guide will help repair the spring in your...
Steps:
- Remove the six 9.5mm screws on the back panel using a #2 Phillips screwdriver.
- Remove the two 13mm screws, located between the feet on the bottom of the cover, using a Torx T15 screw driver.
- On the TO1313SB, a Security Torx T15 driver is required — the screws have a center pin that prevents use of a regular T15 driver.
- Using the metal spudger, carefully pry out the rubber base on each foot to access the screws.
- Remove the 11.5 mm screws using a #2 Phillips screwdriver.
- Remove the back cover by gently pulling the sides of the cover apart from the rest of the oven. Then, tilt the cover towards the face and pull back at an upward angle. The cover should slide right off.
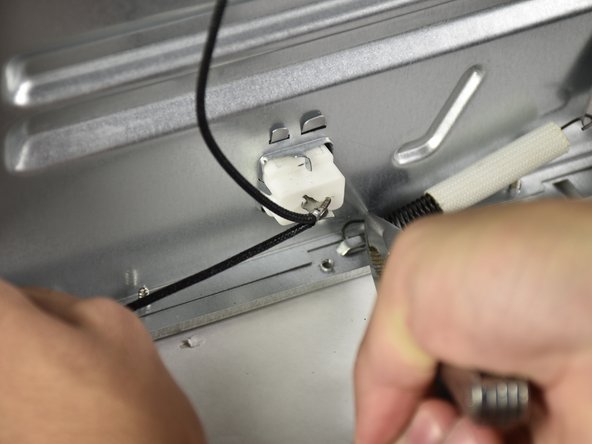
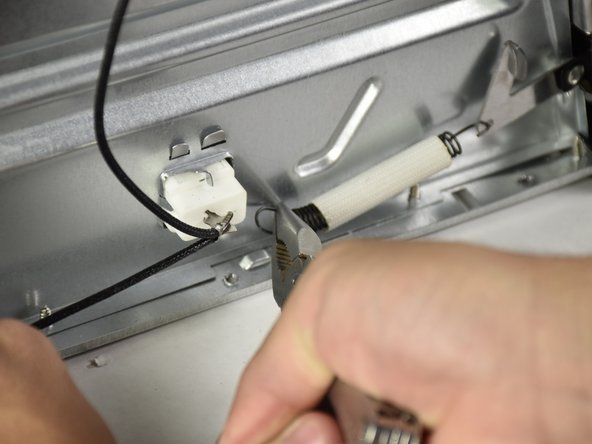
- With the needle nose pliers, grasp the hook of the rear spring as close as you can to the coils. Stretch the spring back and, with a twisting motion, pull the hook out of its catch.
- It is recommended to close the door before doing this.
- Slowly relieve the tension after pulling it out of the catch or else it may damage the spring attachment.
- Pull the front hook out of the spring attachment.
- When replacing the spring, it is recommended to start by reattaching the hook onto the rear catch, then the front spring attachment. Attaching to the front spring attachment first will cause unnecessary stress to the attachment and may cause it to deform.