HP EliteOne 800 G1 Power Supply Replacement
ID: 52222
Description: This guide is to be used in the case of a power...
Steps:
- Place computer with the screen down on a flat surface.
- Push the two locking latches to the unlocked position.
- Push the cover toward the top of the computer and lift up.
- Press locking latch on the bottom of the base of the stand.
- Pull the plastic cover off of the stand.
- Use a Torx T15 driver and stick it through the holes on the stand in order to remove the two 12mm screws on the back of the main unit.
- Tilt stand and lift up to remove it.
- Use a Torx T15 driver to remove the single 10mm screw on the back panel.
- Pull the back panel toward the bottom of the device to remove it.
- Use a Torx T15 driver to remove the four 10mm screws on the VESA mount cover.
- Lift up on the VESA mount cover to remove it.
- Disconnect the power supply's black and yellow cable from the motherboard.
- Use a Torx T15 driver to remove the two 8mm screws on either side of the power supply.
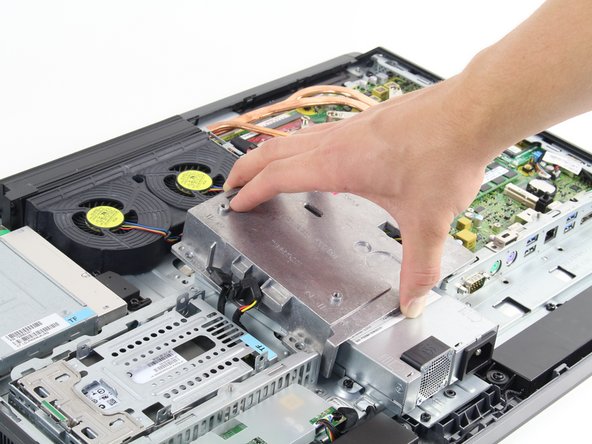
- Lift the power supply from the case to remove it.