Lenovo Yoga 2 11" Screen Replacement
ID: 52228
Description: To replace the screen you need to make sure...
Steps:
- Make sure to unplug the device and disconnect the battery to avoid injury.
- Locate the small rubber rectangles on either side of the computer, under the screen.
- Underneath each of these rectangles is a 3mm screw. Using a Philips 00 screwdriver, take out these screws.
- Flip keyboard under the screen for ease of repair.
- Using a plastic opening tool, carefully remove the small plastic piece at the bottom of the screen.
- Using a Philips 00 Screwdriver, remove the nine screws of varying sizes that connect the screen to the rest of the computer (four near each of the hinges, one in the center)
- Use caution when removing the screen from its back, as the screen is pretty fragile.
- Open the computer and move the hinges up, then move the screen down. Hinges have to be up before you try to remove the screen.
- Hold the back side of the display panel firmly in place, and slide the screen up to unlock plastic tabs on the two halves of the display.
- Note the open end of the hole where the screws are removed.
- On some models, if you try to pry the two halves apart instead of sliding, it will break most of the tabs and the screen will not hold together when reassembled.
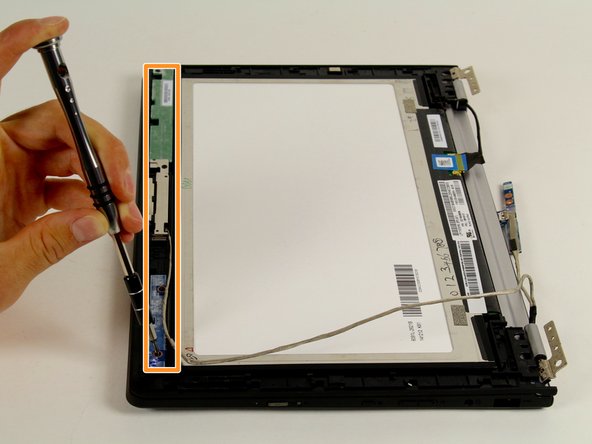
- Using a Philips 00 Screwdriver, remove the four screws of varying sizes that connect the screen to other components of the computer.
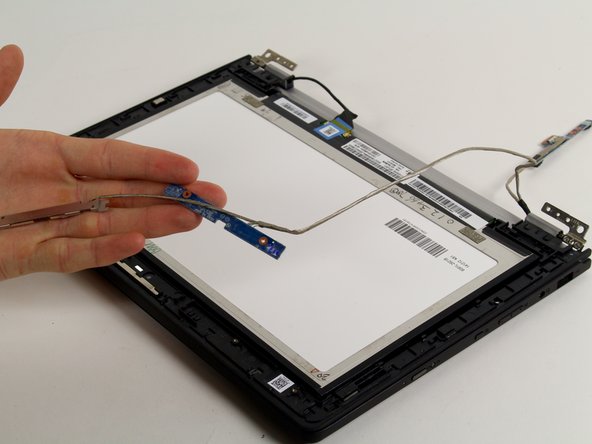
- Once the screws have been removed, take out the components of the computer that are connected with wires.
- Once the screen is completely free from the rest of the computer, you are able to remove and replace it.