Unbranded UB-15MS10 Back Camera Replacement
ID: 52240
Description: This guide explains how to replace the back...
Steps:
- Remove the cover over the Micro SD outlet by using a plastic opening tool to pry open and push out the cover panel.
- Remove the two 4-mm #0 screws from the inside of the Micro SD compartment.
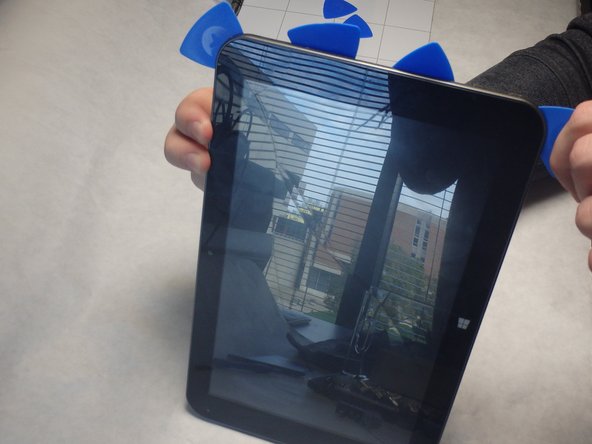
- Insert blue guitar picks in the crease between the top and bottom panels starting on the same end as the Micro SD slot.
- Inserting the picks directly under the Micro SD compartment was the easiest place to get started. It still requires some force.
- Insert the black spudger between the guitar picks in order to pry open gaps between the blue guitar picks.
- As the gaps open, slide the guitar picks along the sides to separate the panels.
- Pry all four sides apart using the blue guitar picks and the black spudger until they can easily be pried apart by hand.
- Remove the small piece of black tape.
- Remove the black 4-mm #0 screw.
- To finish removing the camera, disconnect the camera ribbon from the white ZIF connector on the motherboard.
- There are two very small prongs on the side which need to be pushed towards the center of the connector to remove it.