Asus Zenbook UX32VD Hard Drive Replacement
ID: 52270
Description: Replace or upgrade your hard drive in your...
Steps:
- Remove the twelve 3 mm bottom panel screws with a T5 Torx Screwdriver.
- Use a plastic opening tool to pry along the perimeter of the bottom panel until it can be easily removed.
- Remove the bottom panel from the body of the laptop.
- Set aside the bottom panel.
- Remove the eight 3 mm Phillips #0 screws on the bottom panel.
- Pry up each side of the flat connectors by hand or with a plastic opening tool.
- Lift the connector straight up from its socket.
- Unplug the two bundled cable connectors on each side of the battery.
- Pull the cable away from the connector in the same direction as the individual wires are running.
- Pull evenly on the full width of the cable so that no individual wires are overly strained.
- Remove the battery completely.
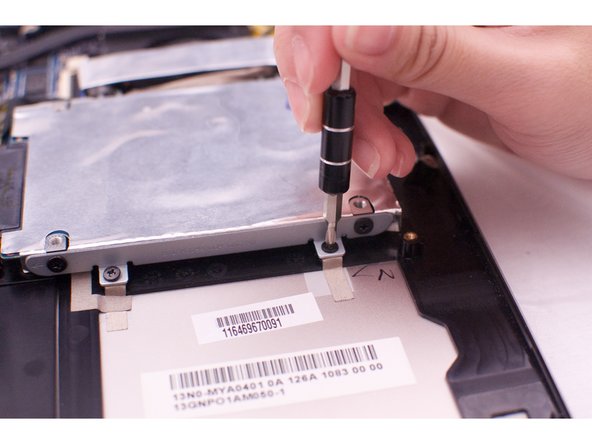
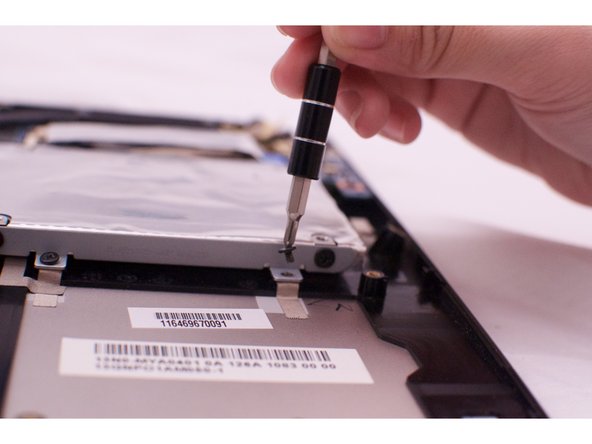
- Remove the four 3mm hard drive screws with a Phillips #0 Screwdriver.
- Lift the hard drive slightly and gently pull the hard drive from the socket.
- Do not lift the hard drive too high. Doing so could damage the hard drive or other internal components of the laptop.
- Remove the hard drive completely.