Sony Xperia Z5 Teardown
ID: 52300
Description: This guides will show you how to disassemble...
Steps:
- Remove SIM card tray.
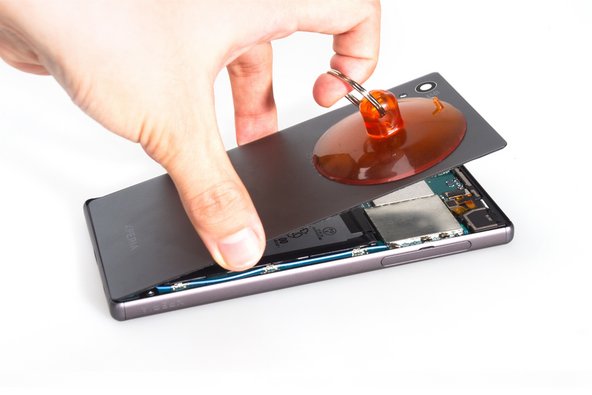
- Heat the back cover to soften the adhesive.
- Place the suction cup and insert metal opening tool to open a gap from top side.
- Insert the guitar picks and slide it to cut the adhesive underneath.
- Remove back cover. The back cover is glass, so only use a sucker if you're experienced. otherwise use a small blade to lift off the back while the glue is soft.
- Release battery connector and pull off the adhesive tape underneath.
- Pry up battery.
- Release rear camera connector, front camera connector, audio jack flex connector and main flex connector on the motherboard and remove the screws there.
- Take away the plastic bracket.
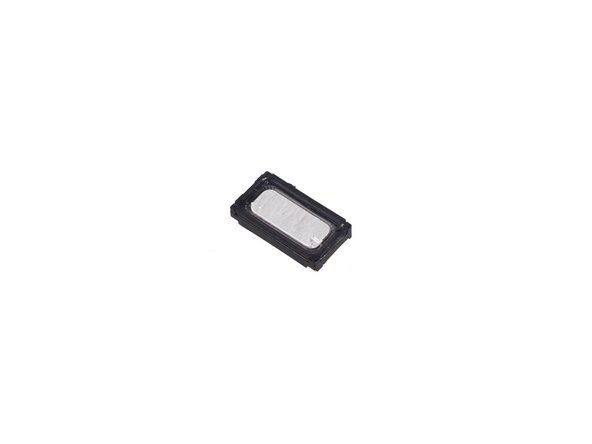
- Remove metal cover securing loudspeaker and twist off screws.
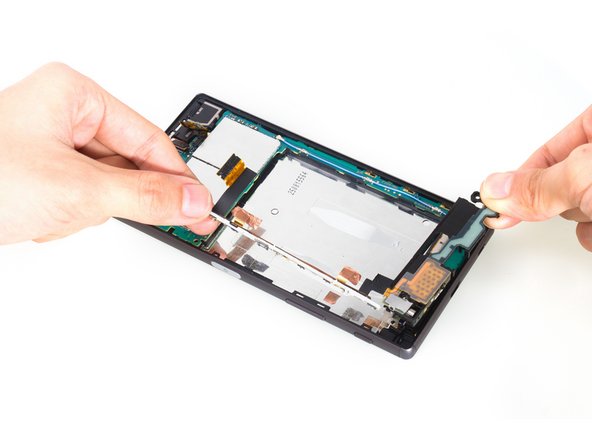
- Pry up and loosen the bottom side of main flex assembly.
- Remove main flex. ( Attention: the fingerprint sensor connector is here, be careful to loosen it)
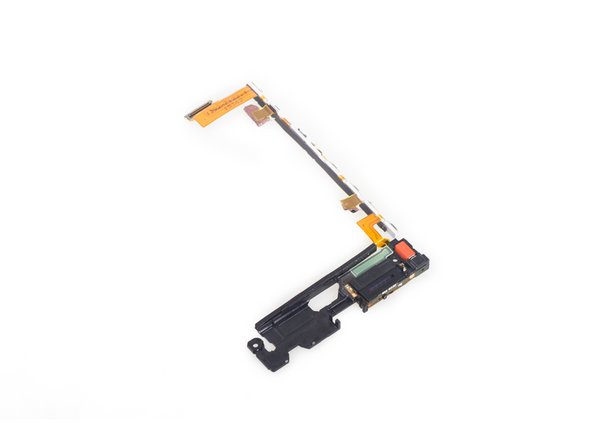
- This is main flex assembly. (It comes with loudspeaker and vibration motor )
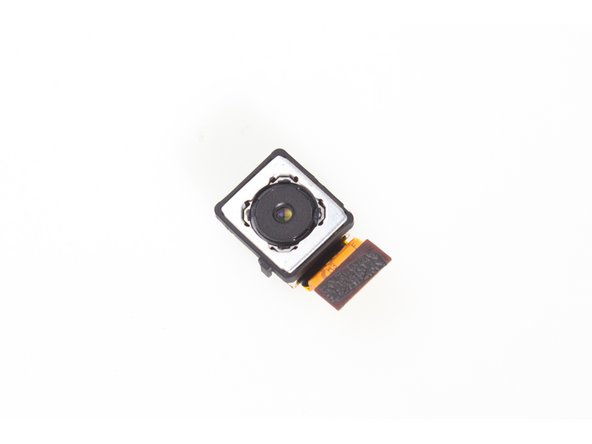
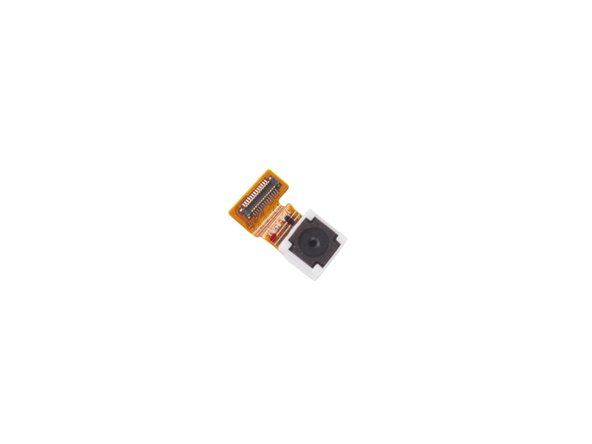
- Remove rear camera.
- Remove that securing bracket, then remove front camera.
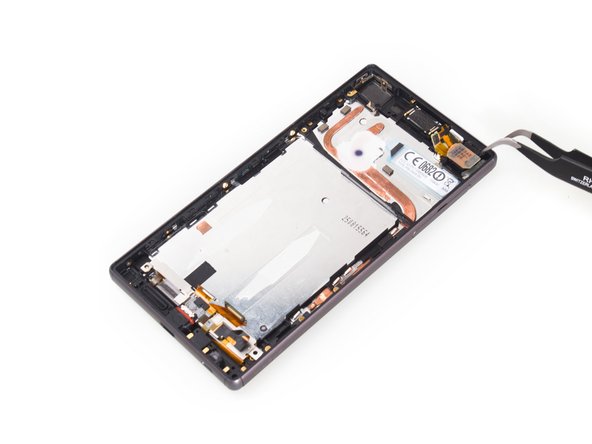
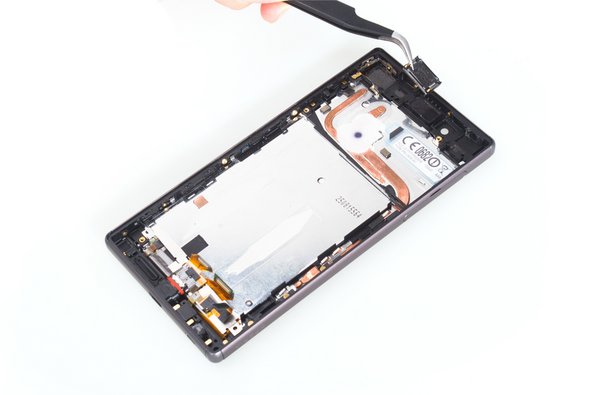
- Release connectors on the motherboard.
- Remove motherboard.
- Remover cover bracket on the audio jack.
- Cut adhesive at the top of the audio jack and noise canceling mic, then remove it.
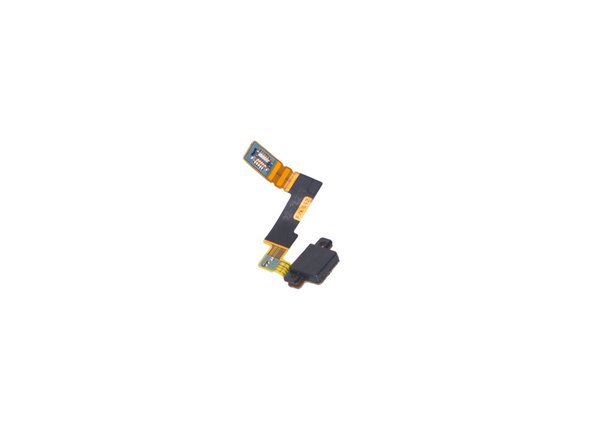
- This is audio jack flex coming with noise canceling mic.
- Cut the adhesive underneath the earpiece and remove the earpiece.
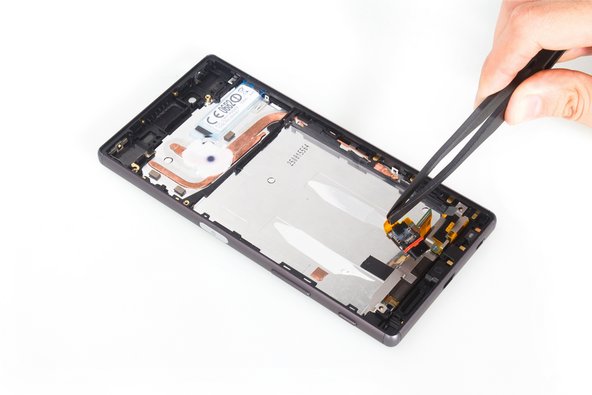
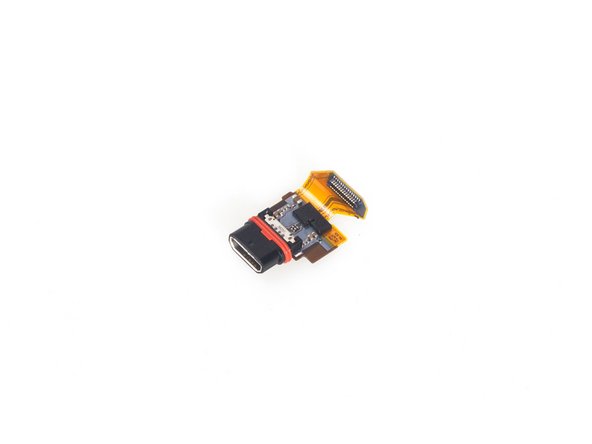
- Push the charging port flex out of the slot and remove it.
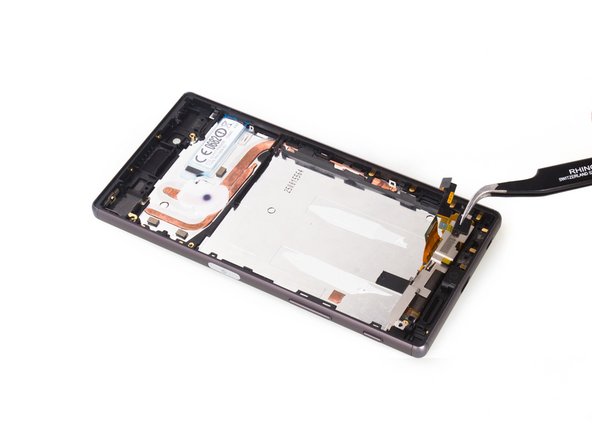
- Remove the microphone.
- Done.