Element GC-1020 Screen Replacement
ID: 52321
Description: As there is a difference between the screen of...
Steps:
- Unscrew the four screws (size: 3.175mm) on the left and right side of the Element Electronics GC-1020 device using the PH#0 screwdriver.
- Carefully pull the back of the device (the silver portion) apart from the rest of the device.
- If you pull back too forcefully the power button would move out of place.
- Unscrew the bottom of left and right sides of the motherboard.
- Notice these screws are slightly larger than the ones on the outside of the device.
- Carefully bend the plastic frame to remove the motherboard.
- Be sure that the power button, stays attached to the outer frame, as moving the motherboard it may cause it to loosen.
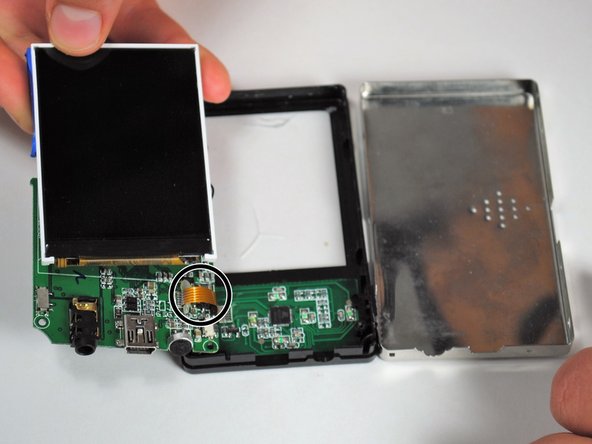
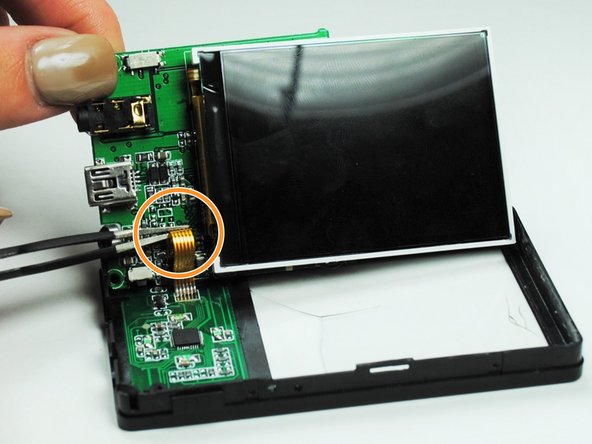
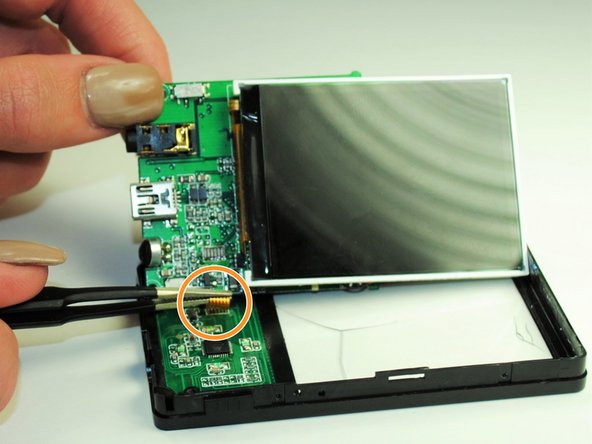
- Detach the screen by disconnecting the thin piece of ribbon cable attached to the PCB (printed circuit board).
- Use a pair of tweezers to carefully pull the ribbon from the circuit board.
- Take care not to damage the ribbon, as you will need it intact to reattach your new screen.
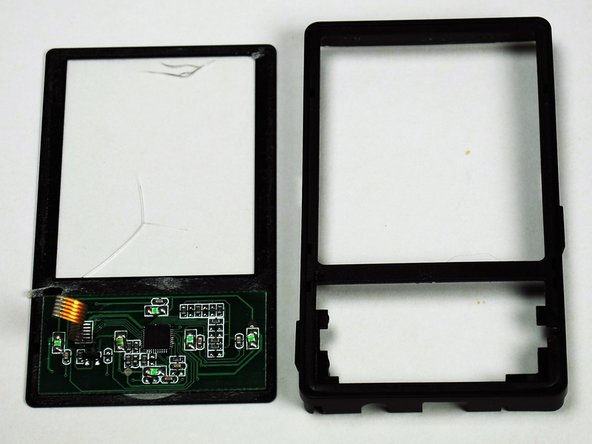
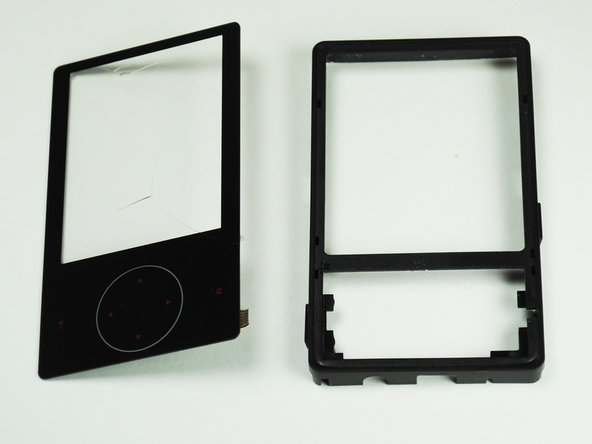
- Carefully pry apart the screen from the frame of the device.
- Separate the two by peeling away the thin plastic layer that makes up the screen of the device.
- If done correctly, your detached screen will look like this.