Konica Minolta Dimage Z6 LCD Screen Replacement
ID: 56016
Description: The LCD screen of the Konica Minolta Dimage Z6...
Steps:
- Push the battery cover in and away from the camera.
- Remove all four batteries.
- Close the battery cover before continuing.
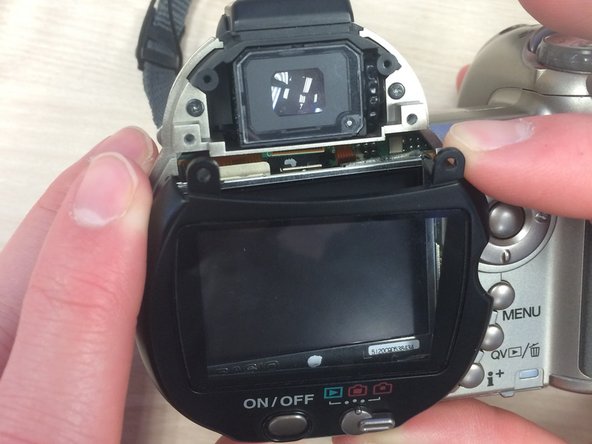
- Use a Phillips #000 screwdriver to remove the two black screws above the LCD screen.
- Remove the black view protector.
- Remove the screen cover by applying slight force at the top, then pulling away from the camera.
- Carefully use the spudger to pop the LCD screen out of the bracket.
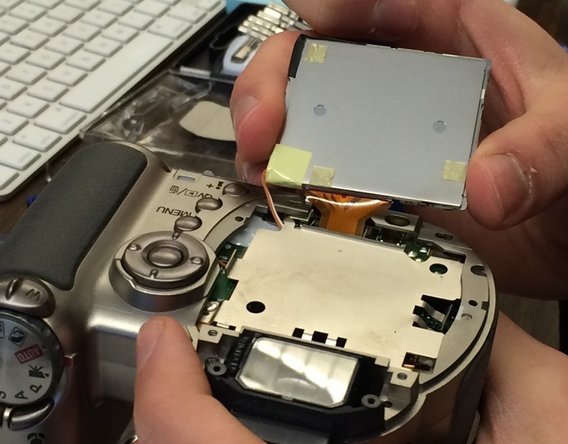
- The LCD screen should still be attached by orange ribbon cable and two wires, one orange and one white.
- Use tweezers to carefully pull the ribbon cable from the logic board, not from the LCD screen.
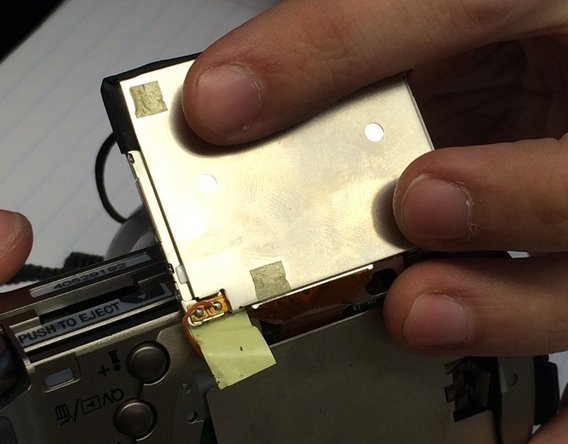
- Peel back the yellow tape on LCD screen to reveal where the two wires are attached. Use tweezers to detach the orange and white wires from the LCD screen.
- Attach the wires to the new screen in the same spot they were attached to the old one.
- Attach the new screen's ribbon tape to the logic board underneath the metal plate.
- With the new screen attached, put it in place on the metal plate. You can now replace the screen cover.
- As you start to reassemble, note the grey extension at the bottom of the black screen cover. Apply pressure to the bottom of the cover and slide upwards onto screen.