SiriusXM Onyx EZ Main Board Replacement
ID: 56017
Description: This guide instructs you how to replace the...
Steps:
- Separate the radio from the mount prior to dissassembly.
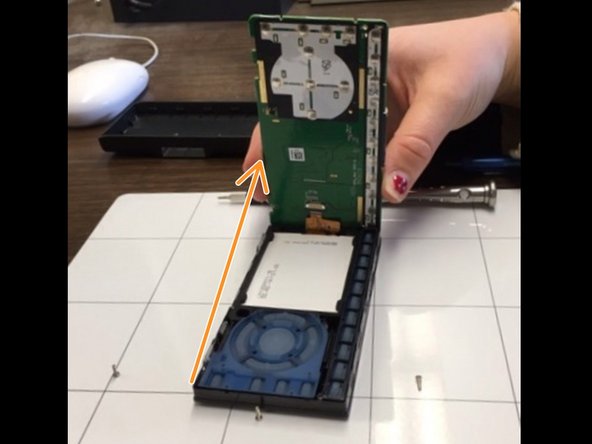
- Use the 1-inch blue wedge from the iFixit Kit to carefully remove main body from black, plastic casing.
- There are teeth on the casing that must be “popped” out of the holes in the main body.
- This will leave the back of the main board exposed.
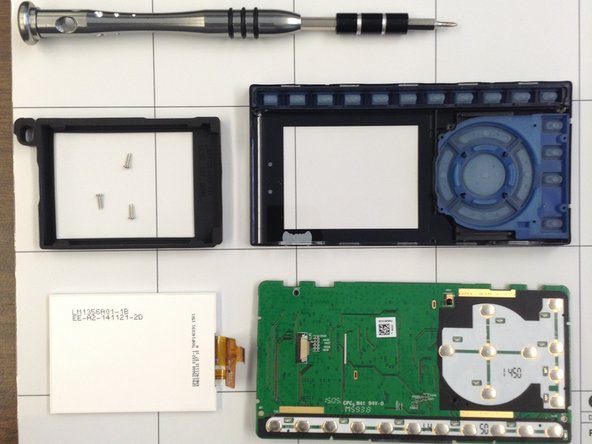
- Unscrew the (3) Philips head screws with a PH000 Philips head screwdriver from the iFixit kit to remove the main board.
- Save the screws. You will need them to reassemble the device.
- Slide the main board towards the base of the unit away from the two clear clips at the top.
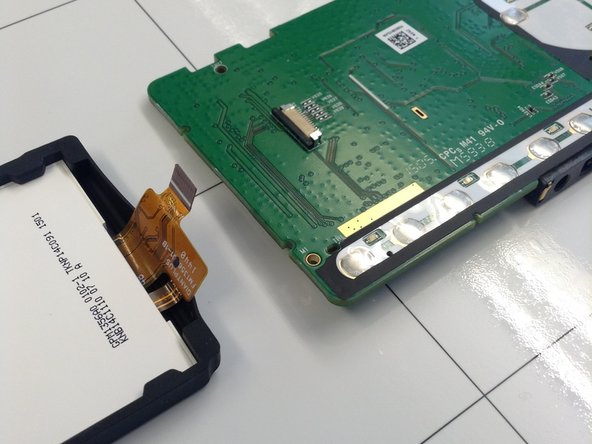
- Once unclipped pull the board from the left side towards the right, exposing the LCD display.
- Lift up LCD display out of front casing.
- At this point, refer to the LCD replacement guide if this is this part you wish to repair.
- Make sure to remove the main board and the LCD display together as a single unit.
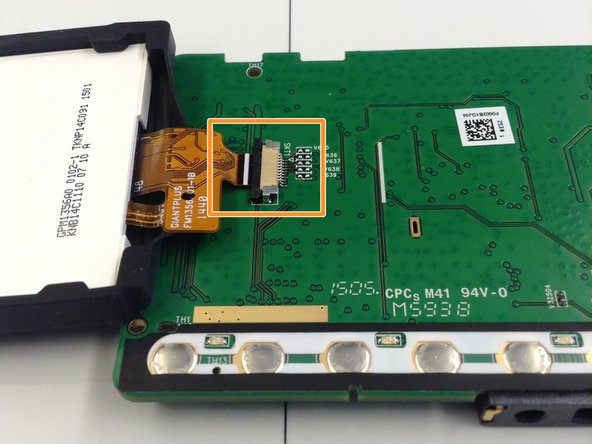
- Disconnect the LCD display from the main board by gently pulling the brown tab out of the main board’s metal slot.
- You can now discard the main board and replace it with your new one.
- Attach the LCD Display to the main board by sliding the display's brown tab into the metal slot on the main board.
- Place the LCD Display back into the front casing of the device, and slide the main board back into the two clear clips.