Motorola Moto G3 Teardown
ID: 56195
Description:
Steps:
- Remove back cover.
- Moto G3 plastic panel can be easily removed with the fingernails.
- Remove camera&flashlight metal cover. Use tweezers to cut strong adhesives underneath.
- Undo 3 screws by T4 Torx screwdriver.
- Take away plastic securing part.
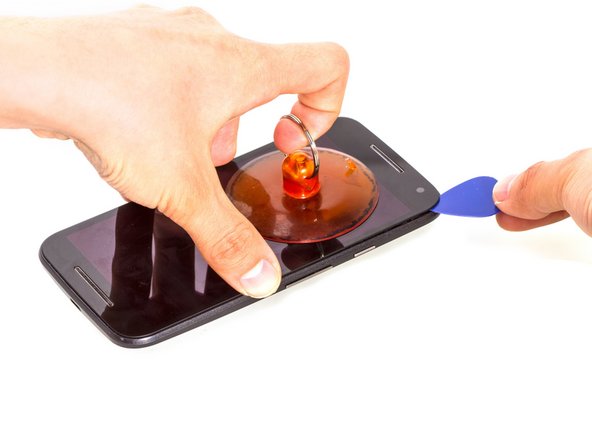
- Heat up the LCD screen for a while.
- Then with the help of suction cup, insert guitar picks to open a gap. Slide guitar picks or plastic opening tool to cut strong adhesives.
- There is LCD screen connector on the left side, so be careful to slide guitar picks.
- Release LCD screen connector firstly.
- Remove LCD screen.
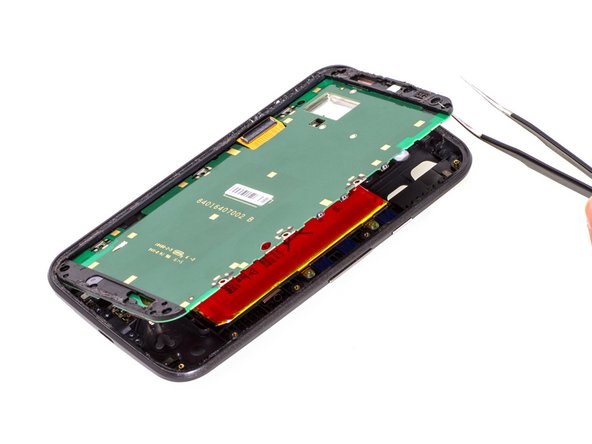
- Undo 14 screws by T4 Torx screwdriver
- Pry up motherboard assembly.
- Battery flex connector is connected with motherboard, so be careful to pry the assembly up.
- Release battery flex connector.
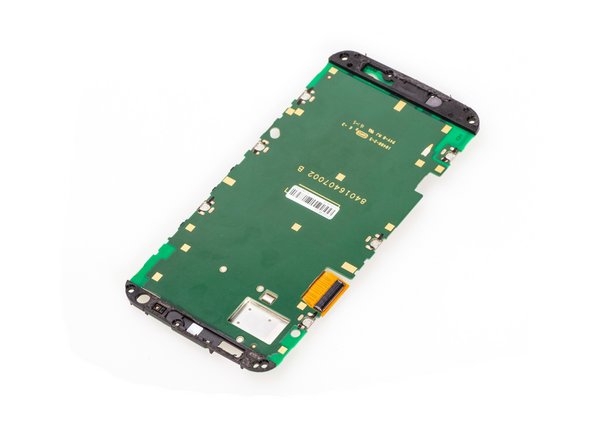
- Separate motherboard assembly from back cover assembly.
- Undo 3 screws here.
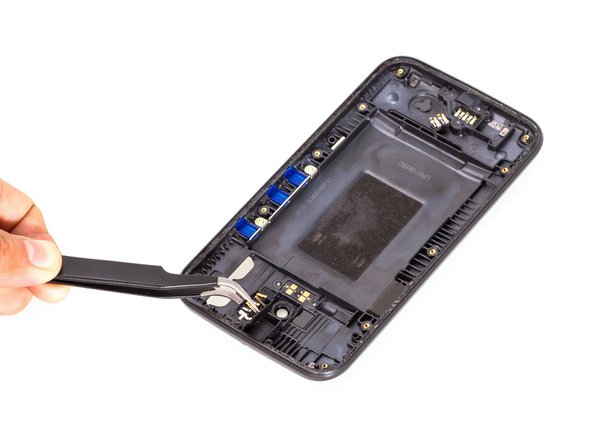
- Use spudger to cut adhesives and pry the SIM&SD card reader board, then remove it.
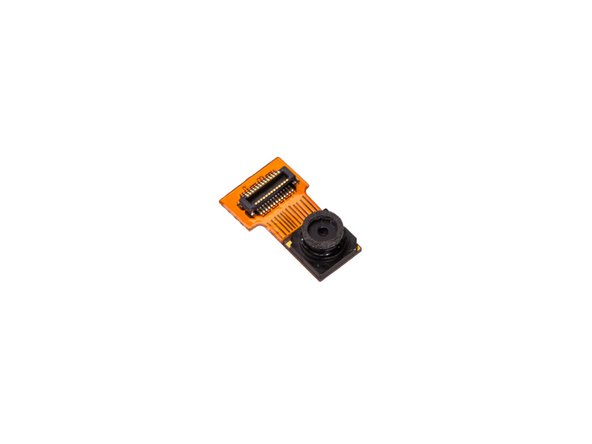
- Remove front-facing camera.
- Remove rear camera.
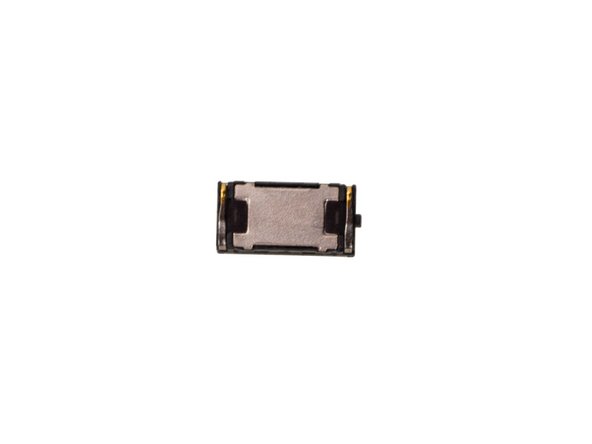
- Remove earpiece.
- Remove loudspeaker.
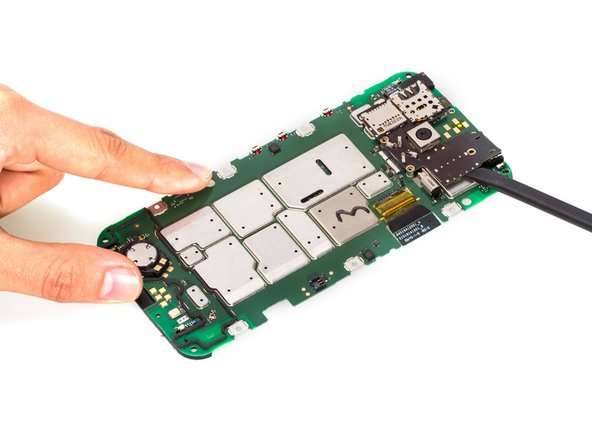
- Here is the motherboard.
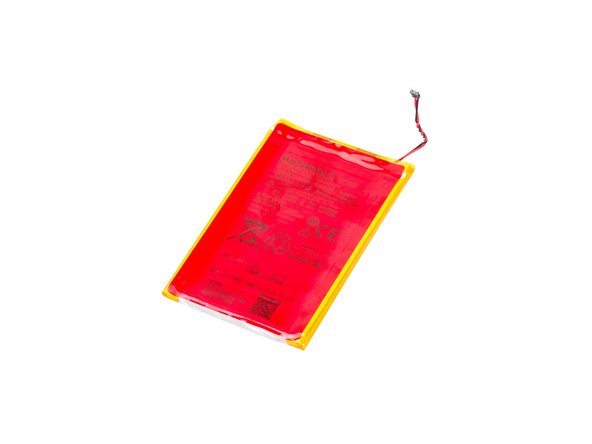
- Use spudger to cut adhesive and pry the battery up.
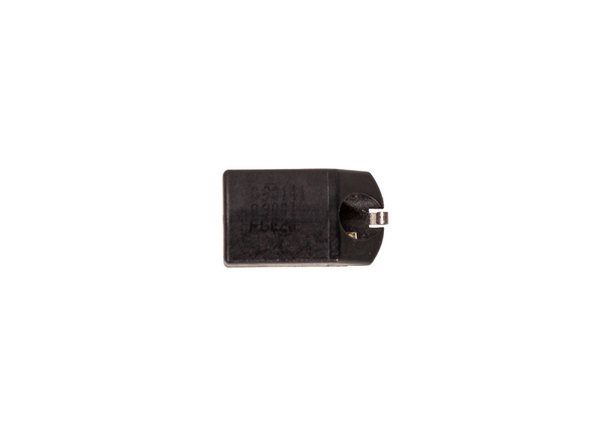
- Take away headphone jack.
- Done