Amazon Fire HD 10 Motherboard Replacement
ID: 56206
Description: Use this guide to replace the motherboard in...
Steps:
- Avoid prying near bottom right hand side due to LCD Connector
- Use a plastic opening tool to pry the screen up in the right hand corner.
- Do not completely remove the screen yet as there is a ZIF connector connected.
- Lift the screen and digitizer from the case.
- You may need to use some force due to the glue.
- Be mindful of the ZIF connector.
- Disconnect the ribbon connector from the digitizer side using your hands or the plastic opening tool.
- Remove the screen and digitizer from the case completely.
- Locate the power cable that links the battery to the motherboard.
- Carefully unplug the battery power cable to disconnect the battery from the motherboard.
- The third image shows what it should look like with the battery power cable is disconnected.
- Begin by locating the double sided pull tape locations.
- Do not lift on the battery when doing the following step. You will bend it. It is very pliable.
- Pull the black soft tabs to release the tape's adhesion.
- Make sure you pull the tabs slowly and continuously away from the case until the adhesive is completely out.
- Do this to all 4 tabs until the battery is completely free of adhesion to the device's backing.
- Make sure all the adhesive is removed before trying to lift the battery from the case.
- After the battery is totally free of any adhesion, simply lift the battery from the case.
- Inspect battery for any leakage.
- Please follow all U.S. regulations and laws when disposing or recycling the battery.
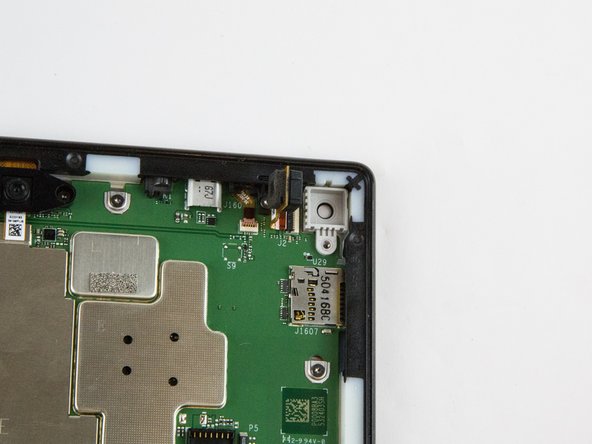
- Remove the single T5 Torx screw at the base of the camera.
- Once removed, place the screw aside in a safe location.
- Lift the camera from the case using the plastic opening tool.
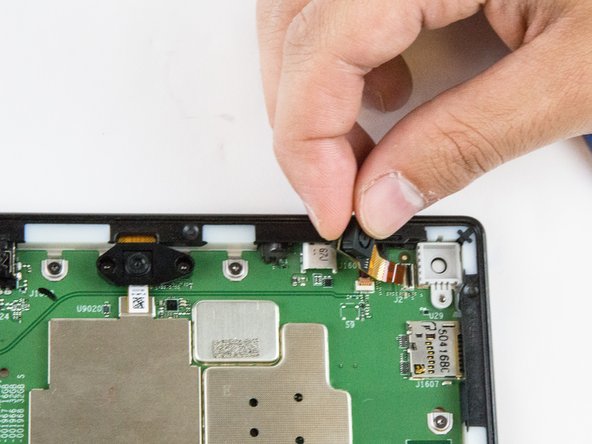
- The camera is still connected to the motherboard via the ZIF connector.
- Gently grab the camera and pull to remove.
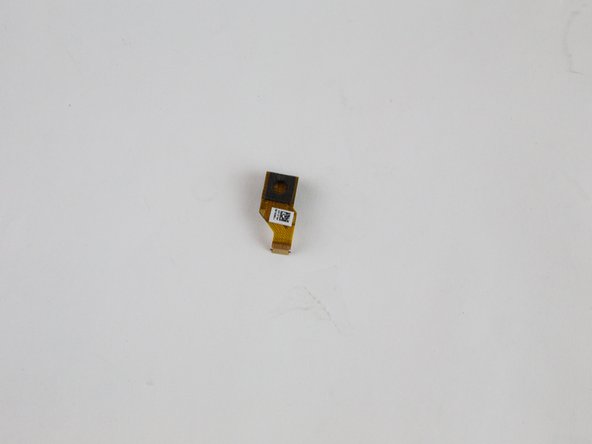
- The camera is now free from the motherboard.
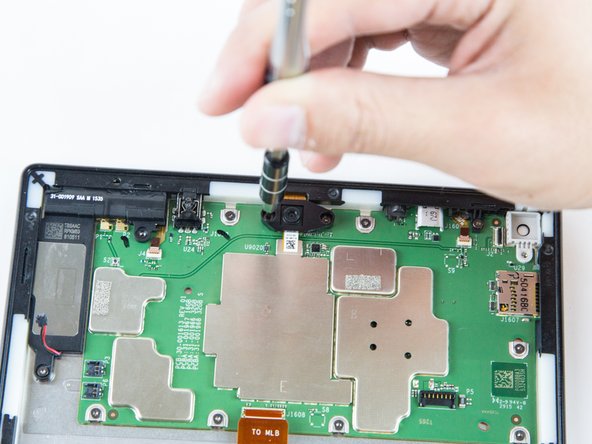
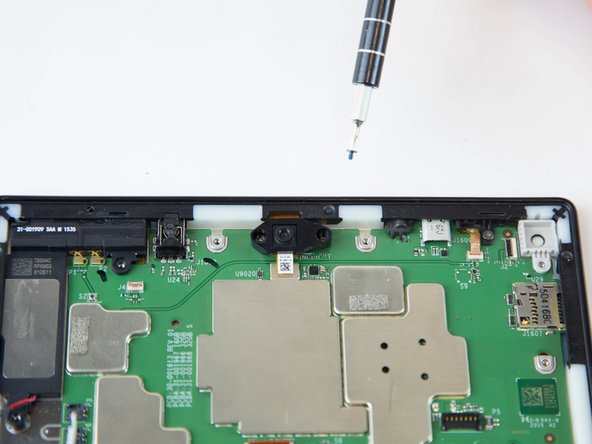
- Remove the two screws from front facing camera using the T5 Torx Screwdriver.
- Make sure you place the screws in a safe location nearby.
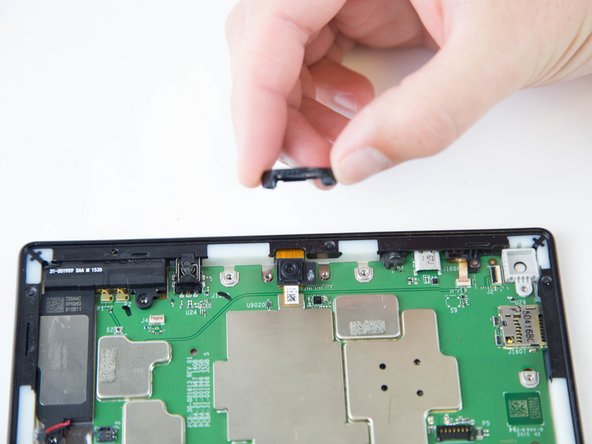
- Lift the black plastic cover once the screws are removed.
- Place aside for later reassembly.
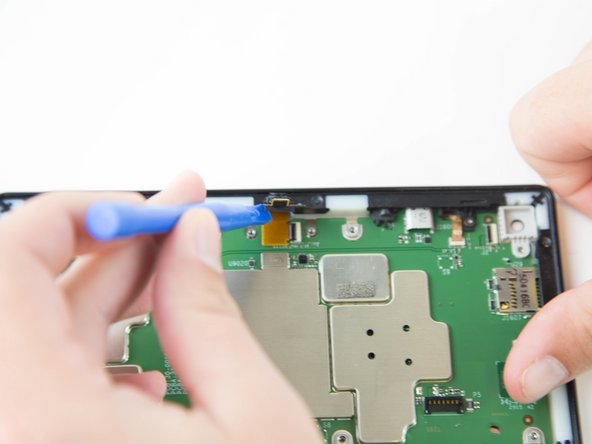
- Detach the connector using a plastic opening tool or spudger.
- The camera is still connected to the motherboard.
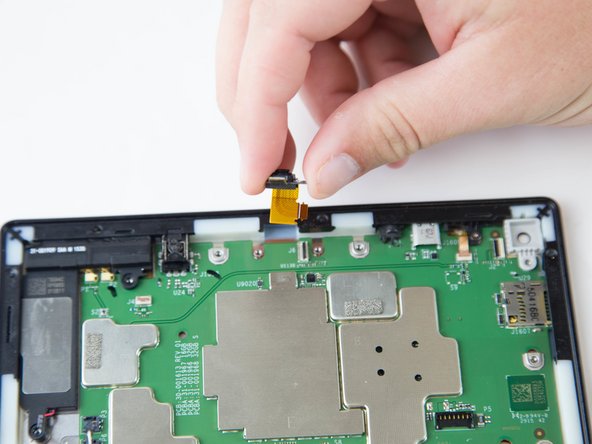
- Grip the camera and lift up to detach the ZIF connector from the motherboard.
- Lift the ZIF connector up to disconnect from the motherboard.
- Disconnect the connectors using the plastic opening tool.
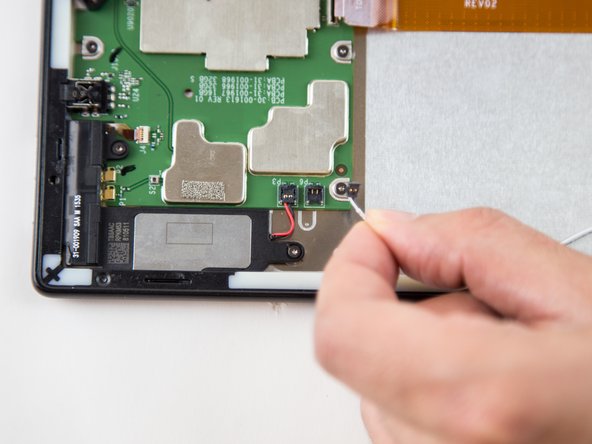
- Remove the ten T5 Torx screws securing the motherboard to the case.
- Keep the screws together in a safe place for reassembly.
- Lift and pull the motherboard down, gently, towards the case using the tweezers.