Microwave Teardown
ID: 56516
Description: My EE senior project group was given the task...
Steps:
- Before beginning with the disassembly, open the microwave oven door and remove the food plate and the turntable it sits on so they aren't sliding around during the rest of the teardown.
- The LEFT side of the oven has a single black phillips screw that needs to be removed.
- On the RIGHT side there are two identical black screws; remove these as well.
- On the BACK side of the oven you'll find a T8 torx screw on each corner; remove all four.
- On the bottom of the microwave you'll find 9 more phillips screws. Remove the four on the top and bottom of the casing, and four more on the right side which are holding the transformer to the inside of the case. Leave the last screw, which is located in the raised rectangle in the middle of the bottom panel,
- Lift the vented metal plate from the back side at an angle until the clips on the front side by the oven door are no longer holding the plate. Set bottom plate aside and the oven's contents are accessible.
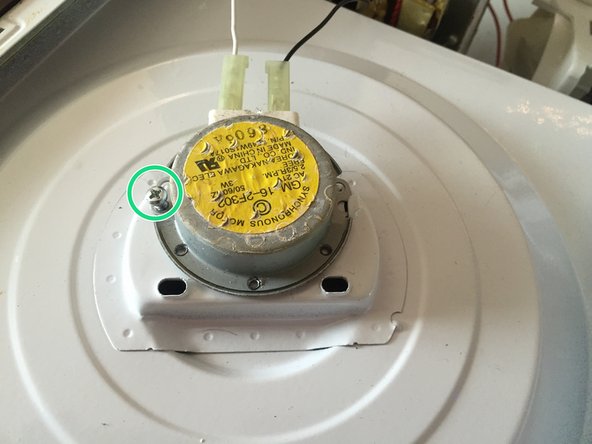
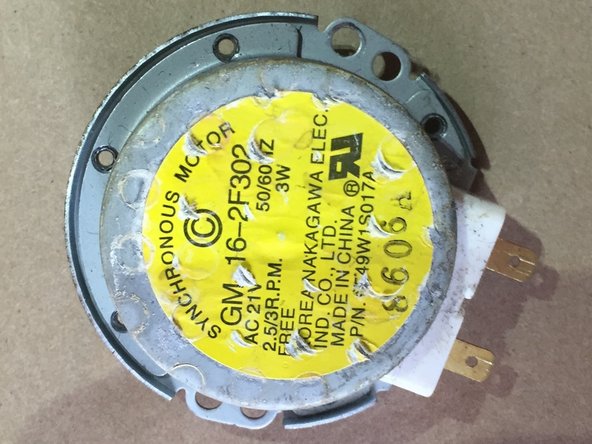
- Unplug the two power wires for the motor with a yellow sticker on it.
- Disconnect single phillips screw on motor, pull motor off white microwave mounting, and set aside.
- Bend the right side of sheet metal around side tabs on front. To do so, apply medium force until the sheet metal is out of its bracket grooves
- Carefully bend the sheet metal down flat onto the work surface to allow complete access to internal electronics.
- Caution: Our microwave had been unused for six months before this teardown, so we were pretty certain the capacitor was not charged. However, extreme caution must be exercised when removing this capacitor. We do not recommend touching it without knowledge on how to discharge it safely.
- The high-voltage capacitor is located on the upper left corner of the side view.
- We recommend wearing gloves as an added safety precaution for this step.
- Move the loose plastic harness, which is holding the red wires in place, out of the way.
- Disconnect the two plugs with red wires from the capacitor.
- Remove the phillips screw for the metal bracket holding the capacitor in place, and remove the bracket.
- Remove the screw holding the capacitor ground on the left side of the oven. and set the capacitor aside.
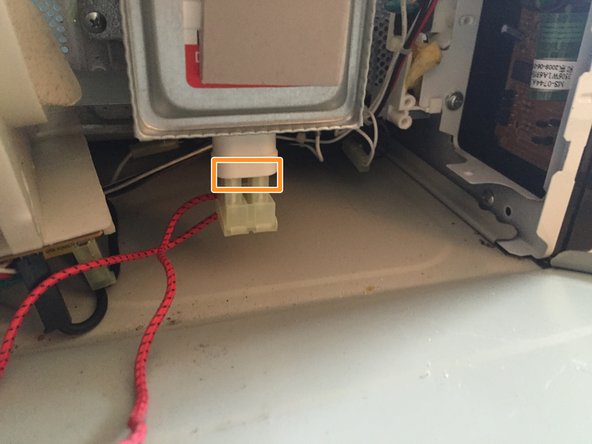
- Disconnect the three plugs in the front of the fan.
- Disconnect the two power plugs on the circuit board on the bottom of the fan system.
- Remove the two phillips screws securing the ground wires, and put the fan system aside
- The transformer is labeled "Danger High Voltage" in red letters, and will be already disconnected from the oven's bottom grate which was removed in steps 4 and 5.
- Two red wire connectors go to the magnetron, which is directly below the transformer. Unplug these and set the transformer aside.
- The magnetron is the heart of the microwave oven, since it ultimately converts voltage to microwaves.
- Disconnect the red wire connector protruding from the bottom of the magnetron.
- Remove 4 phillips screws holding the magnetron to the food compartment. Set the magnetron aside.
- The PCB for the keyboard and the LED display has two phillips screws hidden between on-board components. The board also has several connectors that cannot be removed reliably without jeopardizing the functionality of the oven, so it is recommended to leave the board connected unless it must be replaced.