Dell DJ Screen Replacement
ID: 56564
Description: If your screen is cracked or not functioning...
Steps:
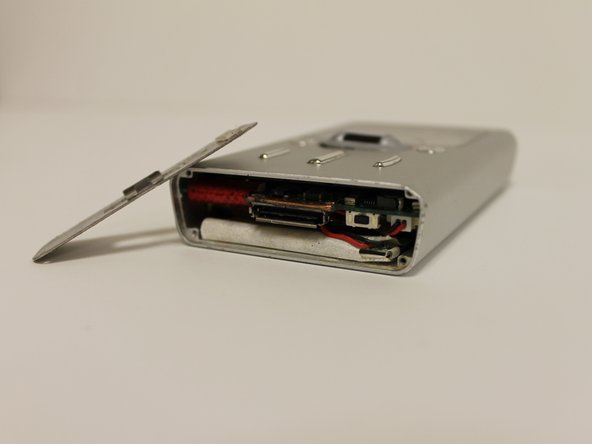
- Using the metal spudger, carefully slide it under the black rubber bottom to remove it.
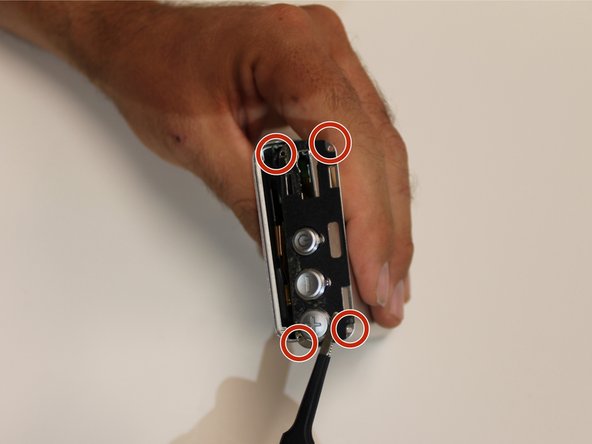
- Using a Phillips J000 head screw driver, unscrew the 4mm screws placed on the outer corners of the metal plate.
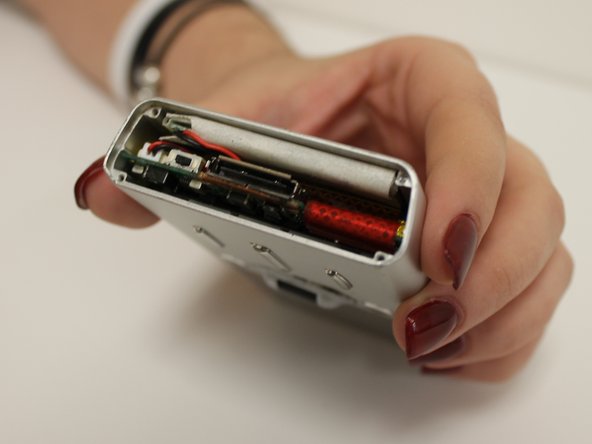
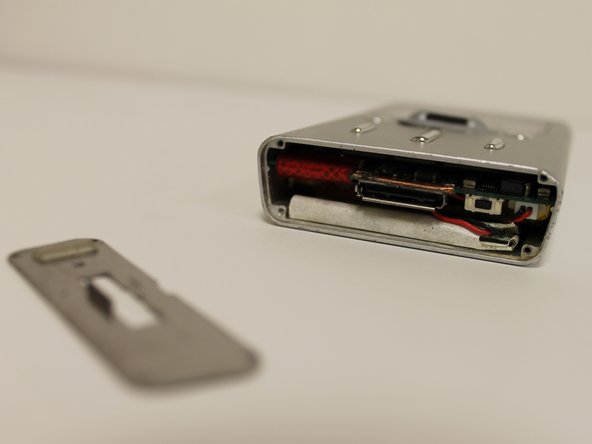
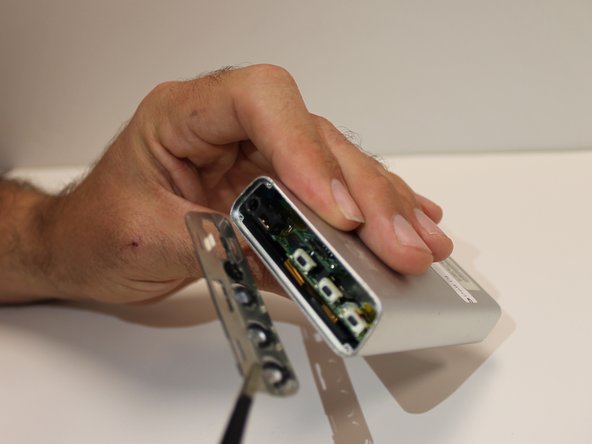
- Again, take the metal spudger, placing it under the metal plate to take it off.
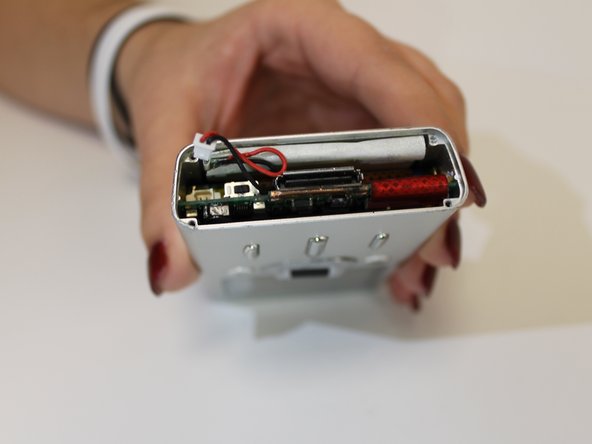
- Once the metal plate is off, inspect the inside of the device to be sure the battery is plugged in and there's nothing blocking it.
- Battery malfunction is often caused by internal components that are dirty. Be sure the battery clip is plugged in properly and then reassemble device. Hold the power button and start the device up.
- If the battery is still malfunctioning, carefully unplug the battery using tweezers.
- Gently place the tweezers on either side of the batter to slide it out of the shell.
- To replace the battery, simply insert a new one into the same slot and then plug in the end to the correct spot.
- After the device is assembled, power the device on. The issue should be repaired.
- If the device battery is still defective, a greater issue is the cause.
- Inspect your device and be sure that it matches the device that this guide is disassembling.
- Familiarize yourself with the specific design of the device.
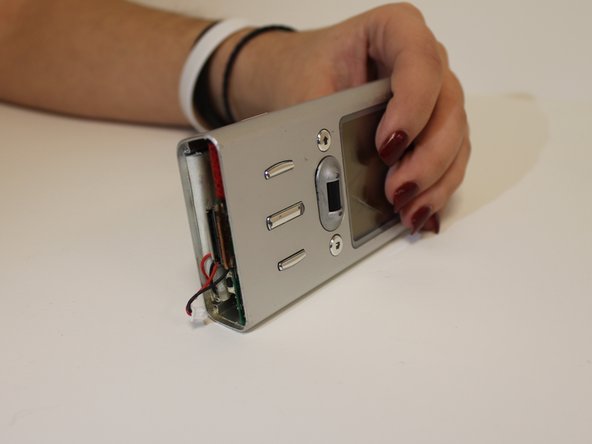
- Battery replacement is the only repair that our guide offers that does not require a complete tear down.
- The top plate of the device is attached by a dot of glue. Use the metal spudger to pry the plate off.
- After the top plate is removed, remove the four 4mm screws that attach the inner plate.
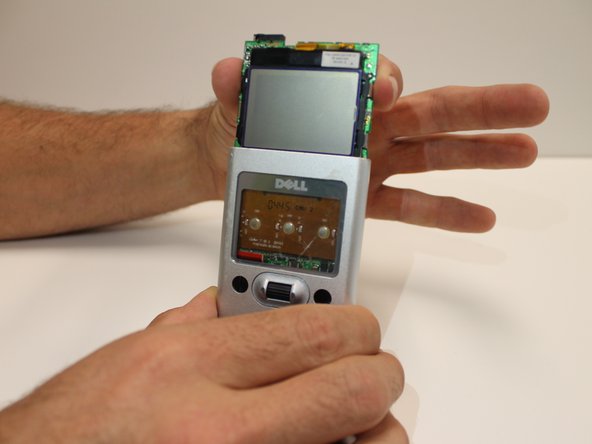
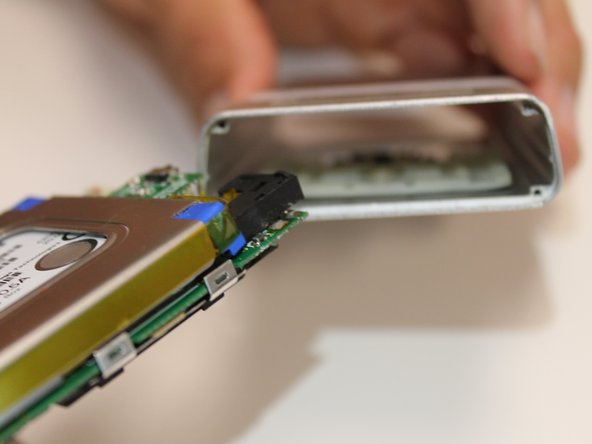
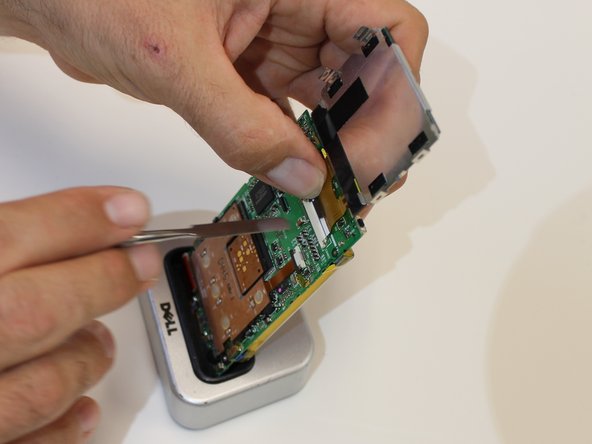
- When the plate is removed, the motherboard will be ready to be removed.
- Slide the motherboard out of the protective case.
- Be careful not to snag any wires.
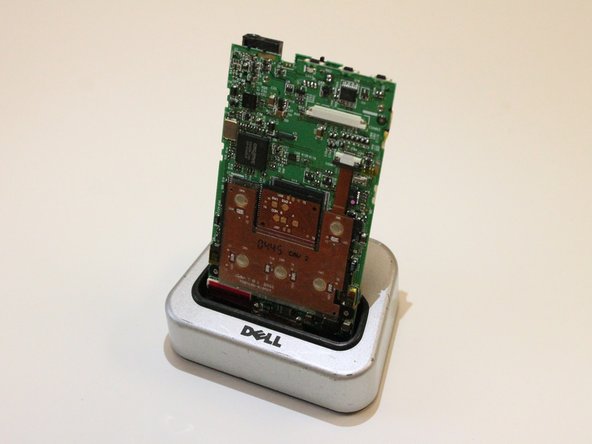
- When the motherboard is exposed the device is ready to be inspected and repaired.
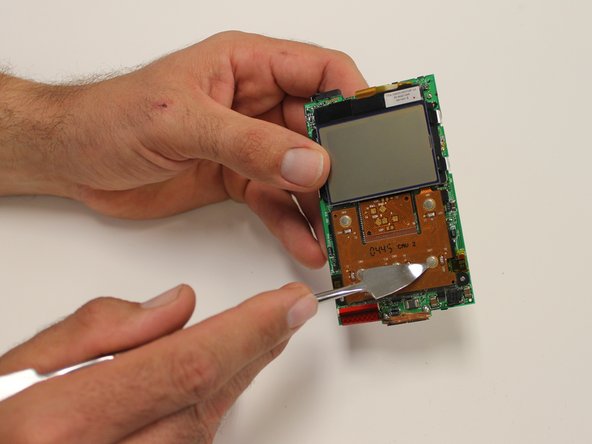
- Disconnect side clips of screen to detach the base of it from the main circuit board, using the metal spudger.
- Carefully pull the screen up so that it is only attached at the top side.
- Pull gently to fully detach screen from device.