Asus 1015E-DS03 Hard Drive Replacement
ID: 61313
Description: Replacing a hard drive may be necessary if you...
Steps:
- Hold the laptop using both hands with the battery facing upwards.
- Push the two tabs located below the battery in towards each other using your thumbs.
- Push the battery upwards and out of the laptop as shown.
- Continue to push the battery upwards until it is completely separated from the laptop as shown.
- Once the battery is removed, unscrew the highlighted 3mm screws (4) using a #0 Phillps head screwdriver.
- Be very careful not to lose the screws, these four screws are very small.
- After all four screws are removed, flip the laptop over with the keyboard facing up.
- Use a spudger to pry up where the keyboard is attached to the laptop on all sides until it is detached from the laptop.
- It is normal to hear cracking noises when prying off the keyboard.
- After keyboard is detached from laptop, there is a ribbon cable still attached to the motherboard. See next step before completely removing keyboard.
- After the keyboard is detached, the ribbon cable which connects the keyboard to the laptop's motherboard is exposed.
- Be careful not to tear or rip the ribbon cable.
- Using the spudger push the white clips upwards that are holding the cable.
- Gently pull the strip out of the square slot.
- Once the keyboard is removed, the base plate will be exposed
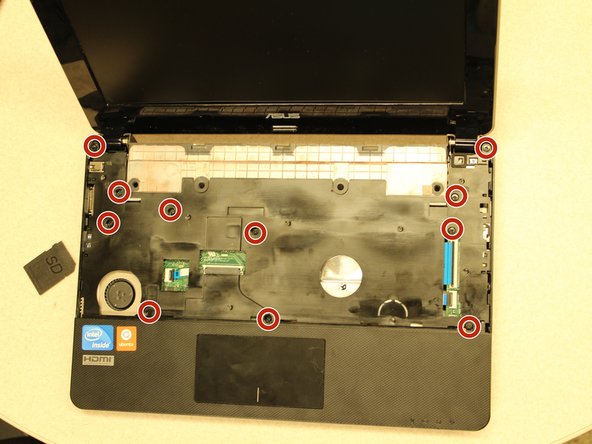
- Please note that 1 screw will be covered by the warranty sticker (not shown). To complete this step it is necessary to break the warranty sticker which voids the laptop warranty.
- Remove the 3mm screws (11) using a #0 Phillips head screwdriver
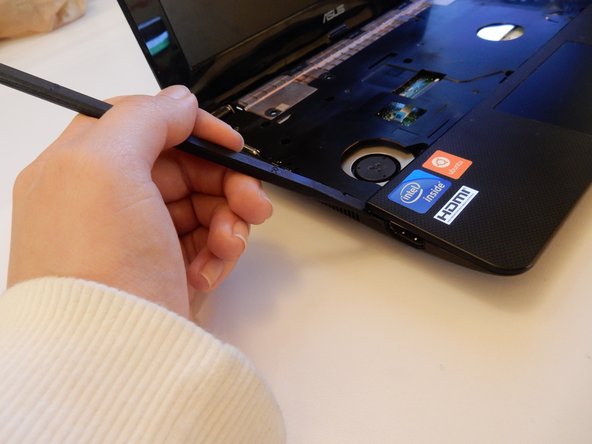
- Use the spudger to 'pop' open the track-pad base, starting from the corner shown
- Once the corner is popped it may be easier to use your fingers to pop off the entire track-pad base
- You will hear popping. Although this is normal, use caution pulling the track-pad base from the rest of the laptop
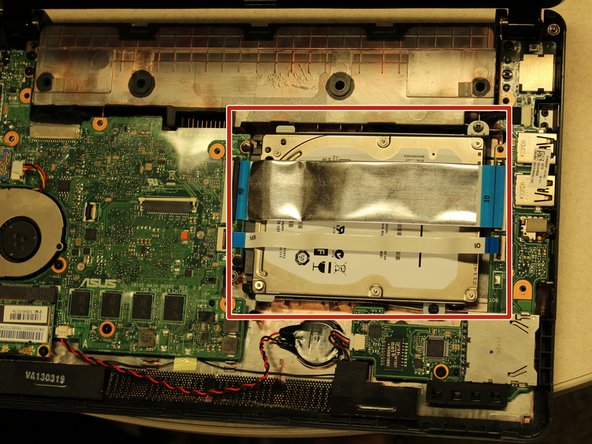
- You can now lift both sections of the base, exposing the hard drive.
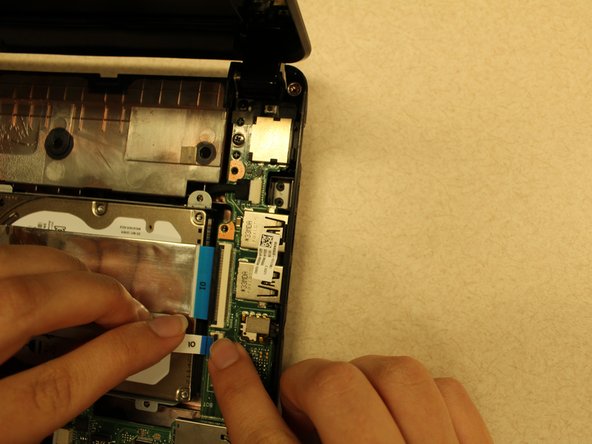
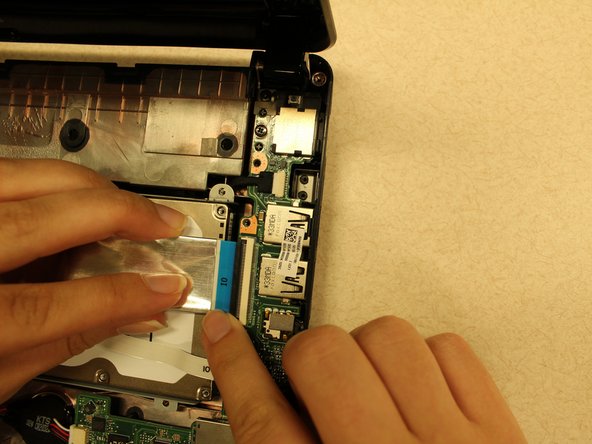
- Release the two ZIF connectors that are labeled "IO"
- The white bar flips away from the ribbon cable, then the ribbon cable can be gently pulled and removed from the connector
- Gently remove the hard drive from the laptop by pulling it towards the right.