Canon Vixia HF R600 Microphone Replacement
ID: 61556
Description: If your camera does not record audio clearly or...
Steps:
- Pull up the Velcro strap starting from the front of the camera and working your way towards the back.
- If you are adjusting the hand-strap, tighten or loosen the Velcro strap accordingly and reattach it.
- To remove the hand-strap, pull the Velcro strip through the leather pad.
- Remove the strap from the camera body.
- Press in the battery release tab located on the bottom of the camera.
- Slide the battery out from the body.
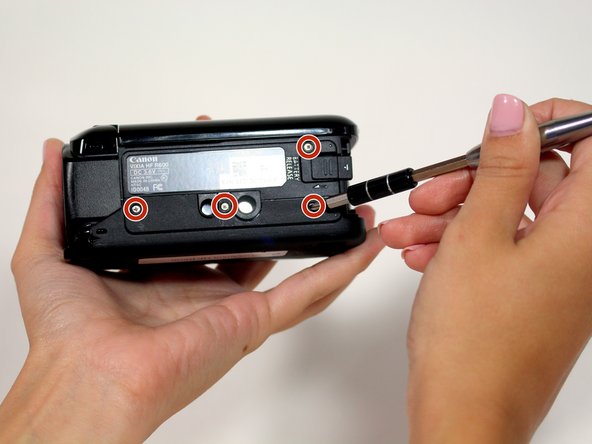
- Start by removing the two 6mm Phillips #00 screws located on the right side of the camera.
- Remove four more 6mm Phillips #00 screws found on the bottom of the camera.
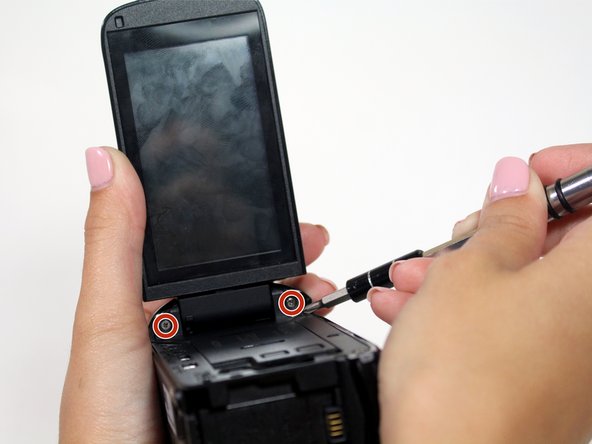
- Open the display screen and remove the three 5mm Phillips #00 screws.
- Look to the swivel point for the screen to find the last two 5mm Phillips #00 screws that must be removed.
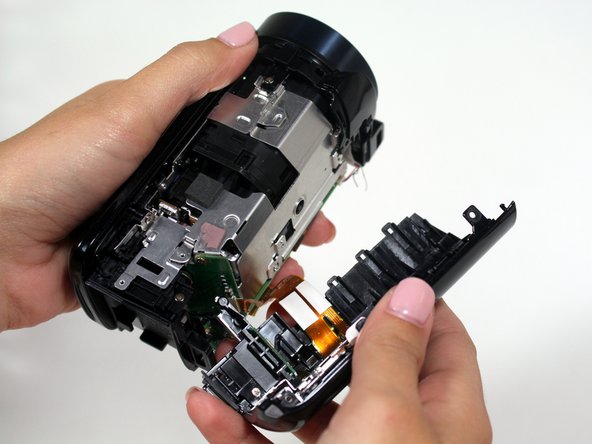
- Gently pull the plastic casing away from the camera.
- Remove one 5mm Phillips PH#00 screw from the top of the camera.
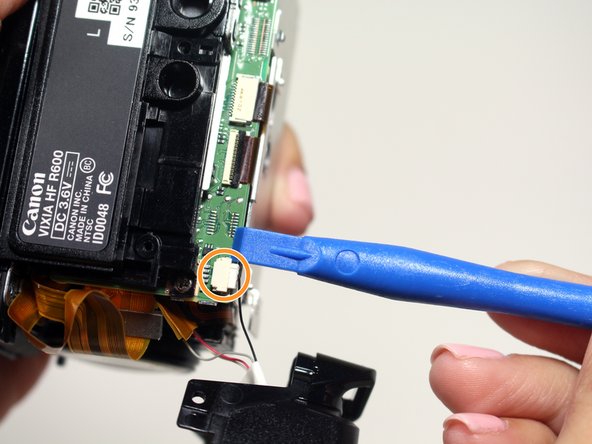
- Pull away the plastic shutter casing; this contains the microphone.
- Using the plastic opening tool or something similar, carefully disconnect the white 4 pin connector to remove the shutter casing.
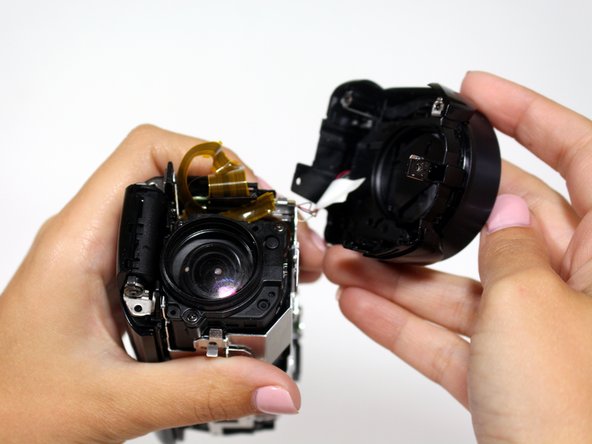
- Remove the one 4mm Phillips JIS#00 screw from the top of the shutter housing.
- Pull the shutter away to reveal the metal plate covering the speakers.
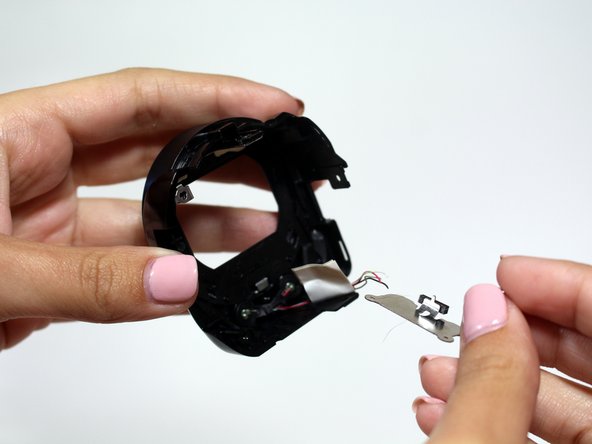
- Remove the one 4mm Phillips JIS#00 from the plastic shutter housing.
- Pull the metal bracket out of the housing.
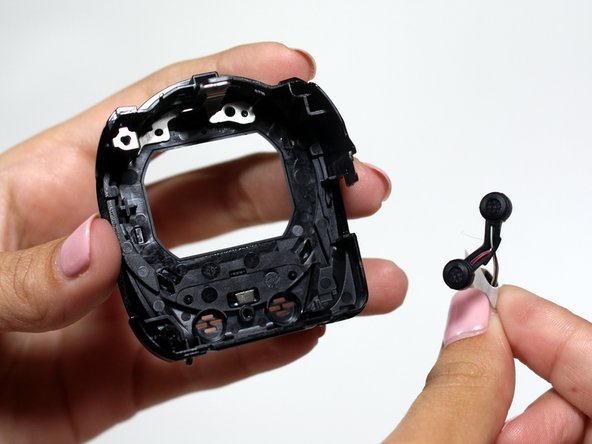
- Carefully remove the speakers from the housing as they contain very thin wires.