Nabi 2S Camera Replacement
ID: 61581
Description: This guide will aid you in the process of...
Steps:
- Remove the red rubber case from the device.
- Make sure the screen is facing away from you and the back cover is facing you.
- Using a Phillips #0 Screwdriver, unscrew the 3mm screws counter-clockwise in each corner of the plastic back cover. It will be a total of four screws. The smaller case on the back cover is attached to the main cover so it will not need to be removed.
- Using the plastic opening tool, remove the case.
- Removing the case will take a bit of effort and force. We recommend using two hands and if possible another person to help. It will require some gusto.
- It is helpful to pry at the corners first to loosen the case.
- After the back case is loosened, remove it from the device to change or access the battery.
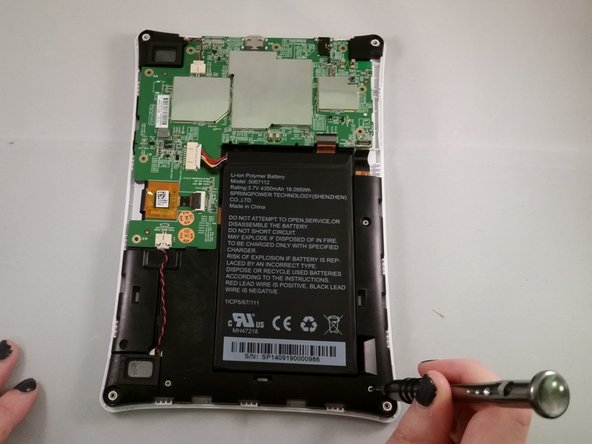
- Unscrew the circuit board from the motherboard by using a Phillips #0 screwdriver to unscrew the ten 4mm screws in a counter-clockwise rotation.
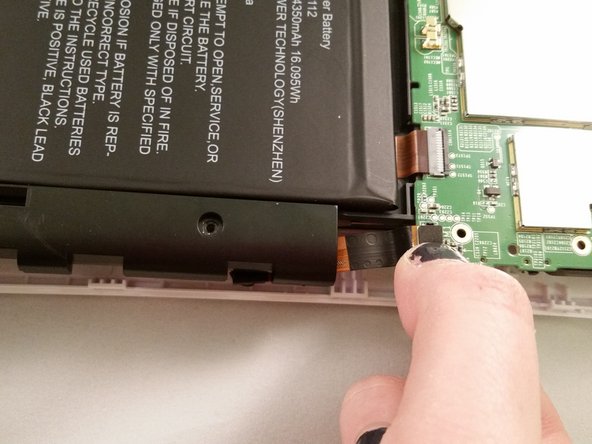
- The camera is attached to the circuit board and then tucked underneath. Gently grip the part attached to the circuit board and pull it up and away from the circuit.
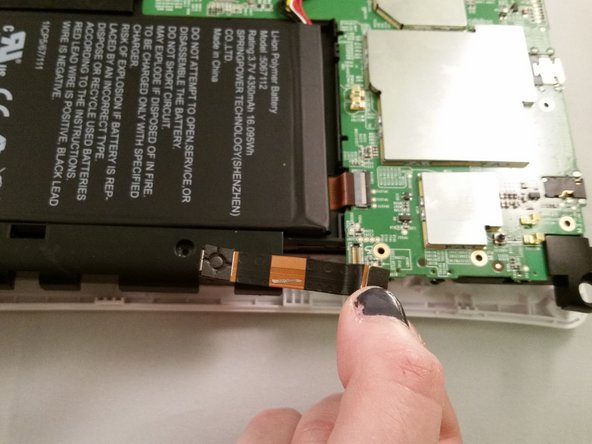
- Gently slide the camera out from underneath the circuit board.
- The camera is stuck to the device with adhesive tape so do not rapidly remove it.


