Canon PowerShot N Teardown
ID: 61682
Description: We are going to teach you how to take apart and...
Steps:
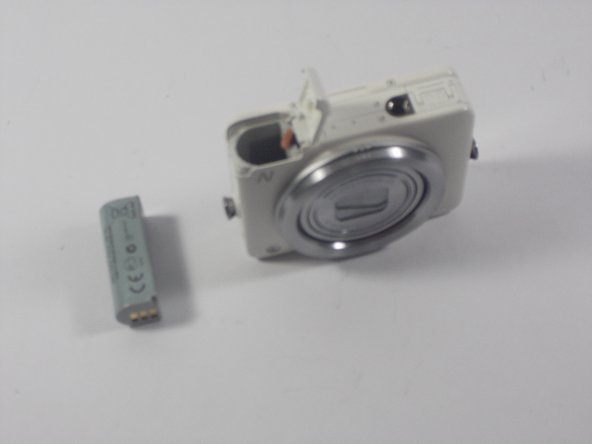
- Locate battery housing cover.
- Place finger on the textured portion of battery housing cover and slide cover in the direction indicated.
- Find beige tab and push it away from the battery.
- Remove battery from battery slot with fingers.
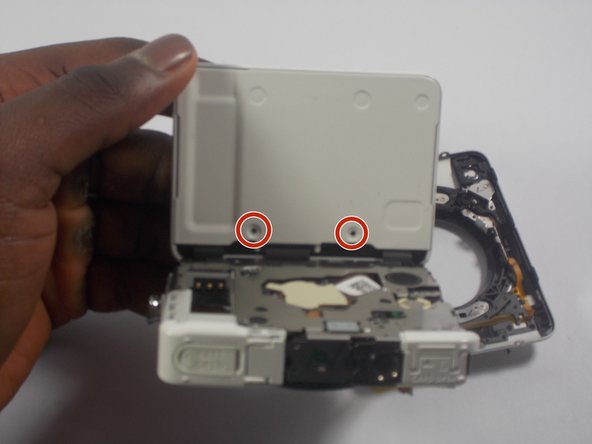
- Using a PH000 size screwdriver, unscrew four screws beneath screen.
- Remove 2 screws on the bottom of the camera.
- Remove 2 screws from the side of the camera with the on and off buttons.
- Remove the back plate.
- Locate 2 screws on “on/off” side of the camera and unscrew them.
- Locate 2 screws on the other side of the camera and remove them.
- Remove one screw from the bottom of the camera.
- Remove front plate from motherboard so that one ribbon cable is exposed.
- Locate the second ribbon cable.
- Using plastic spudger, push tab to release the ribbon cable.
- Locate screw under released ribbon cable and remove it.
- With the camera lens facing you, remove 4 screws around the lens.
- Flip over and remove 1 screw from side with playback/phone options .
- Unscrew 2 screws from top, bottom, and both sides of screen.
- Pull off white cap which edges the screen.
- Remove white metal plate behind screen (tip: try not to bend).
- Push out LCD screen.