Razer Ouroboros Microswitch Replacement
ID: 65711
Description: This guide can be used to take the Razer...
Steps:
- Use a Phillips #00 screwdriver to loosen the two captive screws from the bottom of the mouse.
- Slide the palm rest out of place.
- Remove all of the stickers on the back of the mouse. After doing so, you should see six screws on the back of the mouse.
- Use the Phillips #0 Screwdriver to remove all six of these 4mm screws.
- Use the Phillips #00 Screwdriver to remove these two, 3mm screws.
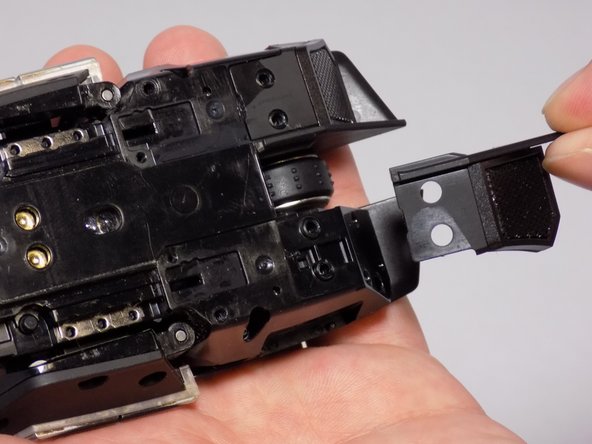
- Slide the side panels off of the mouse.
- Use your tweezers to take the lock switches off of the mouse.
- Using the T6 Torx screwdriver, remove the two bottom 4mm screws as indicated in the second picture.
- Using the T6 Torx screwdriver, remove the two 4mm screws hidden in the deep holes indicated in the first picture.
- Slide the top panels off of the mouse.
- Flip the mouse over, and the mouse casing should come off.
- There are some connectors connecting the casing to the motherboard. They should slide off. Just be careful not to break them.
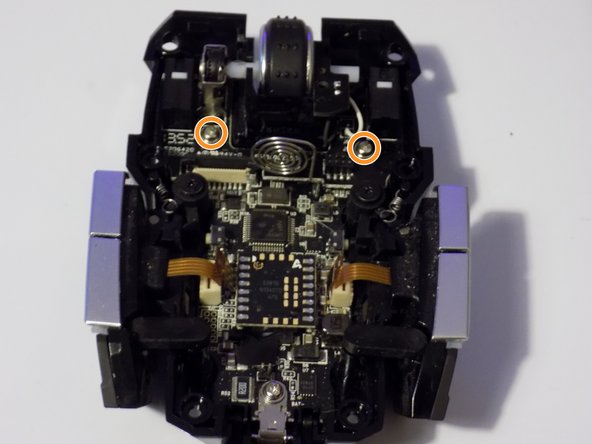
- Locate the 4mm screw indicated in the first picture, use a Phillips #00 Screwdriver to remove it.
- Locate the two 4mm screws in the second picture, and remove those two with a Phillips #0 Screwdriver.
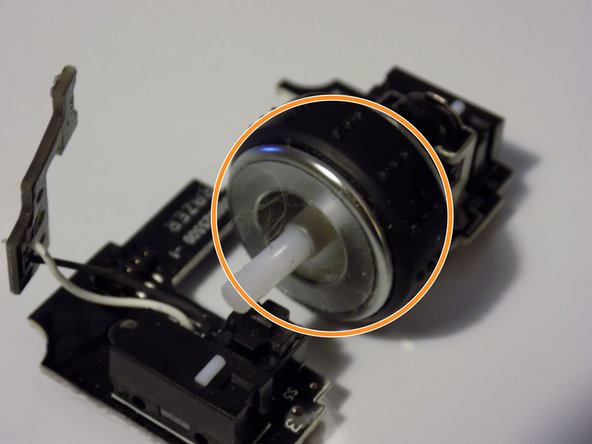
- Now, you may remove the board that holds the scroll wheel and its components. Simply slide the wheel out and replace it.
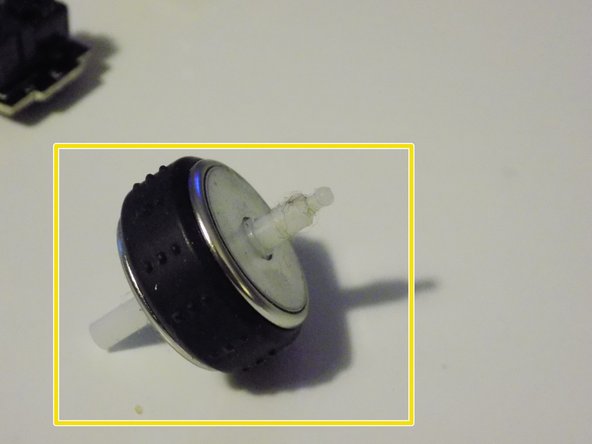
- Take note of the orientation in the final picture so that you can place the wheel back correctly into its mechanism.
- Carefully remove the circuit board that is inside the scroll wheel.
- Pull the scroll wheel off the board.
- Place the scroll wheel in a safe location.
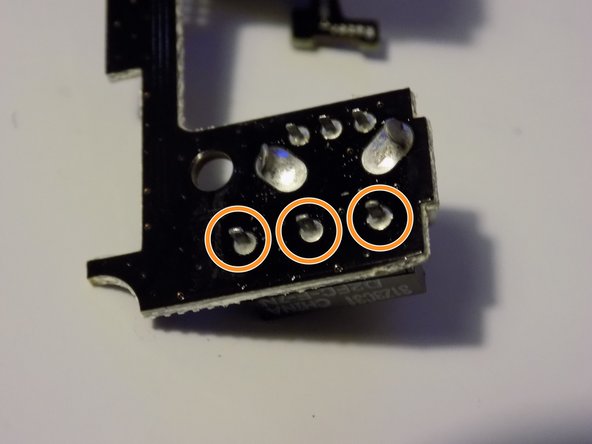
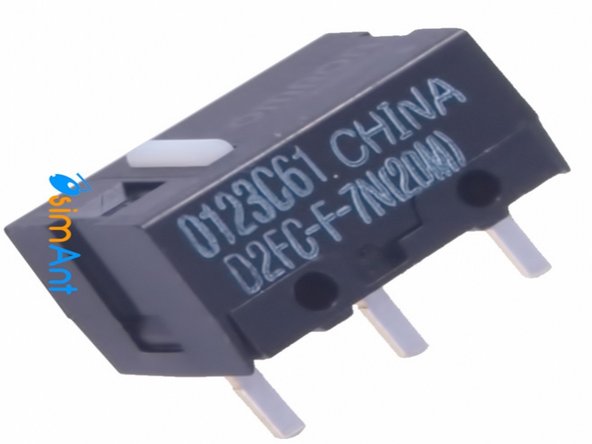
- When you get to this point look at your micro switch to check that this is exactly the same.
- If this is your first time soldering I would recommend watching this ifixit guide. How To Solder and Desolder Connections
- Now de solder the 3 pass through post continue pulling the micro switch away from the circuit board
- Replace and solder the micro switch to the circuit board.