Motorola Droid Turbo Rear Facing Camera Replacement
ID: 66177
Description: Use this guide to replace the rear-facing...
Steps:
- Prepare an iOpener and lay it over the rear case to soften the adhesive on securing the rear case to the phone.
- Use a plastic opening tool to pry the rear case off of the rest of the device.
- Remove the rear case.
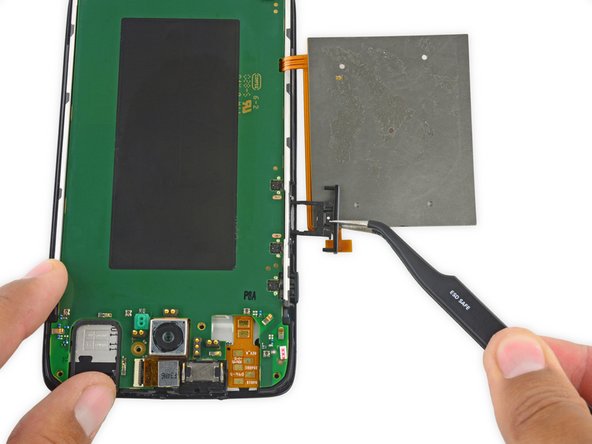
- The wireless charging coil may try to stick to the rear case, so make sure to remove it from the case before fully separating the rear case from the rest of the device.
- Remove the midframe bezel.
- Remove the four Torx T5 screws securing the midframe plate.
- Remove the midframe.
- Use the point of a spudger to pop up the battery connector.
- Fold the wireless charging coil away from the battery.
- Use a spudger to gently pry the battery up from the rest of the device.
- The battery is secured with some moderate adhesive, so some force may be necessary.
- Remove the four Torx T5 screws securing the lower antenna board to the motherboard.
- Remove the lower antenna board.
- Remove the SIM card holder/volume button rocker.
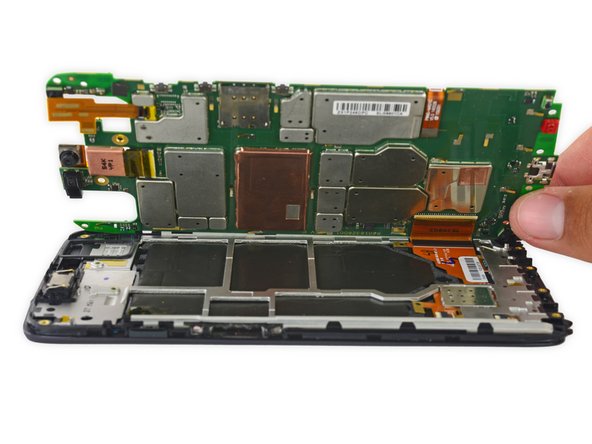
- Carefully lift up the motherboard to expose the display connector.
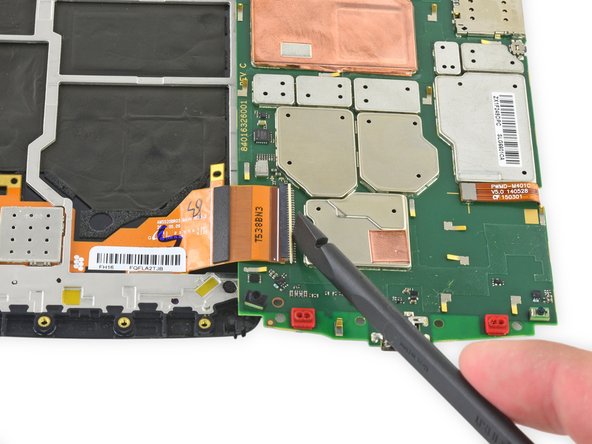
- Use the flat end of a spudger to flip up the retaining flap on the display ZIF connector.
- Pull the display ribbon cable free of the connector.
- Disconnecting the display ribbon cable makes it easier to remove the rear-facing camera, but it is not strictly necessary.
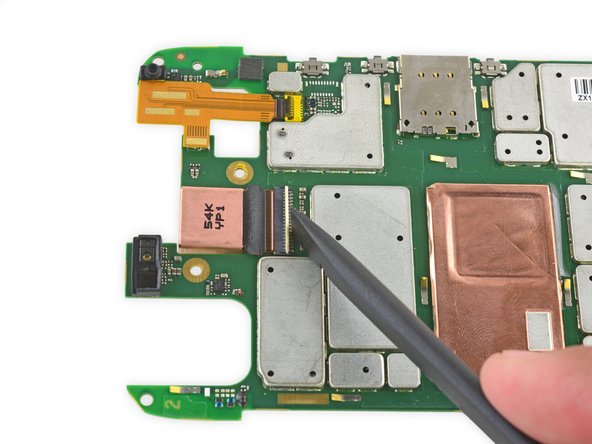
- Use the flat end of a spudger to flip up the black retaining flap on the front-facing camera ZIF connector.
- Removing the front-facing camera makes it easier to remove the rear-facing camera, but it is not strictly necessary.
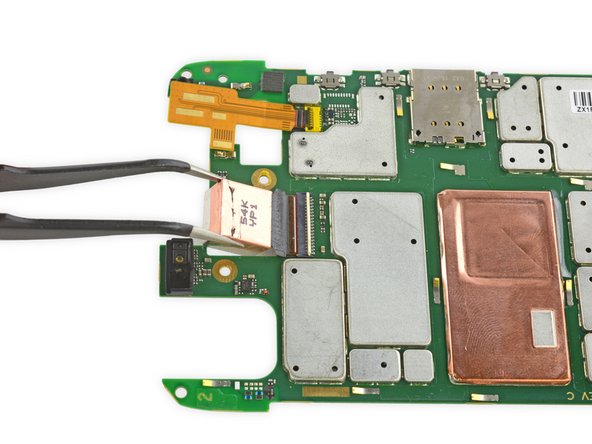
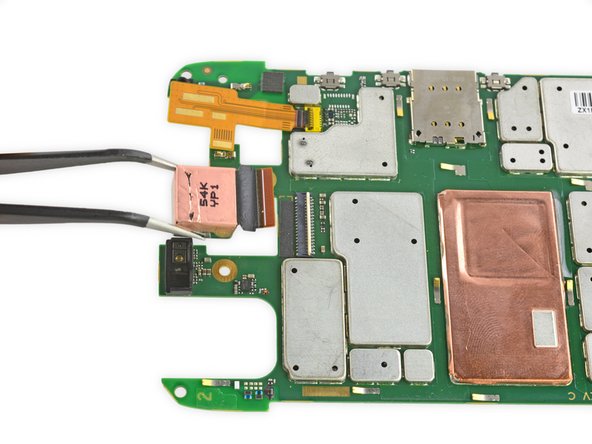
- Remove the front-facing camera.
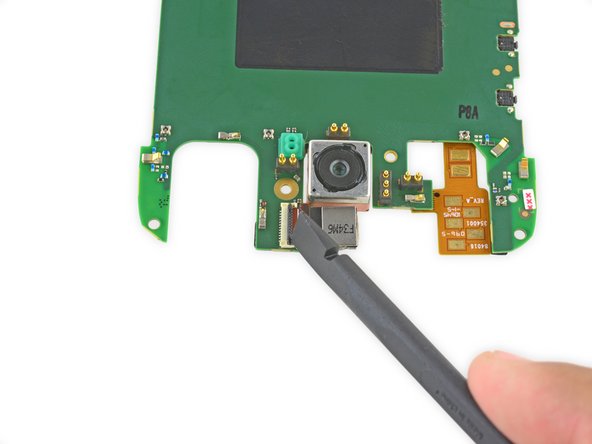
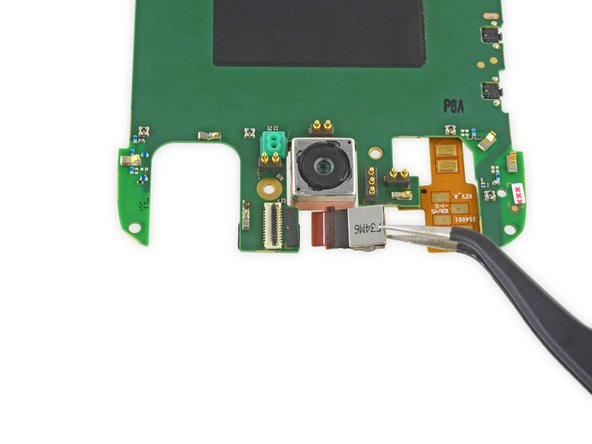
- Use the flat end of a spudger to flip up the tan retaining flap on the rear-facing camera ZIF connector.
- Remove the rear-facing camera.