Apple IIc Floppy Drive Replacement
ID: 6774
Description: If your driver is malfunctioning or broken,...
Steps:
- Remove the six 19 mm long screws with a #2 Phillips head screwdriver.
- Release the catch by pushing it in using a plastic opening tool.
- The catch is off-center, but in line with the middle of the speaker underneath.
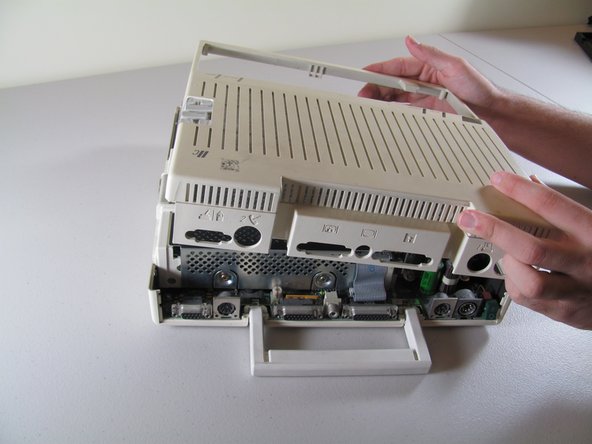
- Slide the case toward the ports on the back, then grip under the catch and pull up while moving toward the ports to remove.
- Lift the handle straight up to remove.
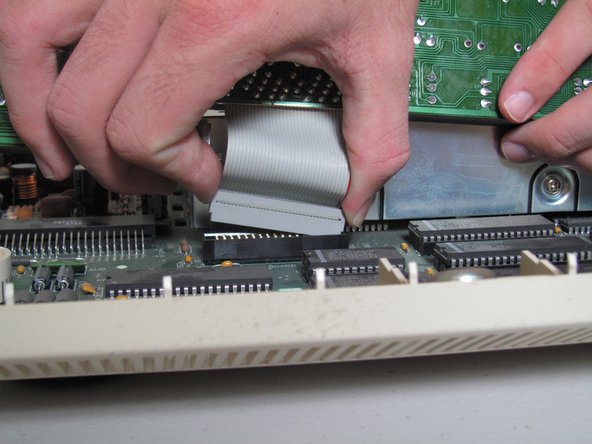
- Tilt the keyboard up while detaching the ribbon connection by pulling it straight up. You may have to wiggle the connector sideways to loosen it.
- Be careful not to force the ribbon while pulling it out to avoid tearing. Do not try to pull the ribbon out by pulling the keyboard as it may cause tearing.
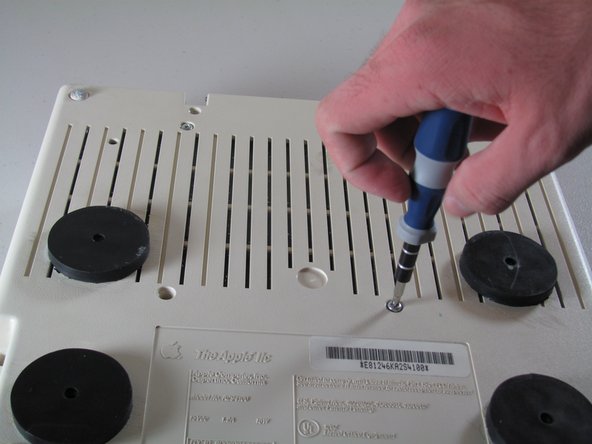
- Carefully place device upside down to remove the four centered 21.1 mm screws that secure the floppy drive.
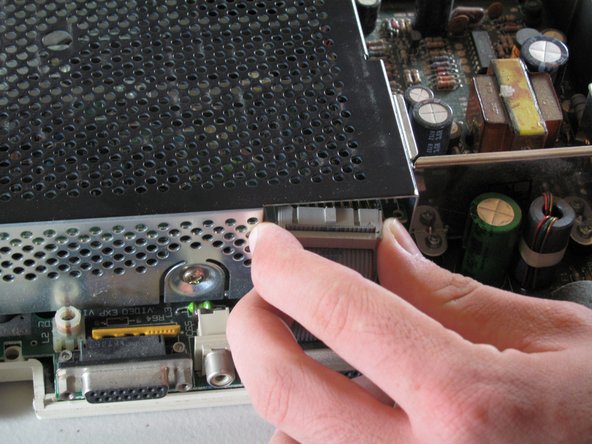
- Carefully detach ribbon connector from floppy disk drive by pulling it out horizontally.
- Unscrew the four 8.5 mm screws that attach the floppy drive cage. Two screws are located on the front and back of the cage.
- Carefully lift the floppy drive cage straight up to remove it.
- Lift the floppy drive straight up to remove.