Netgear WGR614v9 Antenna Replacement
ID: 6779
Description: This guide will take you through the process...
Steps:
- Rotate the device so that the bottom is facing up.
- Lift up all four rubber pads on the bottom of the router with the plastic opening tool.
- Be careful not to pull the rubber pads all the way out when lifting as they are difficult to reinsert.
- Unscrew the four 11.8 mm T-8 torx screws from the bottom of the router.
- Lift the bottom casing straight up from the router.
- Remove the clear plastic casing by lifting it straight up from the router.
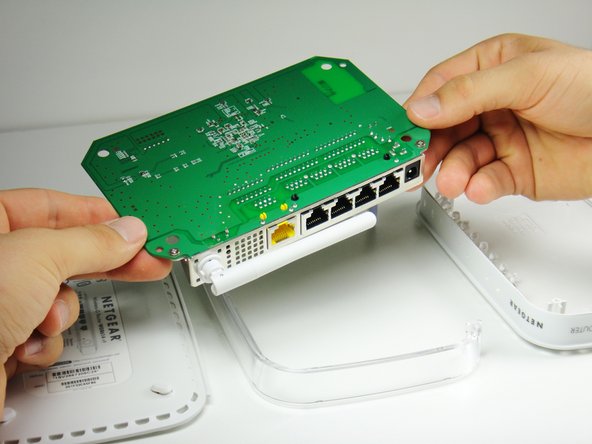
- Separate the motherboard from the top shell by lifting it straight up from the router.
- Rotate the motherboard so that the top is facing up.
- Set the motherboard on a flat clean surface.
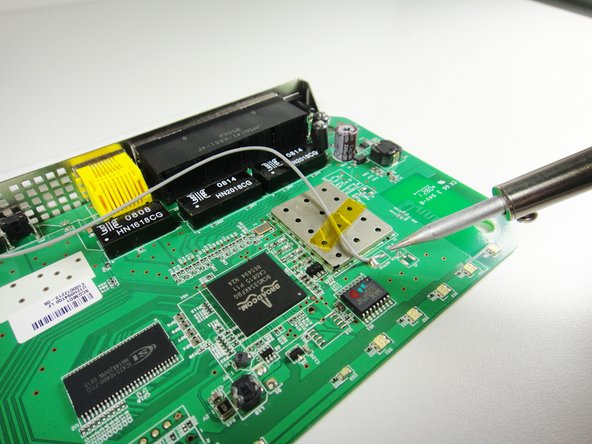
- Do not refer to the pictures in this step for proper de-soldering and soldering techniques. They are for illustration purposes only.
- Refer to this link for proper de-soldering and soldering techniques.
- Be patient. This may take some time depending on the quality of your soldering iron.
- Peel off the yellow tape holding the wires.
- Set the tape aside on a clean surface so that it can be reused.
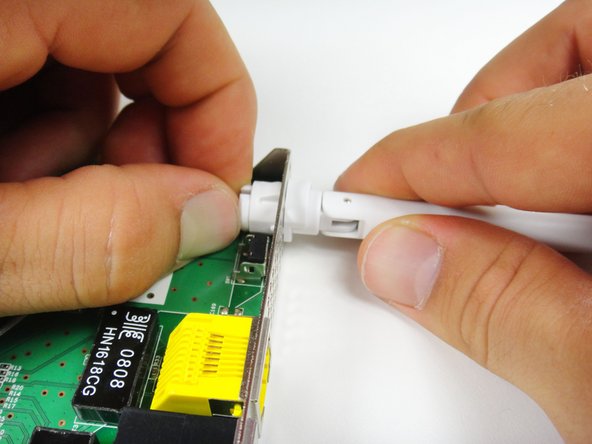
- Extend the antenna outwards from the device so that it is straight.
- Locate the clips that hold the antenna onto the router.
- Push the clips in with one hand and pull the antenna out with your other hand. Slightly twist the antenna until it becomes free from the hole.
- Pull out the antenna as well as the connected wire.