Samsung Glyde Camera Replacement
ID: 6790
Description: This replacement can be done to restore a...
Steps:
- Using your thumb, press down and slide the back cover away from the camera.
- Remove the battery from the phone by using your plastic opening tool to find a gap at any edge of the battery and lifting the battery up.
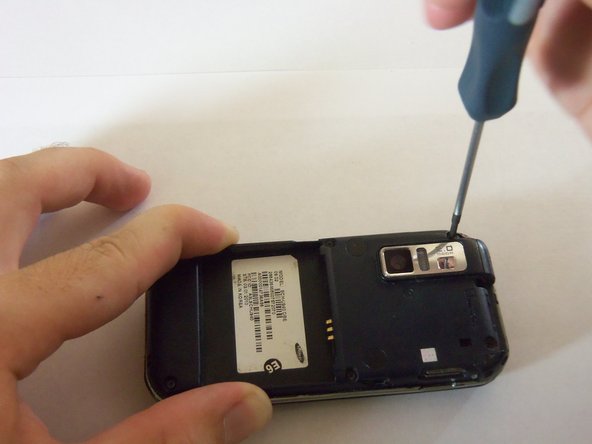
- Using a Phillips#00 screw driver, remove the six 4mm screws holding the back case together.
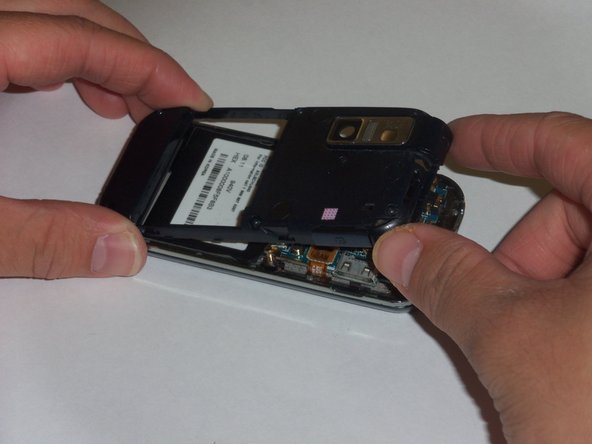
- Use a plastic opening tool to pry the case off. To do this, find a gap on any side of the phone, top preferably, and slip the tip of the tool in the gap
- Now use moderate strength and slowly maneuver the tool around the outside until the case becomes loose.
- Using your fingers, take the case off.
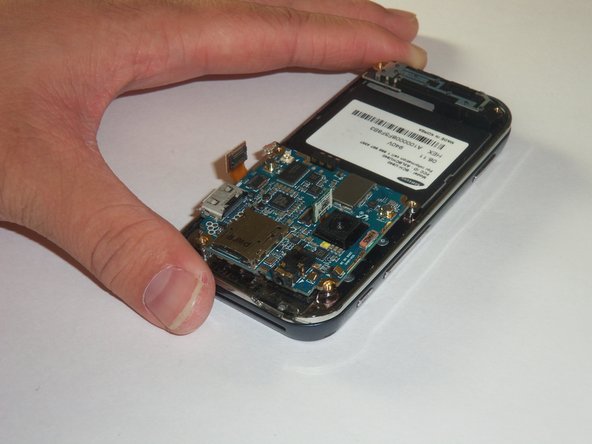
- The green film above the camera is the camera connector to the motherboard.
- Use a plastic opening tool to disconnect the camera connector.
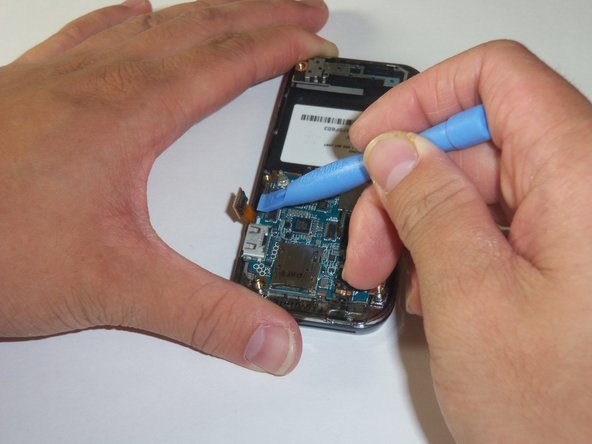
- The golden film connector connects the keyboard to the motherboard.
- Use a plastic opening tool to disconnect the keyboard connector.
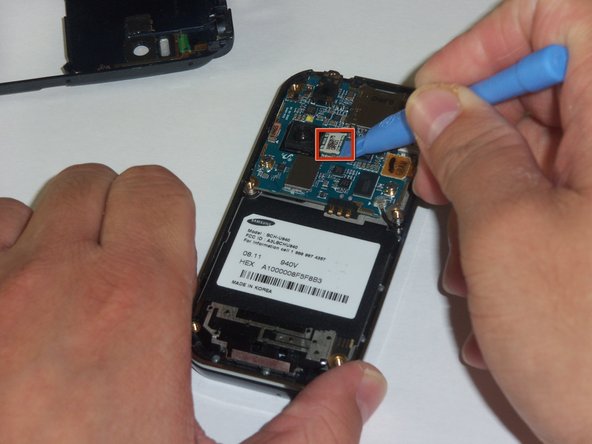
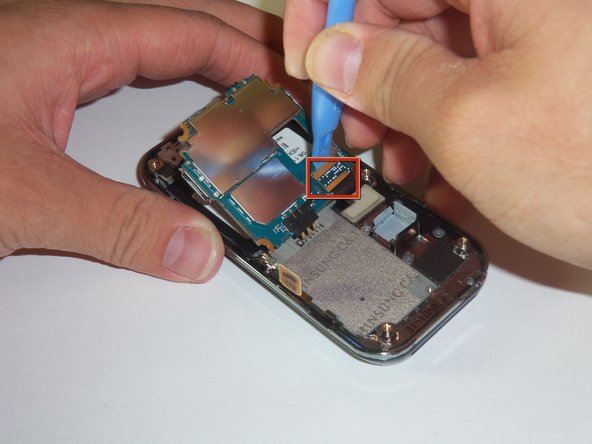
- The circular connector holds the motherboard in place.
- Using a plastic opening tool, disconnect the circular connector.
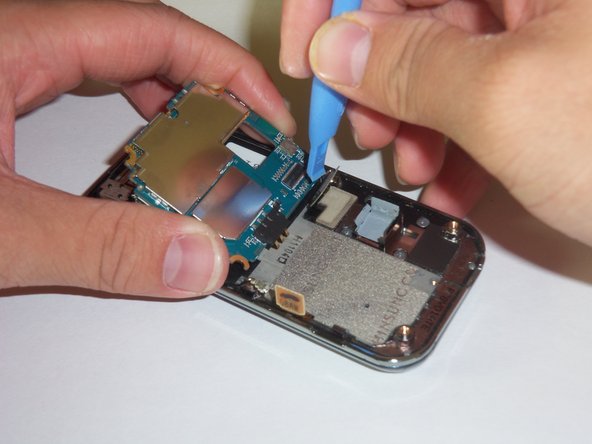
- There is a LCD connector underneath the motherboard.
- Gently lift the far edge of the motherboard upwards toward the center of the phone.
- Using a plastic opening tool, disconnect the LCD connector.
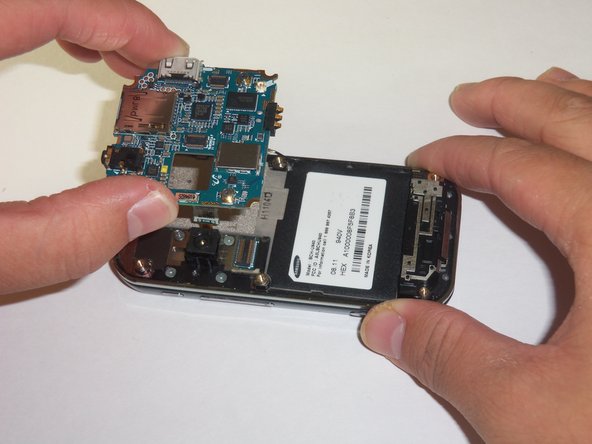
- After disconnecting the four connectors, gently lift the motherboard up with your fingers.
- Place the motherboard in a secure area.
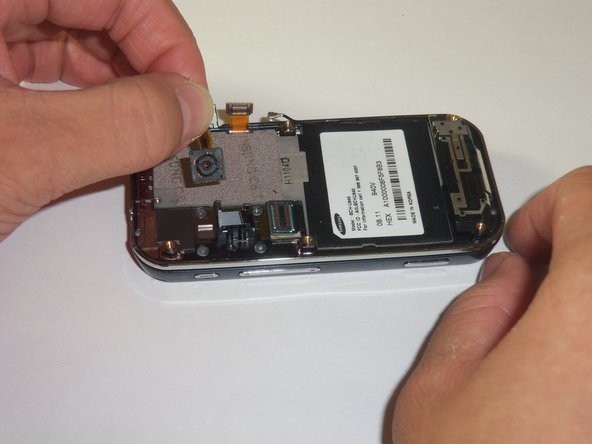
- Use your thumb and index finger to grip the camera connector.
- Pull the camera connector upwards to detach the camera.
- The camera was glued on, so this may require moderate strength.