Disassembling Kodak Advantix F350 View Finder
ID: 6866
Description:
Steps:
- Turn off the camera.
- Locate the power switch on the front of the camera below the camera lens.
- Slide the switch to the off position.
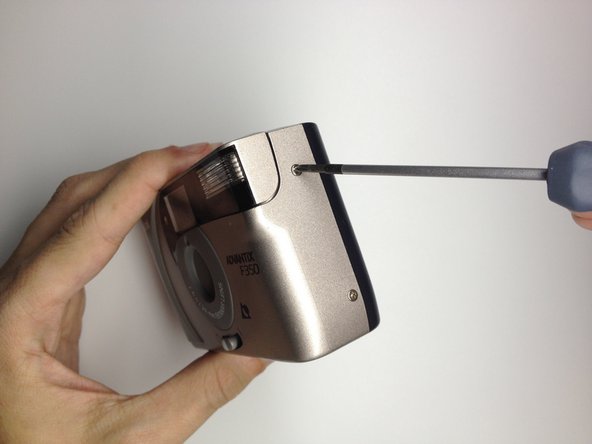
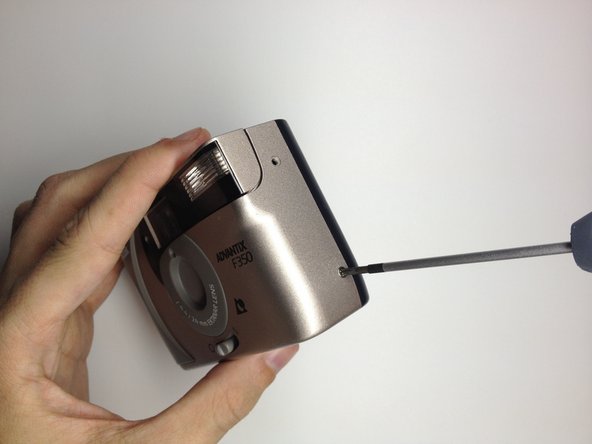
- Locate the 3 screws that hold the back cover to the camera.
- One screw is located on the film opener side of the camera.
- The other screws are located on the opposite side of the camera.
- Use the Phillips #00 Precision Screwdriver and remove the screws on the back cover.
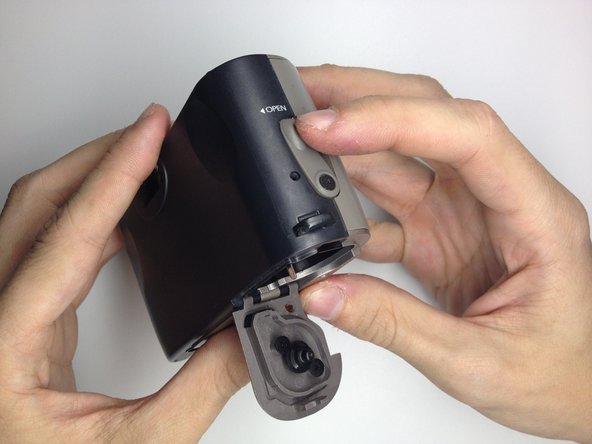
- Open the film door to remove the back cover.
- Slide the film door lever to the left until the film door opens.
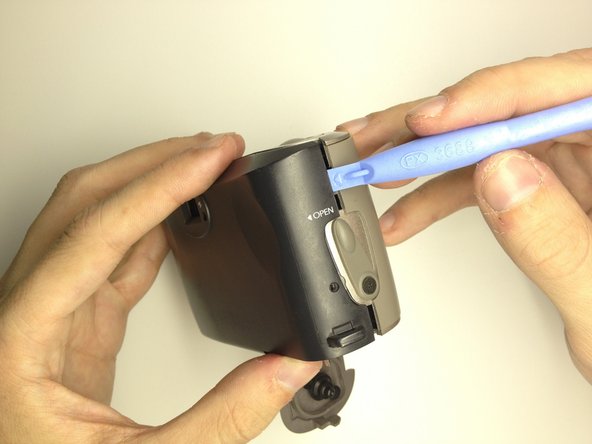
- Use a plastic opening tool to pry the case open until a small gap is present.
- Repeat this process at the top and bottom of the film door to loosen it.
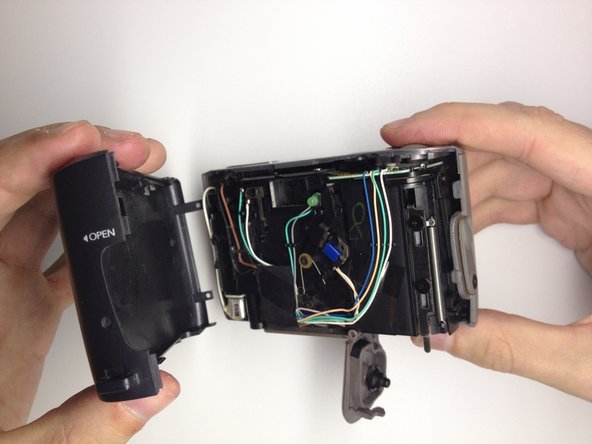
- Grab the top and bottom of the case firmly as shown.
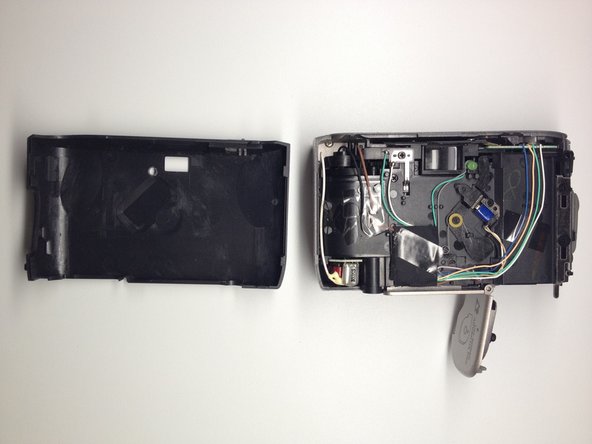
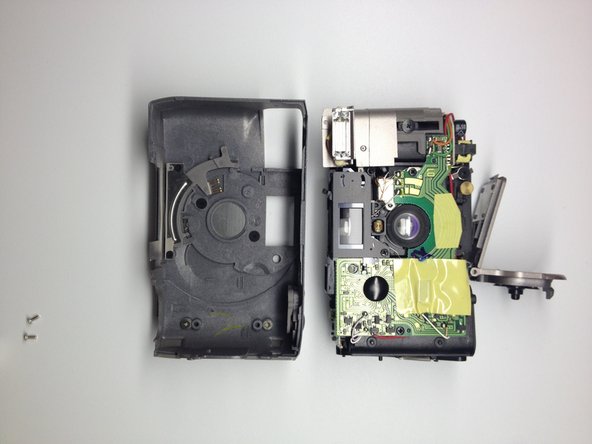
- Gently remove the back of the camera case with a slight twisting motion.
- Locate the 3 screws on the camera that hold the front cover of the camera to the camera body.
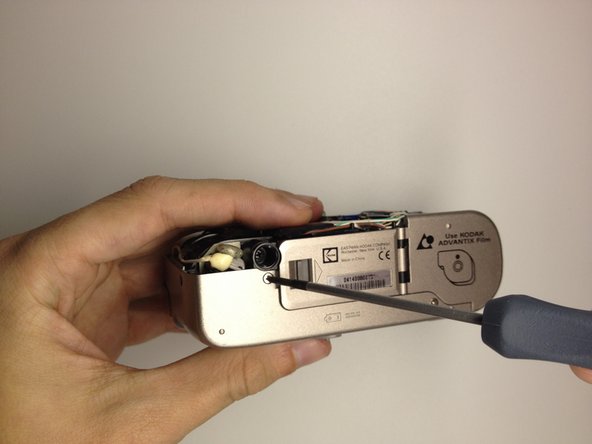
- The first 2 are located on the bottom of the camera.
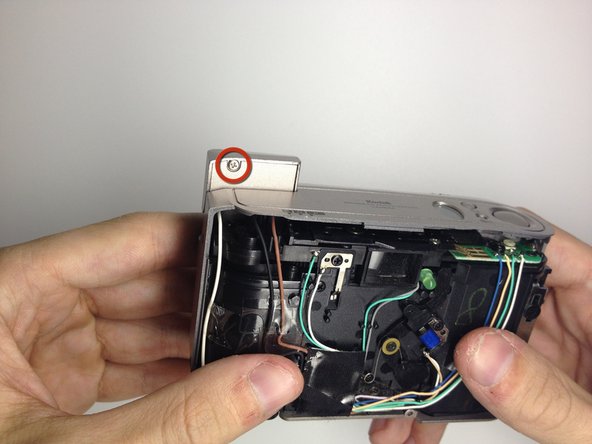
- The last screw is located behind the flash module.
- Turn the camera on, and raise the flash module to locate the flash module screw.
- Remove the 2 screws at the base of the camera housing.
- Use the Phillips #00 Precision Screwdriver and remove the screws.
- Repeat this process for the screw behind the flash module.
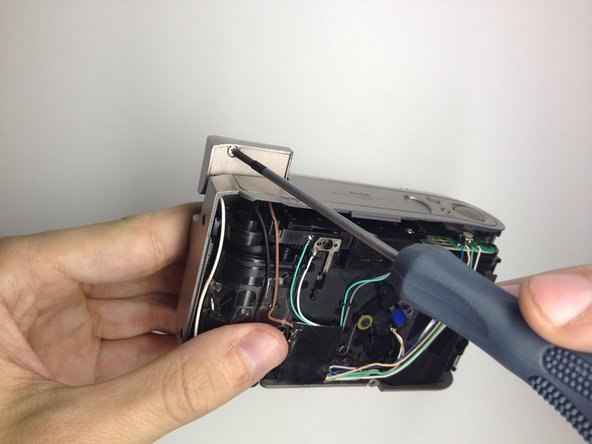
- Remove the screw located under the flash module using the Phillips #00 Precision Screwdriver.
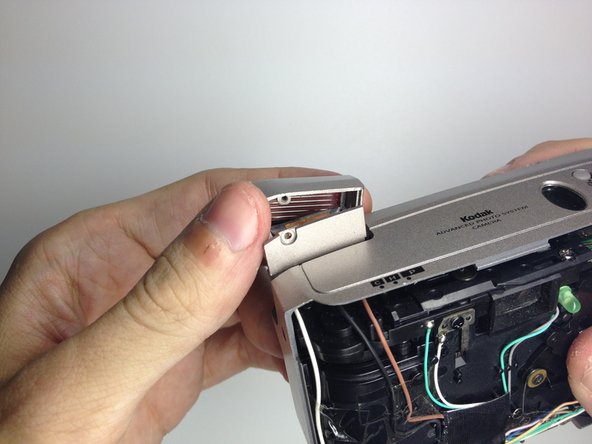
- Remove the flash cover.
- Remove the flash module by twisting it up and outward of the camera housing.
- The cover can now be be removed.
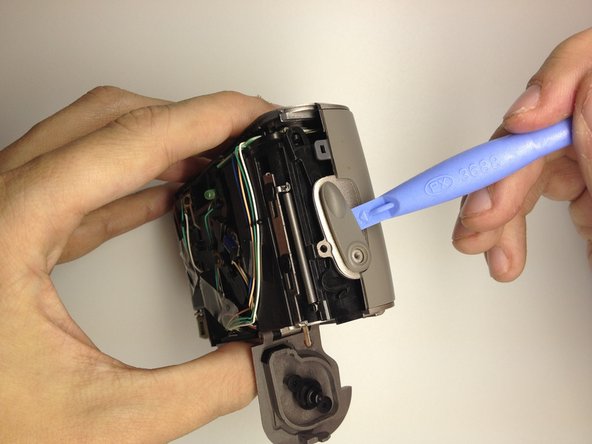
- Remove the film door lever.
- Remove the screw holding the film lever in place by using a Phillips #00 Precision Screwdriver.
- Using a plastic opening tool, gently pry the switch upwards to remove it.
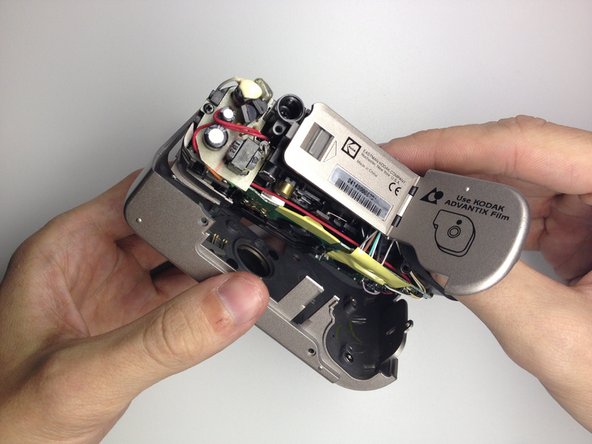
- Open the battery door by pushing the lever towards the arrow indicated.
- Remove the front cover.
- Insert your thumb in the film hole and gently pry the bottom loose.
- Once the front is loose, gently pull it out.
- Locate the 3 screws on the top of the camera.
- These will be removed in the next step.
- Remove the 3 screws using the Phillips #00 Precision Screwdriver.
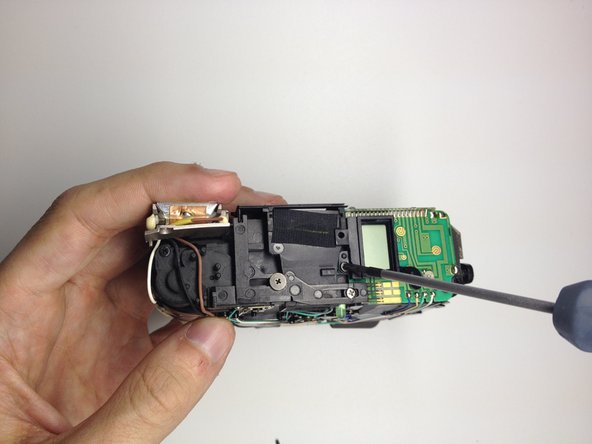
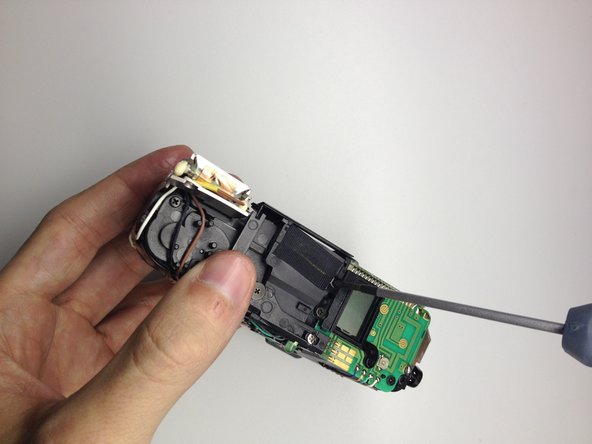
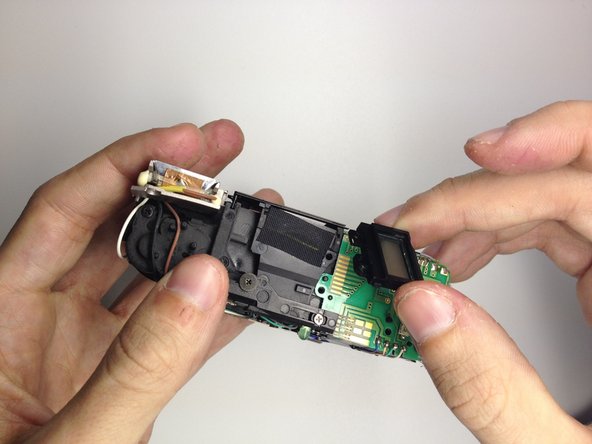
- Remove the LCD.
- Gently pry the LCD and plastic bezel upward with a plastic opening tool.
- Remove LCD and replace as needed.
- Locate the screw on the front of the camera that holds the view finder assembly.
- Using the Phillips #00 Precision Screwdriver, remove the screw.
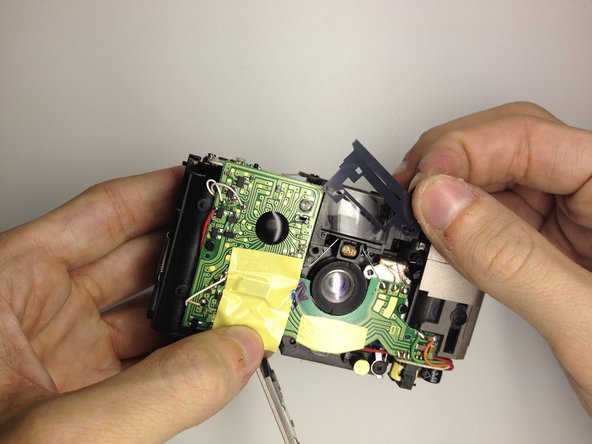
- Remove the 3 view finder covers.
- The first one is metal and comes off easily.
- The last two are plastic and tend to fall off, so gently remove them.
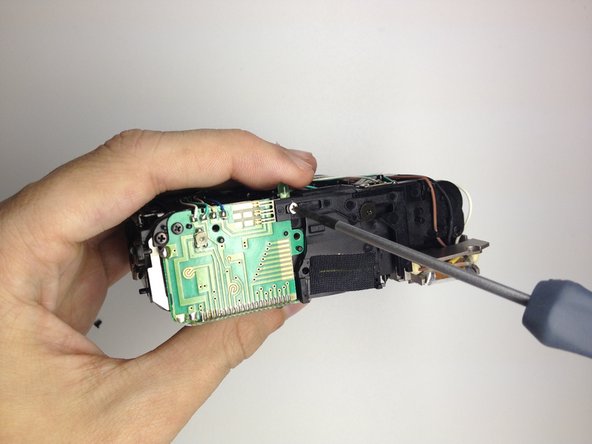
- Locate the 2 screws on the top of the camera.
- These are holding the view finder assembly in place.
- Use the Phillips #00 Precision Screwdriver to remove the screws.
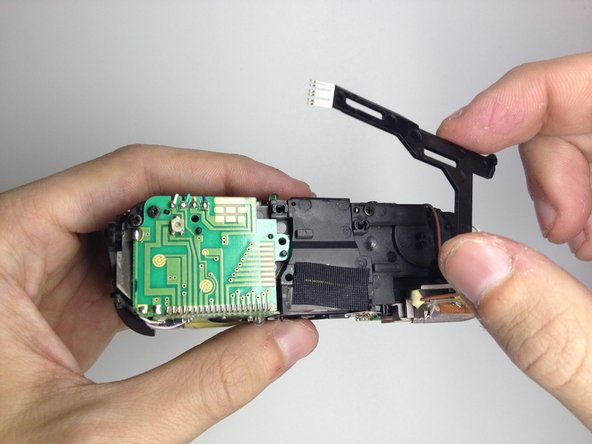
- Remove the mount holding the view finder in place.
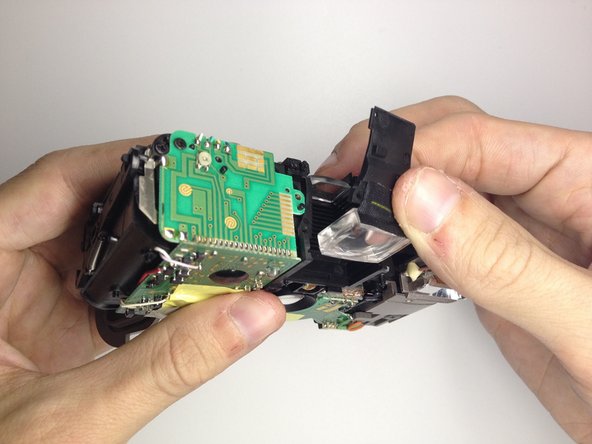
- Remove the front view finder.
- Gently fold the plastic up from the back.
- Pull up to remove the front view finder.
- Gently grab the back view finder.
- Slide up to remove from camera.


