Dell E193FPc Interface Buttons Replacement
ID: 6887
Description: Replace the interface buttons if they have...
Steps:
- Lay the monitor screen-down so the back screws are exposed.
- Remove the four 11.9 mm Phillips #2 screws securing the stand to the back of the monitor.
- Gently lift and pull away the stand at a slight angle away from the monitor.
- Locate the two holes on the bottom of the monitor.
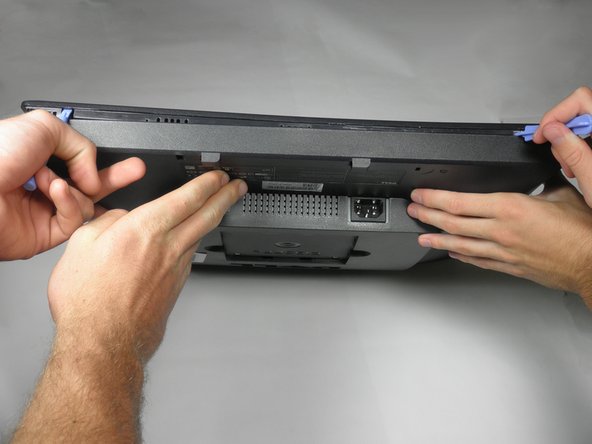
- Insert a plastic opening tool or spudger into the holes and gently pry the plastic apart along the groove.
- This task is much easier if two people pry simultaneously at each hole.
- Continue prying along the entire edge of the monitor.
- When finished prying, the plastic will partially fall away from the rest of the monitor.
- Do not try to fully remove the front frame yet. The frame is still attached to the buttons.
- While holding the frames together, carefully flip the monitor over so it faces screen down.
- Gently lift and remove remove the rear case from the monitor.
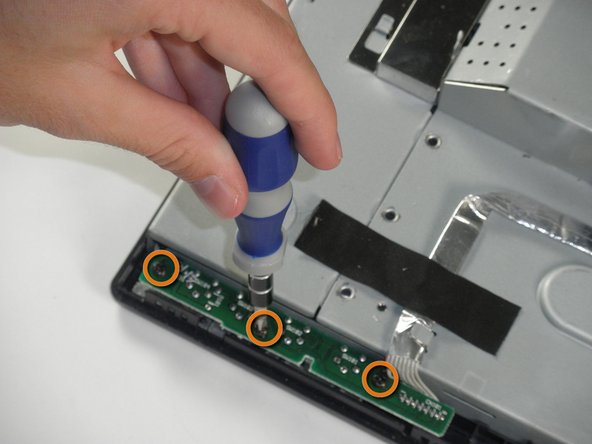
- Locate the green interface button board.
- Remove the three 9.71 mm Phillips #2 screws holding the interface button board to the display bezel.
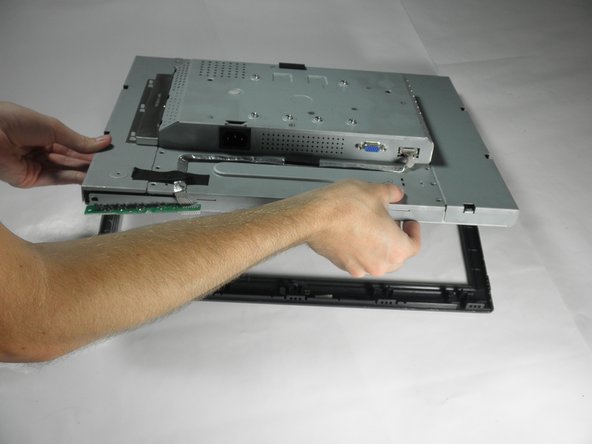
- Lift the monitor interior away from the front cover.
- Behind the front panel of the plastic cover lies the button strip.
- Remove the buttons by gently pulling up on the strip.
- You may have to pry the plastic strip up with a prying tool or spudger to remove it.